Important:
This documentation has been moved and is now being maintained as part of the Ubuntu Installer documentation. For the up-to-date version of this content, please refer to this version instead.
The installer is designed to be easy to use without documentation. This guide provides more information on each of the screens of the installer to guide you through an installation.
Language selection
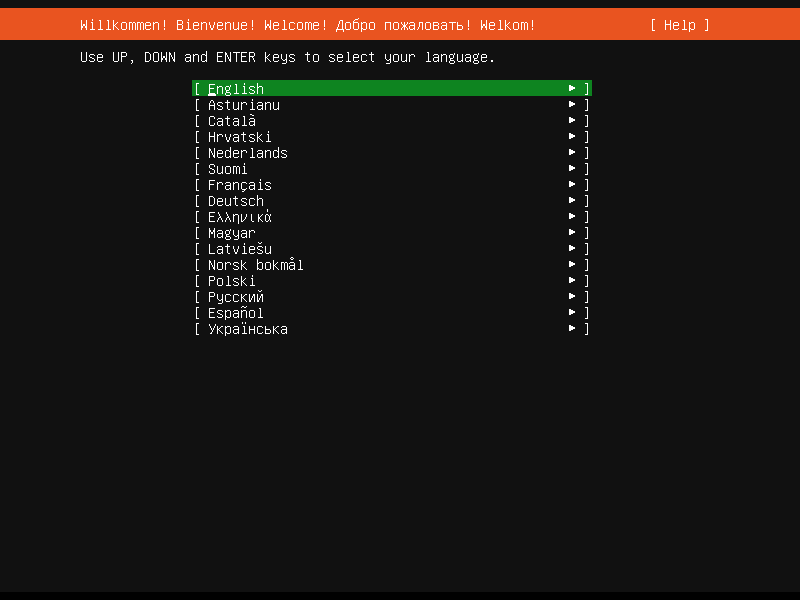
This screen lets you select the language for the installer and the default language for the installed system. In case only a basic terminal with limited language support is available for the installation, an alternative is to connect via SSH.
Refresh
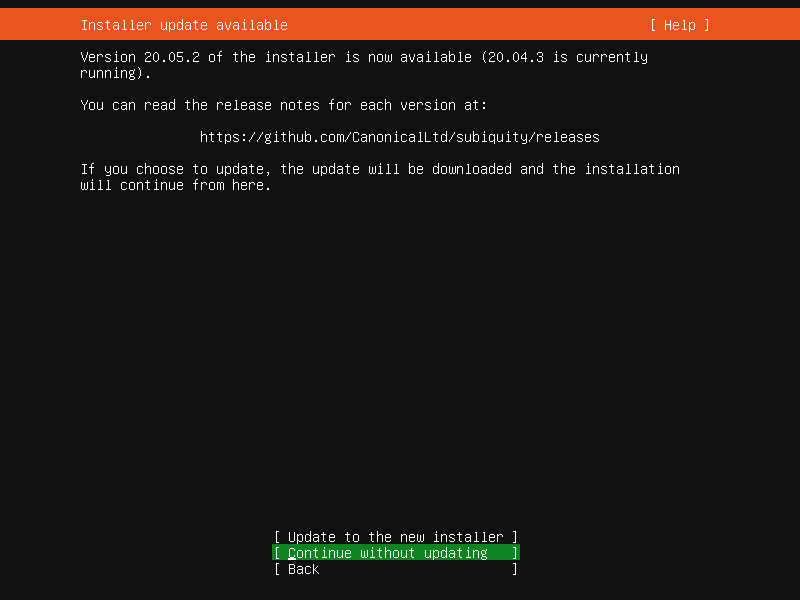
This screen is shown if there is an update for the installer available. This allows you to get any improvements and bug fixes made since release.
If you choose to update, the new version will be downloaded and the installer will restart at the same point of the installation.
Keyboard
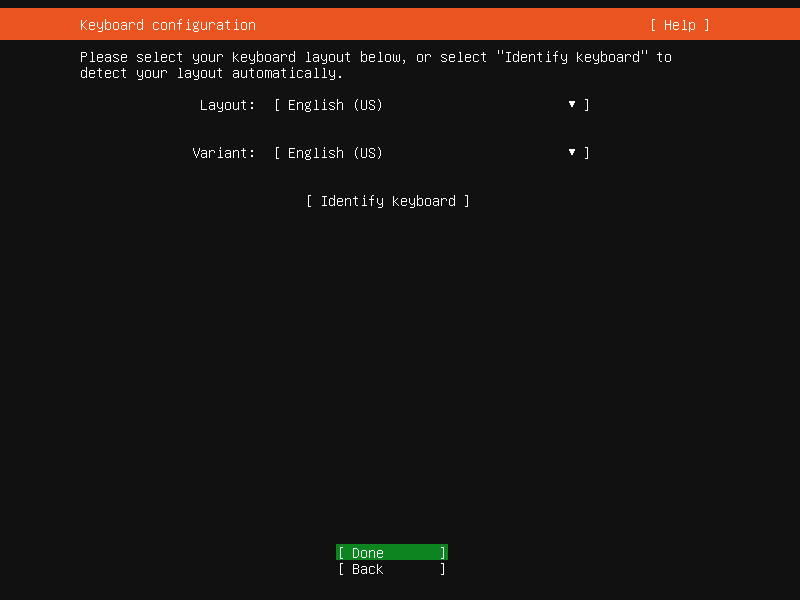
Choose the layout and variant of keyboard attached to the system, if any. When running in a virtual terminal, it is possible to guess the layout and variant by answering questions about the keyboard.
Zdev (s390x only)
====================================================================
  Zdev setup
====================================================================
  ID                          ONLINE  NAMES                                  ^
                                                                                         │
  generic-ccw                                                                │
  0.0.0009                                    >                              │
  0.0.000c                                    >                              │
  0.0.000d                                    >                              │
  0.0.000e                                    >                              │
                                                                             │
  dasd-eckd                                                                  │
  0.0.0190                                    >                              │
  0.0.0191                                    >                              │
  0.0.019d                                    >                              │
  0.0.019e                                    >┌────────────┐
  0.0.0200                                    >│< (close)   │
  0.0.0300                                    >│  Enable    │
  0.0.0400                                    >│  Disable   │
  0.0.0592                                    >└────────────┘                v

                                 [ Continue   ]
                                 [ Back       ]
This screen is only shown on s390x and allows z-specific configuration of devices.
The list of devices can be long. Home / End / Page Up / Page Down can be used to navigate through the list more quickly.
Network
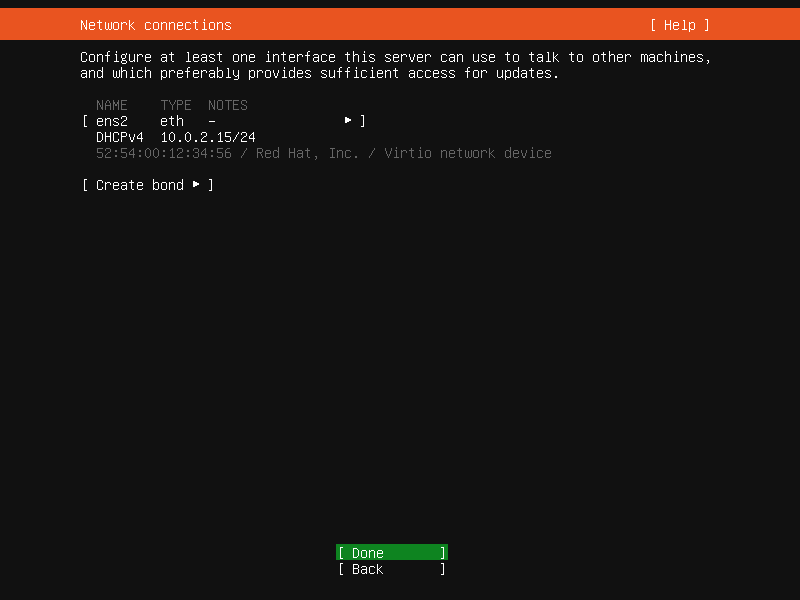
This screen allows the configuration of the network. Ubuntu Server uses NetPlan to configure networking and the UI of the installer can configure a subset of NetPlan’s capabilities. In particular it can configure DHCP or static addressing, VLANs and bonds.
If networking is present (defined as “at least one interface has a default route”) then the installer will install updates from the archive at the end of installation.
Proxy
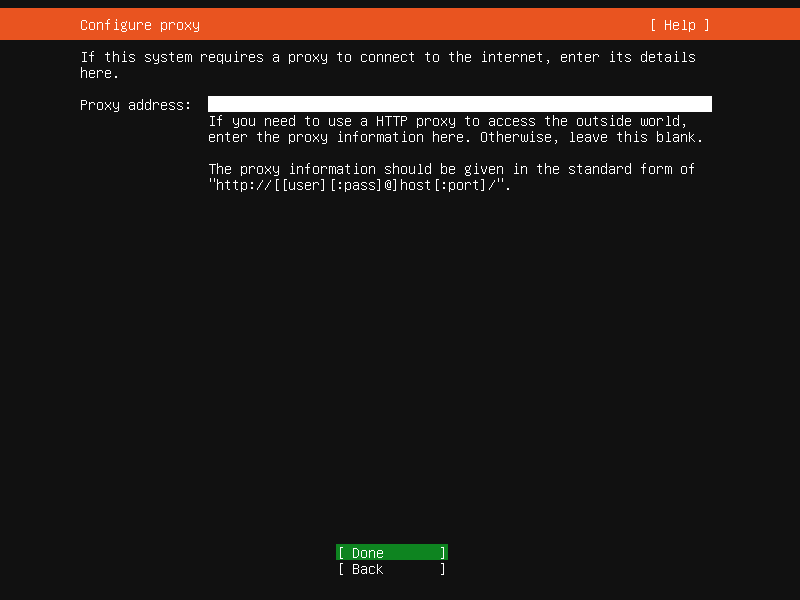
The proxy configured on this screen is used for accessing the package repository and the snap store both in the installer environment and in the installed system.
Mirror
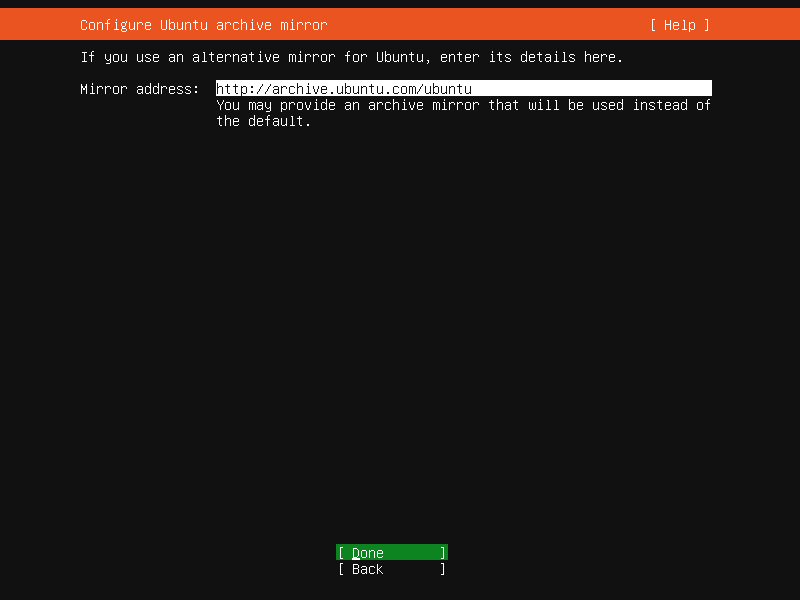
The installer will attempt to use geoip to look up an appropriate default package mirror for your location. If you want or need to use a different mirror, enter its URL here.
Storage
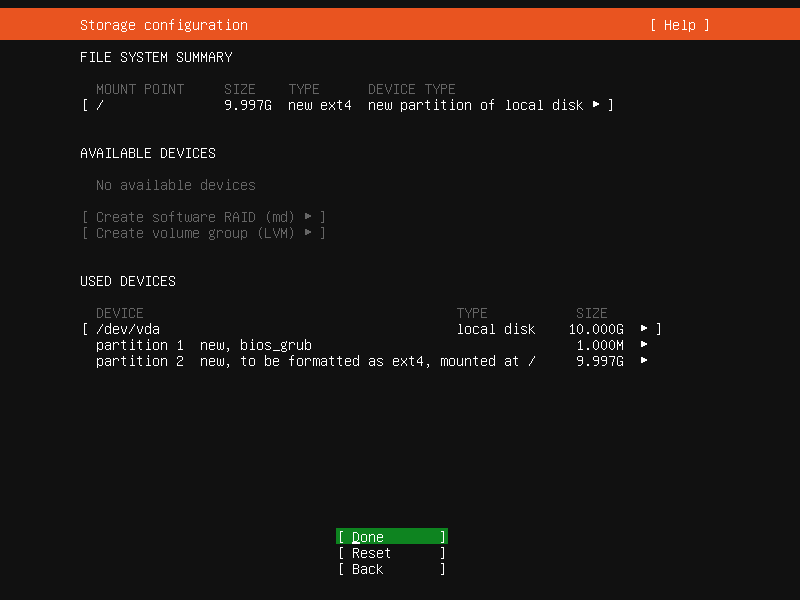
Storage configuration is a complicated topic and has its own page for documentation.
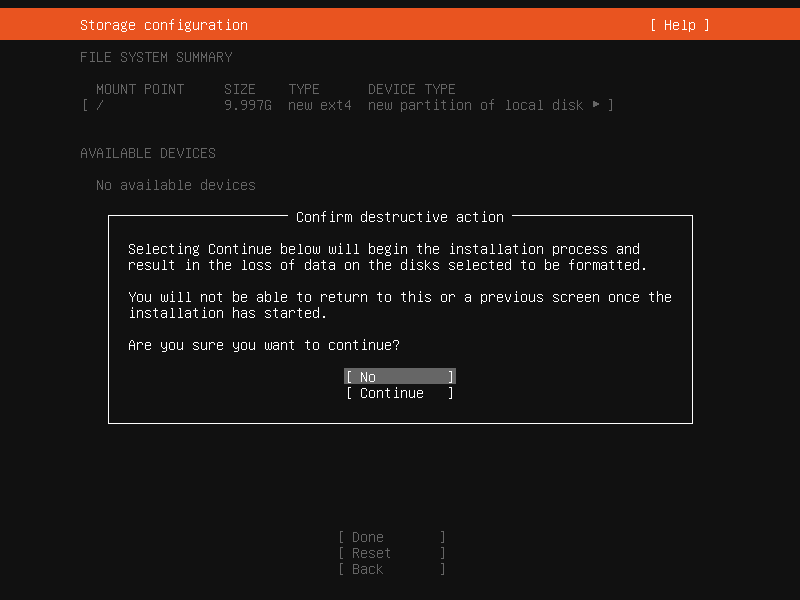
Once the storage configuration is confirmed, the install begins in the background.
Identity
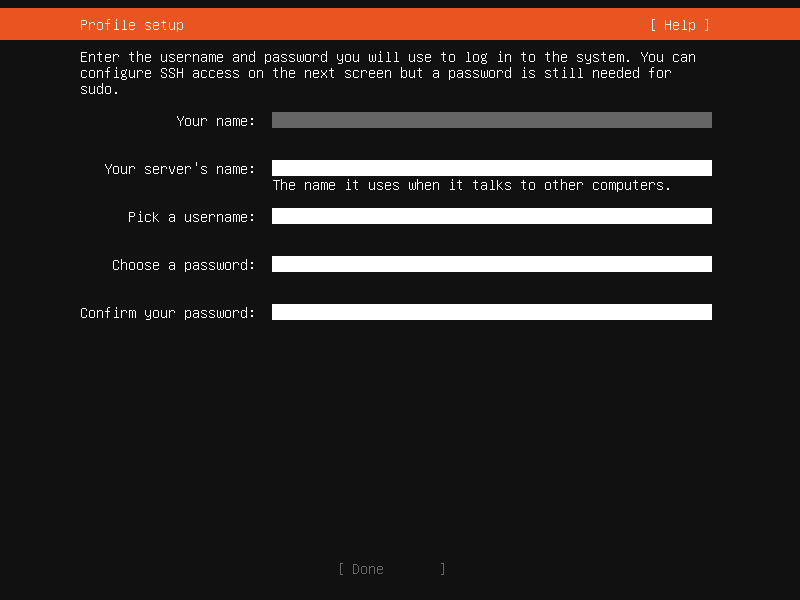
The default user will be an administrator, able to use sudo (this is why a password is needed, even if SSH public key access is enabled on the next screen).
SSH

A default Ubuntu install has no open ports. It is very common to administer servers via SSH so the installer allows it to be installed with the click of a button.
You can import keys for the default user from GitHub or Launchpad.
If you import a key, then password authentication is disabled by default but it can be re-enabled again if you wish.
Snaps
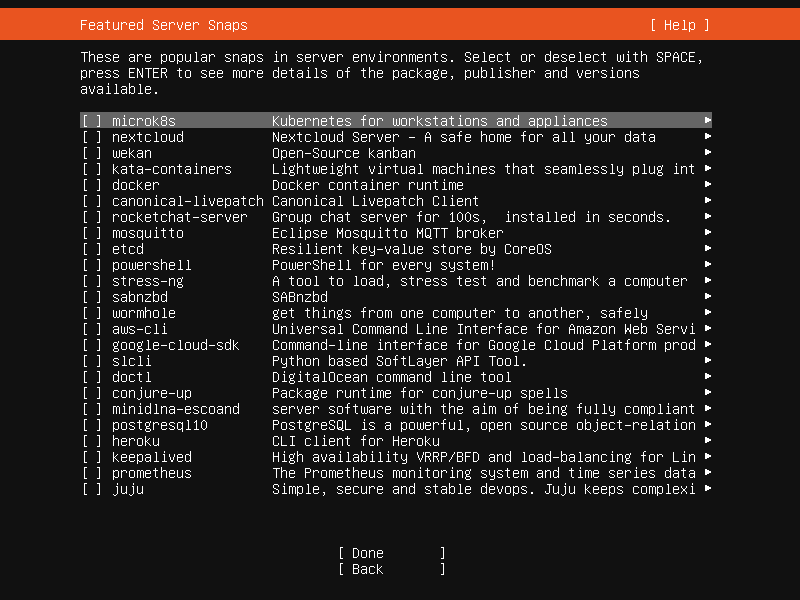
If a network connection is enabled, a selection of snaps that are useful in a server environment are presented and can be selected for installation.
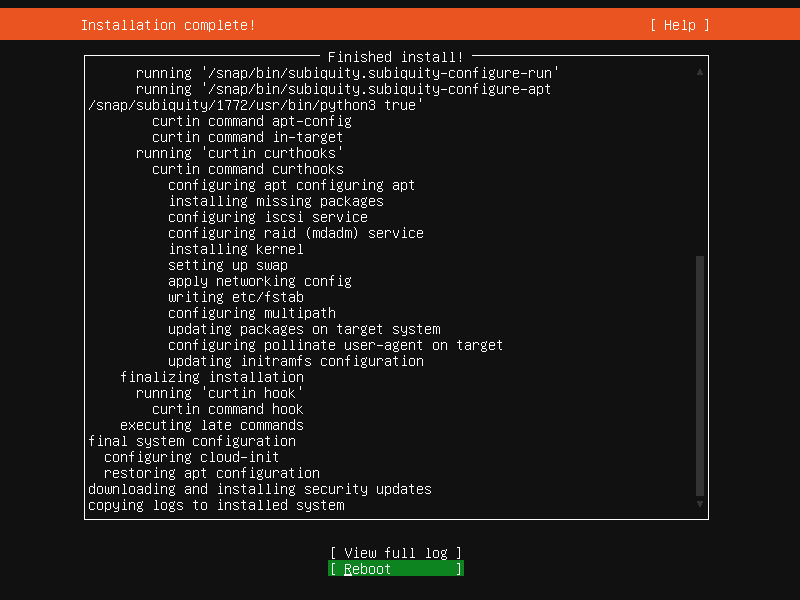
Installation logs
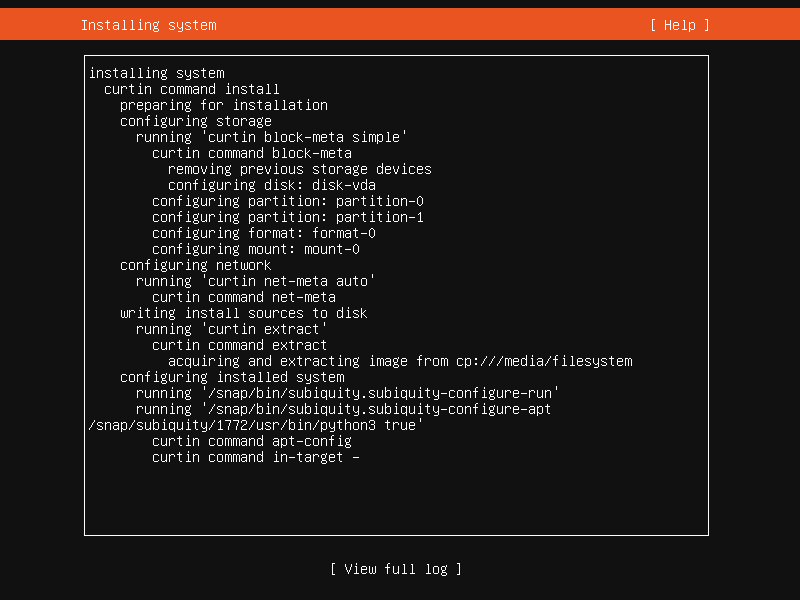
The final screen of the installer shows the progress of the installer and allows viewing of the full log file. Once the install has completed and security updates installed, the installer waits for confirmation before restarting.