| Key | Value |
|---|---|
| Summary | Use the concept of domains, roles, users and groups to manage identities. |
| Categories | openstack |
| Difficulty | 1 |
| Author | Tytus Kurek tytus.kurek@canonical.com |
Overview
Duration: 3:00
Before you get started!
Welcome to OpenStack!
In this series of tutorials, we will walk you through all the necessary steps to install, configure and get started with OpenStack. Using just a single machine, you will learn how to use OpenStack for cloud infrastructure implementation purposes, from a single-node installation to large-scale clusters.
This tutorial is the sixth in the “Phase 1 - Learn OpenStack” series.
What is OpenStack?
OpenStack is a collection of open source projects designed to work together to form the basis of a cloud. OpenStack can be used for both private and public cloud implementation.
What is Sunbeam?
Sunbeam is an upstream project under the governance of the OpenInfra Foundation (OIF), which was created to lower the barrier to entry for OpenStack, simplify its adoption process, and set the foundation for an autonomous private cloud. Sunbeam uses cloud-native architecture and total bottom-up automation to make OpenStack more accessible to newcomers and to help users get to grips with the platform immediately.
What is MicroStack?
MicroStack (based on Sunbeam) is an OpenStack distribution designed for small-scale cloud environments. While it is available with full commercial support from Canonical, it can also be self-deployed with no friction, effectively eliminating the need for a paid consulting engagement. MicroStack currently includes core OpenStack services only, but is expected to evolve quickly to ensure full feature parity with Canonical’s Charmed OpenStack soon.
In this tutorial, you will learn how to:
- Distinguish between the various OpenStack identities
- Manage domains
- Manage roles
- Manage projects
- Manage users and groups
- Manage membership and assignments
You will only need:
One fresh physical or virtual machine with:
- Ubuntu 22.04 LTS installed,
- Static IP address assigned to its primary network interface,
- OpenSSH server installed and configured,
- 4+ core amd64 CPU,
- 16 GB of RAM,
- 50 GB of SSD storage.
- OpenStack cloud bootstrapped, configured and sample instance launched,
- OpenStack client set up.
Manage domains
Duration: 4:00
Domains are high-level collections of projects, groups and users. They limit the visibility of those identities to other domains. As a result, domains serve as a basis for implementing multi-tenancy in OpenStack.
In the following steps, we’ll create a new domain called mydomain.
To create the mydomain domain, execute the following command:
$ openstack domain create --description "My domain" mydomain
To list all domains, execute the following command:
$ openstack domain list
Sample output:
----------------------------------+----------------+---------+--------------------+
| ID                               | Name           | Enabled | Description        |
+----------------------------------+----------------+---------+--------------------+
| 059a77497fc54e5bb3cdc07222f38bba | mydomain       | True    | My domain          |
| c6bf5f4e14854e2fa4159bc9d6c398c8 | service_domain | True    | Created by Juju    |
| d0cebfaaf119499fb5c6564a86e6c381 | admin_domain   | True    | Created by Juju    |
| d515b468868844049f843ea158830826 | users          | True    |                    |
| default                          | Default        | True    | The default domain |
+----------------------------------+----------------+---------+--------------------+
In this new domain, we have to create the admin user to be able to manage its identities through the OpenStack dashboard. We’ll explain all those concepts in a later part of this tutorial, but for now, simply execute the following commands:
$ openstack user create --domain mydomain --password admin admin

$ openstack role add --domain mydomain --user-domain mydomain --user admin admin
You can log in to the OpenStack dashboard using the following credentials:
-
Domain - Type
mydomain -
User Name - Type
admin -
Password - Type
admin

Since no projects have been created in the mydomain domain yet, you can ignore any error messages in the top right corner of the screen.
Note that, until the end of this tutorial, we’re going to use the admin user account in the mydomain domain when running actions through the OpenStack dashboards. We’ll continue using the admin user account in the admin_domain domain when running them through the OpenStack client.
Manage roles
Duration: 3:00
Roles implement role-based access control (RBAC) mechanisms in OpenStack and define the authorisation level users or groups have inside of domains and projects. They are globally unique, meaning they are shared across all existing domains.
In the following steps, we’ll create a new role called member, which is a default role that enables creation of new projects in OpenStack, but is not created in Sunbeam by default.
Manage roles through the OpenStack client
To create the member role, execute the following command:
$ openstack role create _member_
To list all roles, execute the following command:
$ openstack role list
Sample output:
+----------------------------------+----------+
| ID                               | Name     |
+----------------------------------+----------+
| 1f1aad36026846b5a3226325cb66097f | _member_ |
| 1fa418b2bd9d4b7f9d1f165d1d6c8513 | Admin    |
| 3ade19df87cb4f65b804d0527ed5fccc | member   |
| 969239a724014a63b5990d0ff45536fb | reader   |
+----------------------------------+----------+
Manage projects
Duration: 3:00
Projects are an abstraction used by other OpenStack services to group and isolate various types of resources (instances, volumes, and so on). One domain can have multiple projects created inside.
In the following steps, we’ll create a new project called myproject under the mydomain domain.
Manage projects through the OpenStack client
To create the project, execute the following command:
$ openstack project create --domain mydomain myproject
To list all projects, execute the following command:
$ openstack project list --domain mydomain
Sample output:
+----------------------------------+-----------+
| ID                               | Name      |
+----------------------------------+-----------+
| 65d6e005dcda45cda8eecab1317412e4 | myproject |
+----------------------------------+-----------+
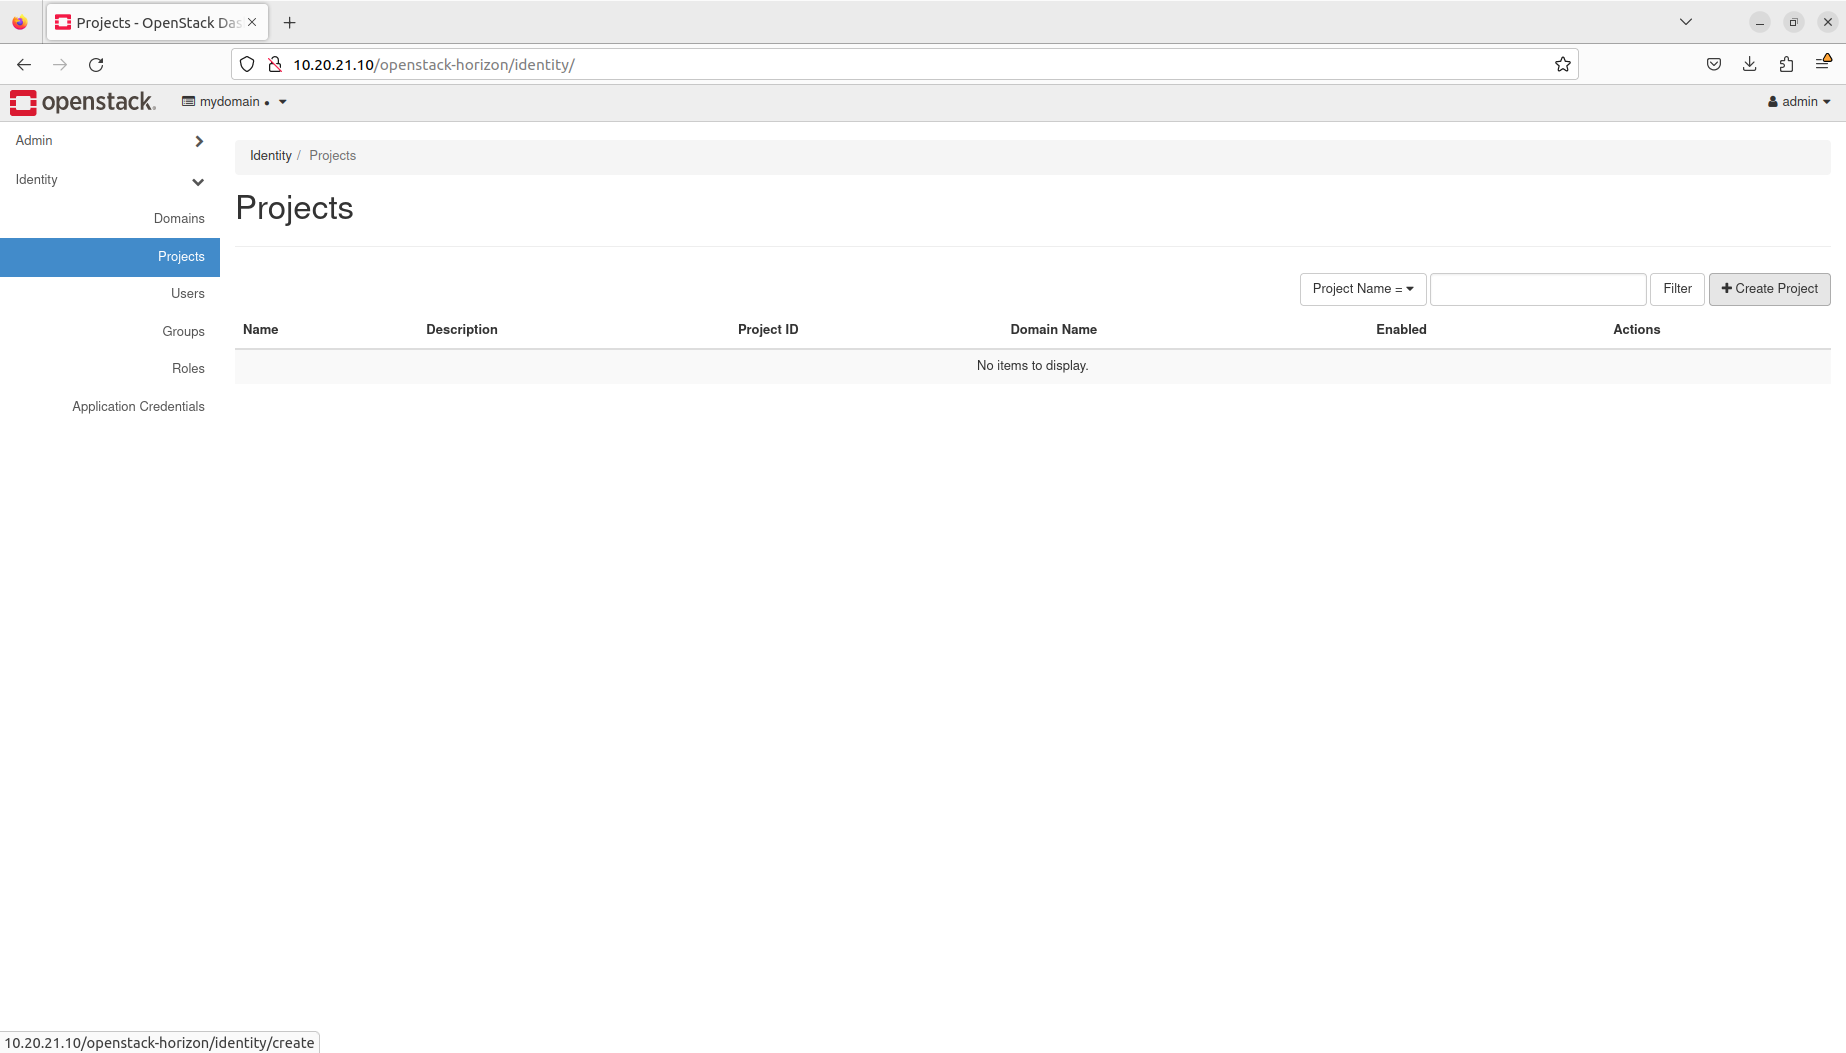
Manage projects through the OpenStack dashboard
Navigate to Identity → Projects and click the Create Project button on the right:
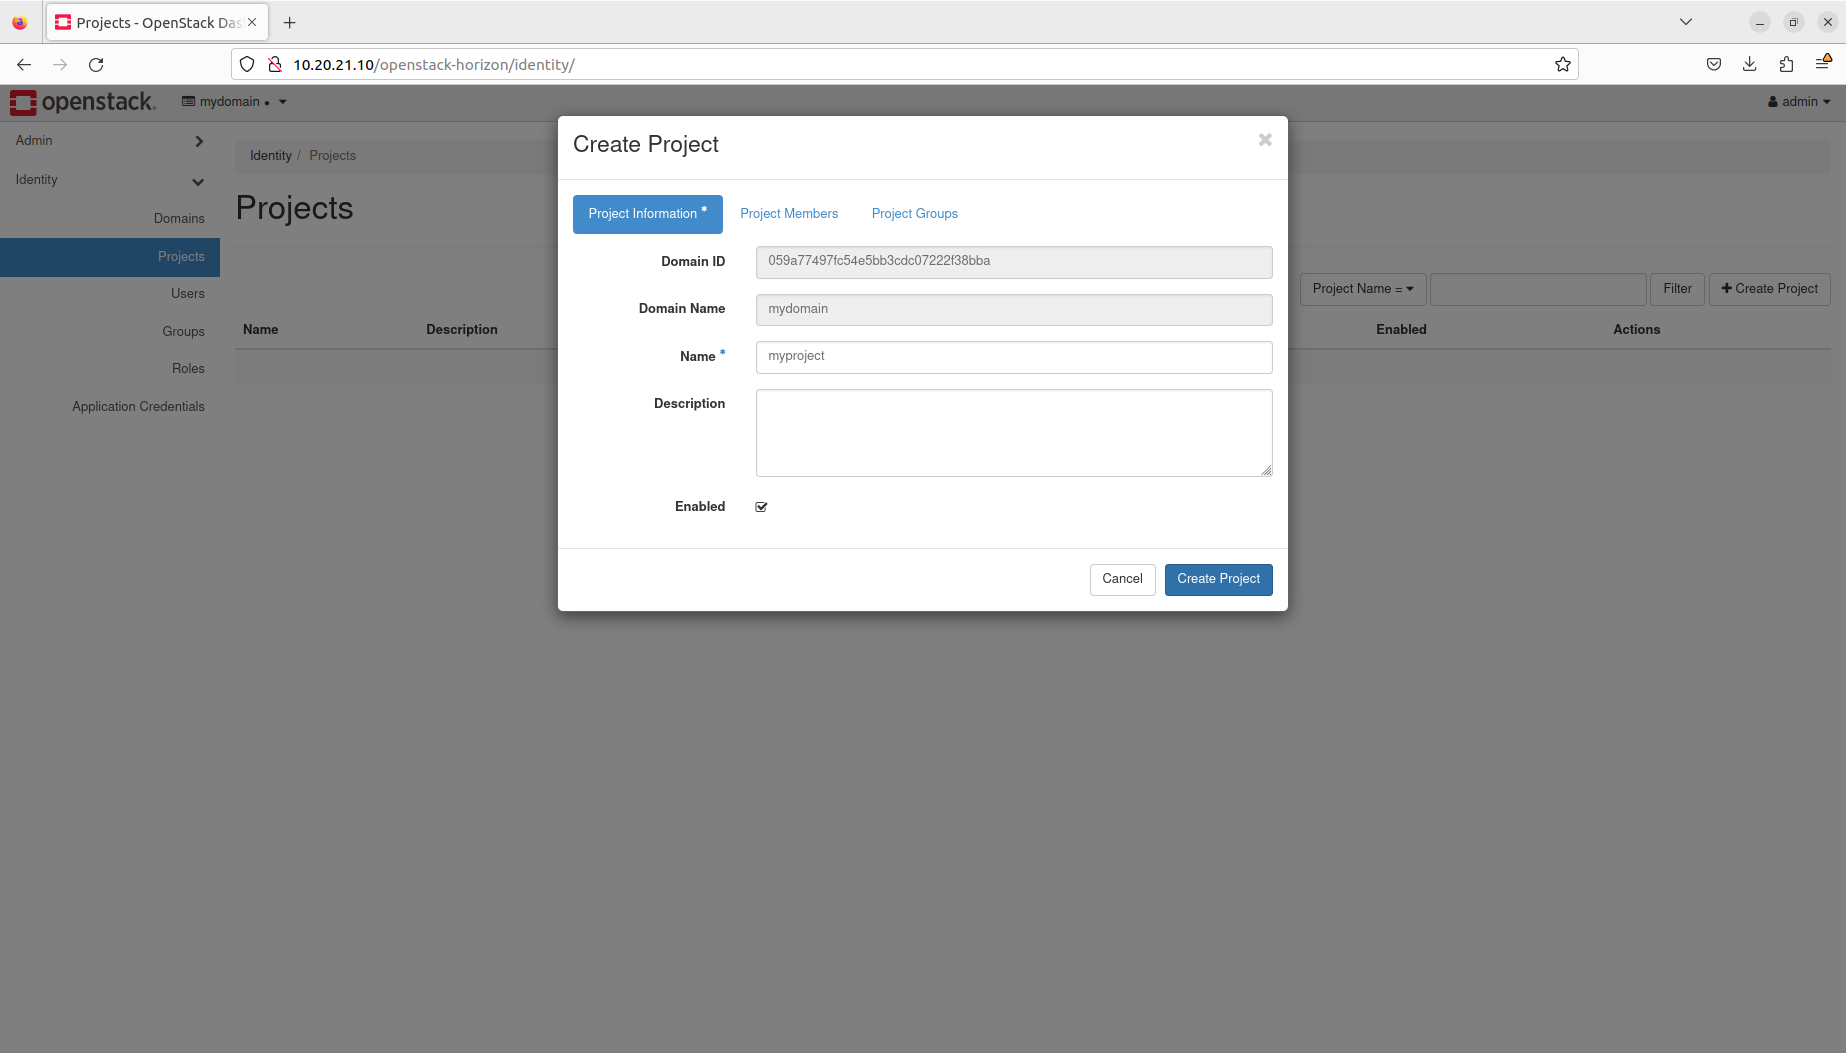
To create the project, fill in the form as follows:
- Name - Type
myproject
Then click the Create Project button:
You are now able to see the new project in Keystone’s database:
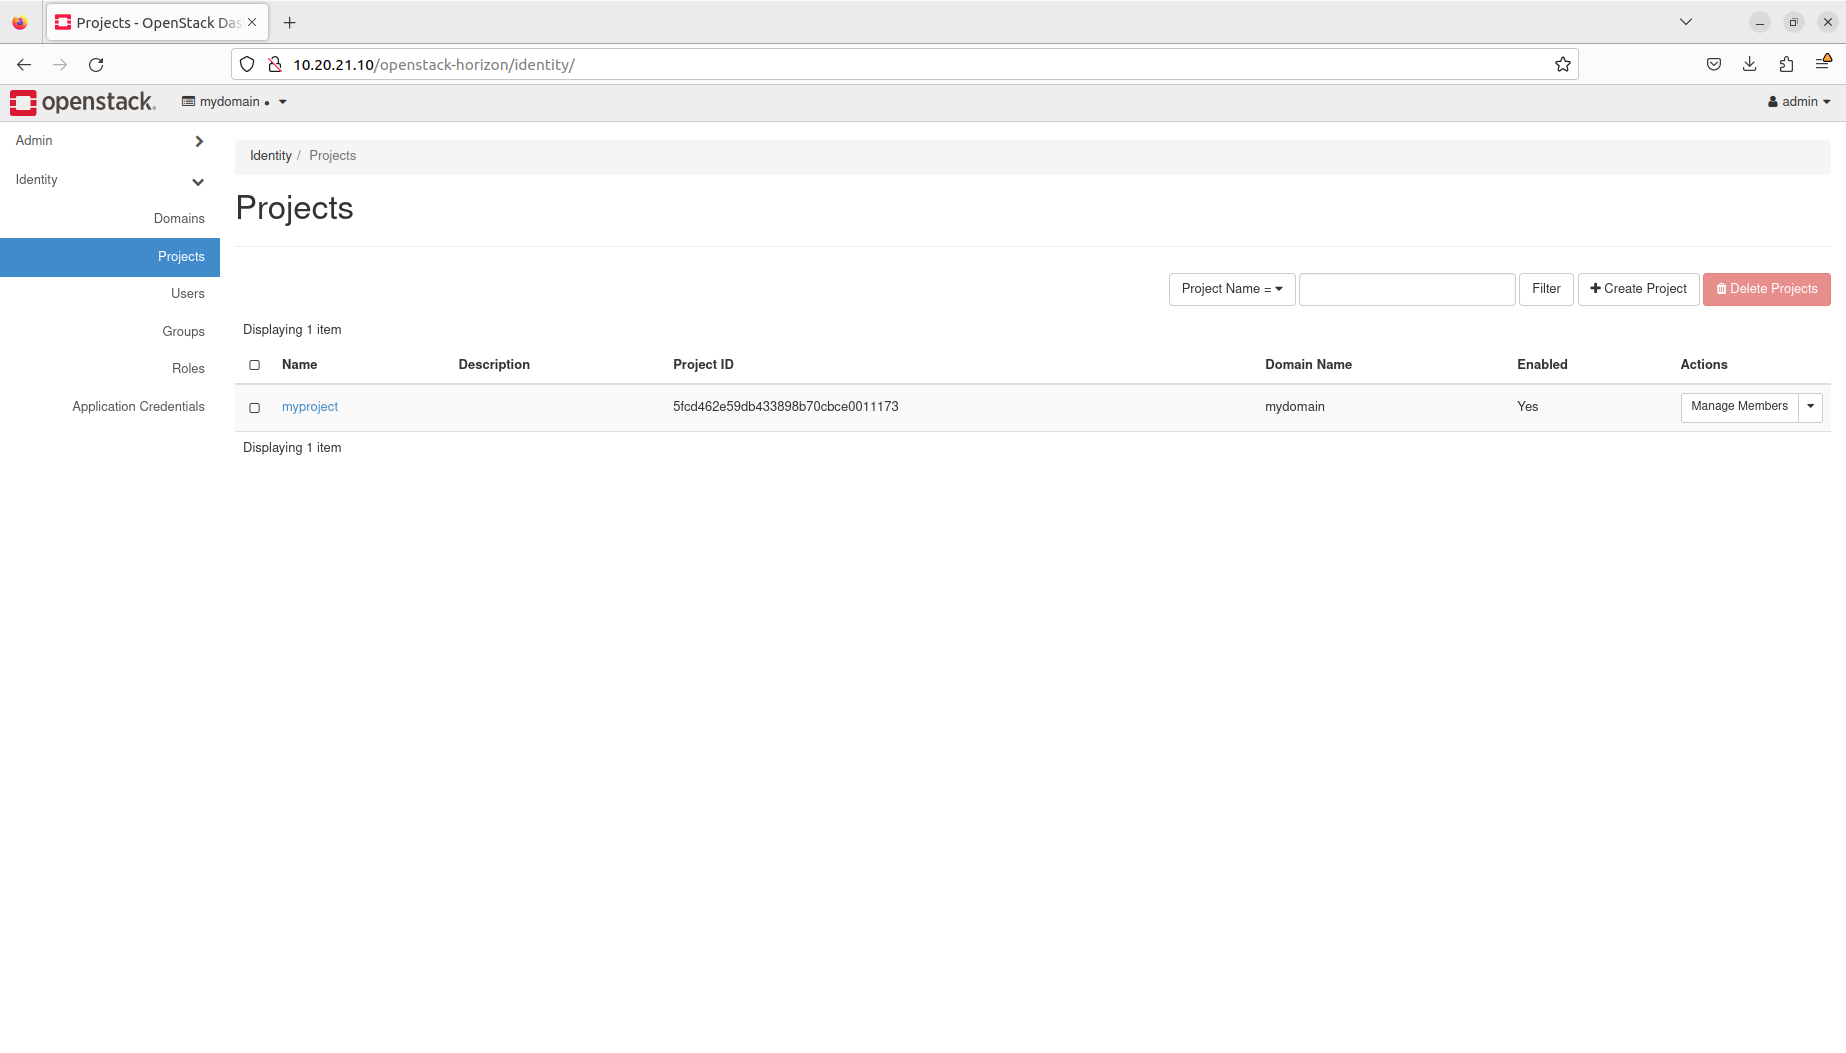
Note that project IDs may be different in your environment.
Manage users and groups
Duration: 6:00
Users and groups represent entities that are given access to resources inside of projects and domains through the assigned roles. One domain can have multiple users and groups created inside.
In the following steps, we’ll create a new user called myuser with the password mypassword, and a new group called mygroup under the mydomain domain.
Manage users and groups through the OpenStack client
To create the user, execute the following command:
$ openstack user create --domain mydomain --password mypassword myuser
To list all users, execute the following command:
$ openstack user list --domain mydomain
Sample output:
+----------------------------------+--------+
| ID                               | Name   |
+----------------------------------+--------+
| 7d4d527543ae4481a7190a5506415edd | admin  |
| e7cf2f9af9fd4558b158814d8738d07c | myuser |
+----------------------------------+--------+
To create the group, execute the following command:
$ openstack group create --domain mydomain mygroup
To list all groups, execute the following command:
$ openstack group list --domain mydomain
Sample output:
+----------------------------------+---------+
| ID                               | Name    |
+----------------------------------+---------+
| 7cc023f94aa64cc987eb3b9795d773a7 | mygroup |
+----------------------------------+---------+
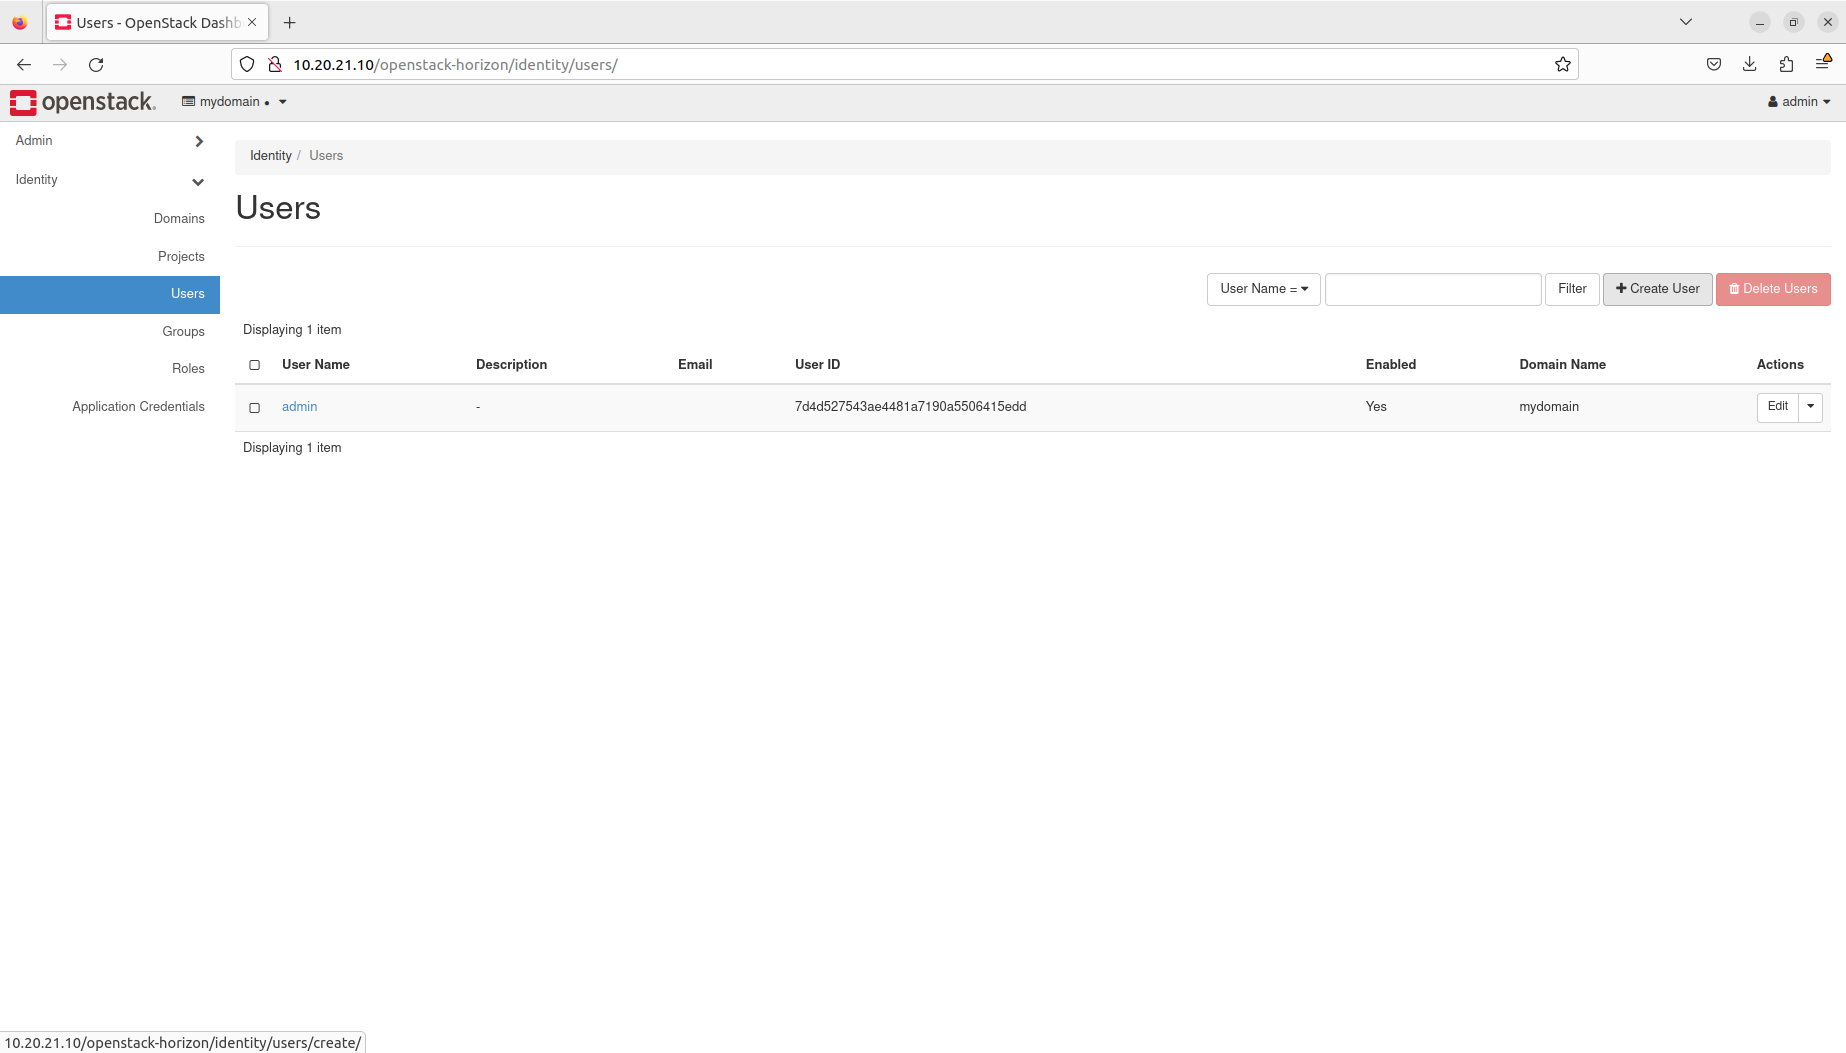
Manage users and groups through the OpenStack dashboard
Navigate to Identity → Users and click the Create User button on the right:
To create the user, fill in the form as follows:
-
User Name - Type
myuser -
Password - Type
mypassword -
Confirm Password - Type
mypassword
Then click the Create User button:

You are now able to see the new user in Keystone’s database:

Note that user IDs may be different in your environment.
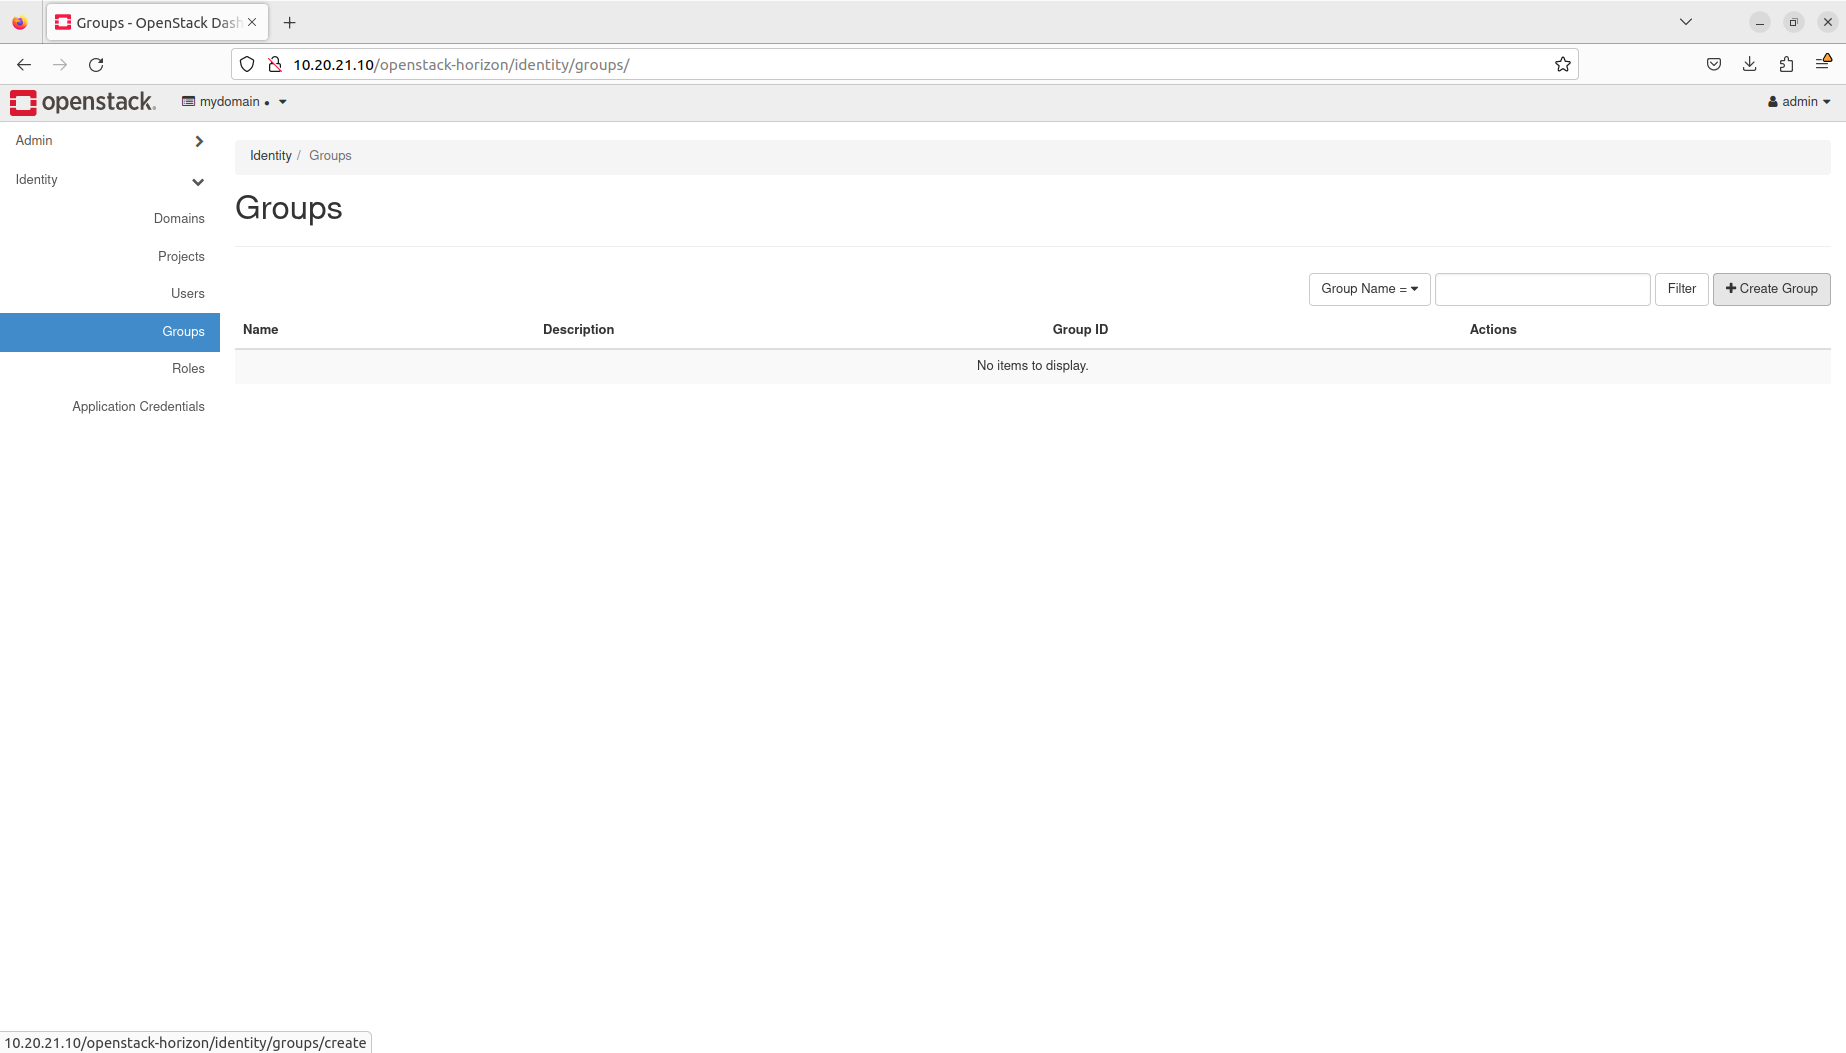
Navigate to Identity → Groups and click the Create Group button on the right:
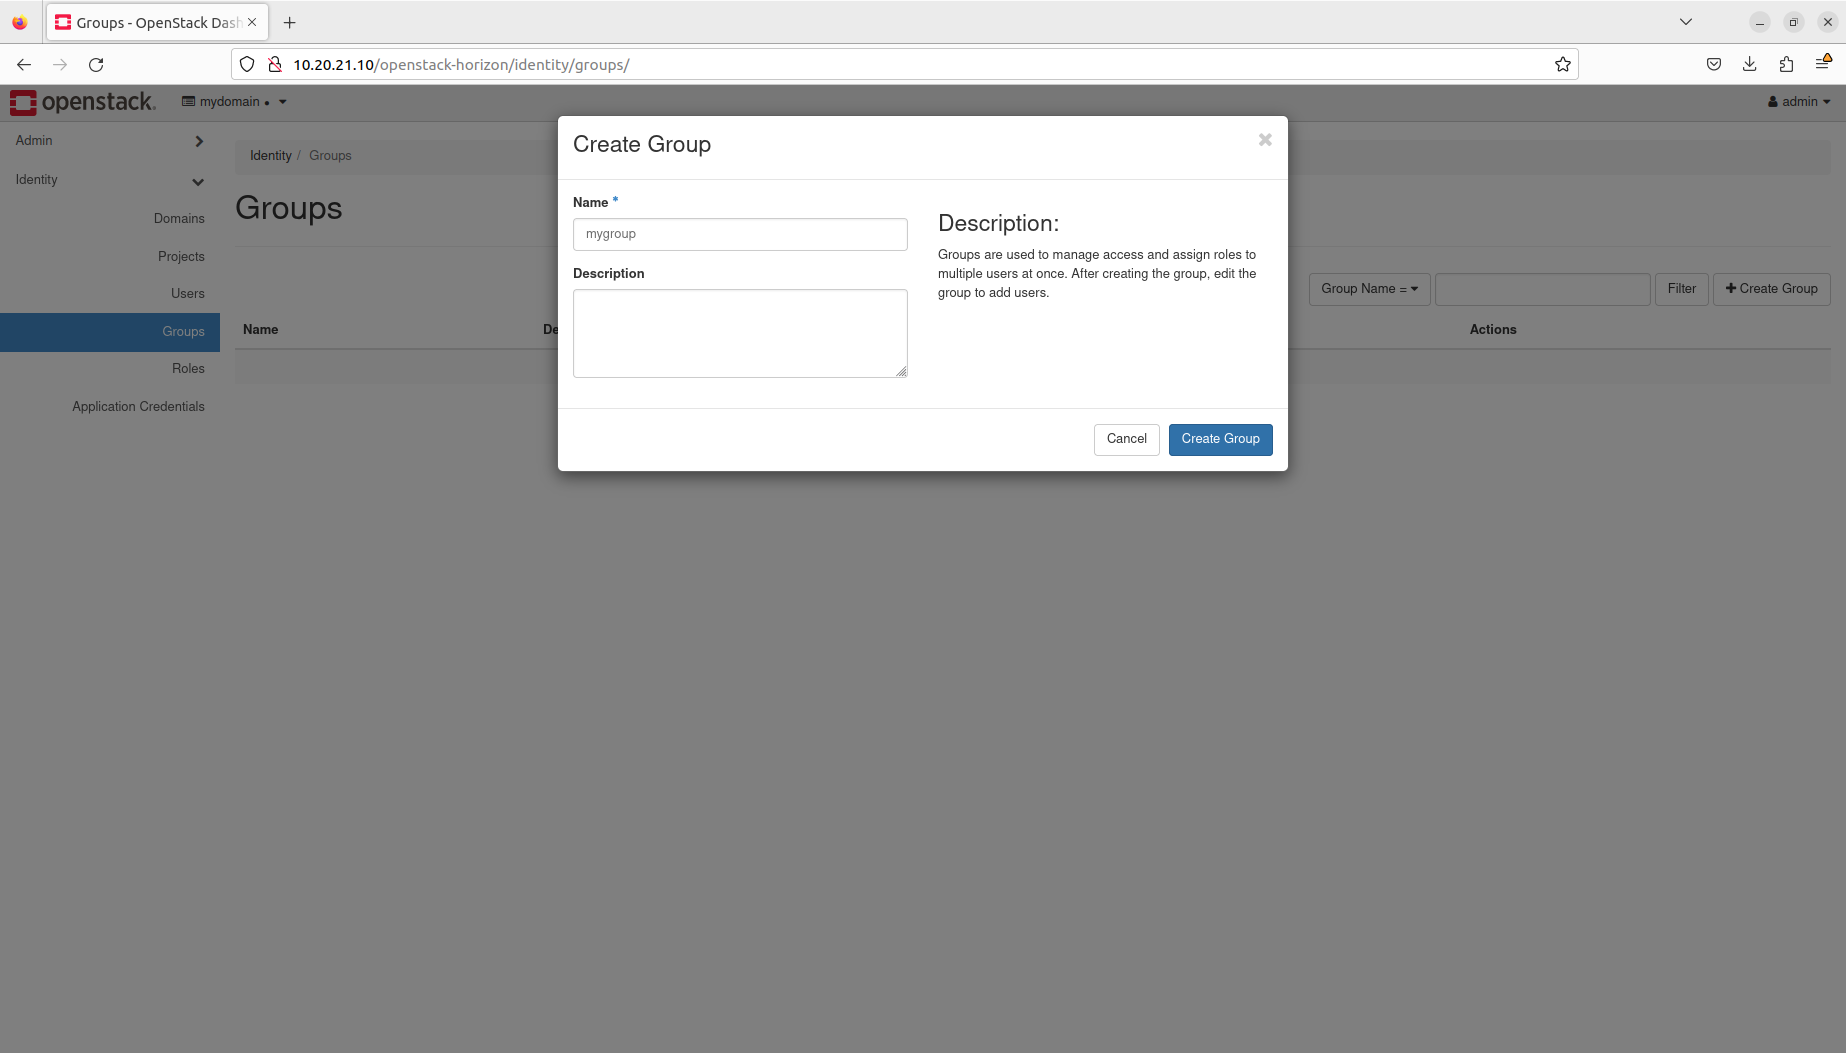
To create the group, fill in the form as follows:
- Name - Type
mygroup
Then click the Create Group button:
You are now able to see the new group in Keystone’s database:
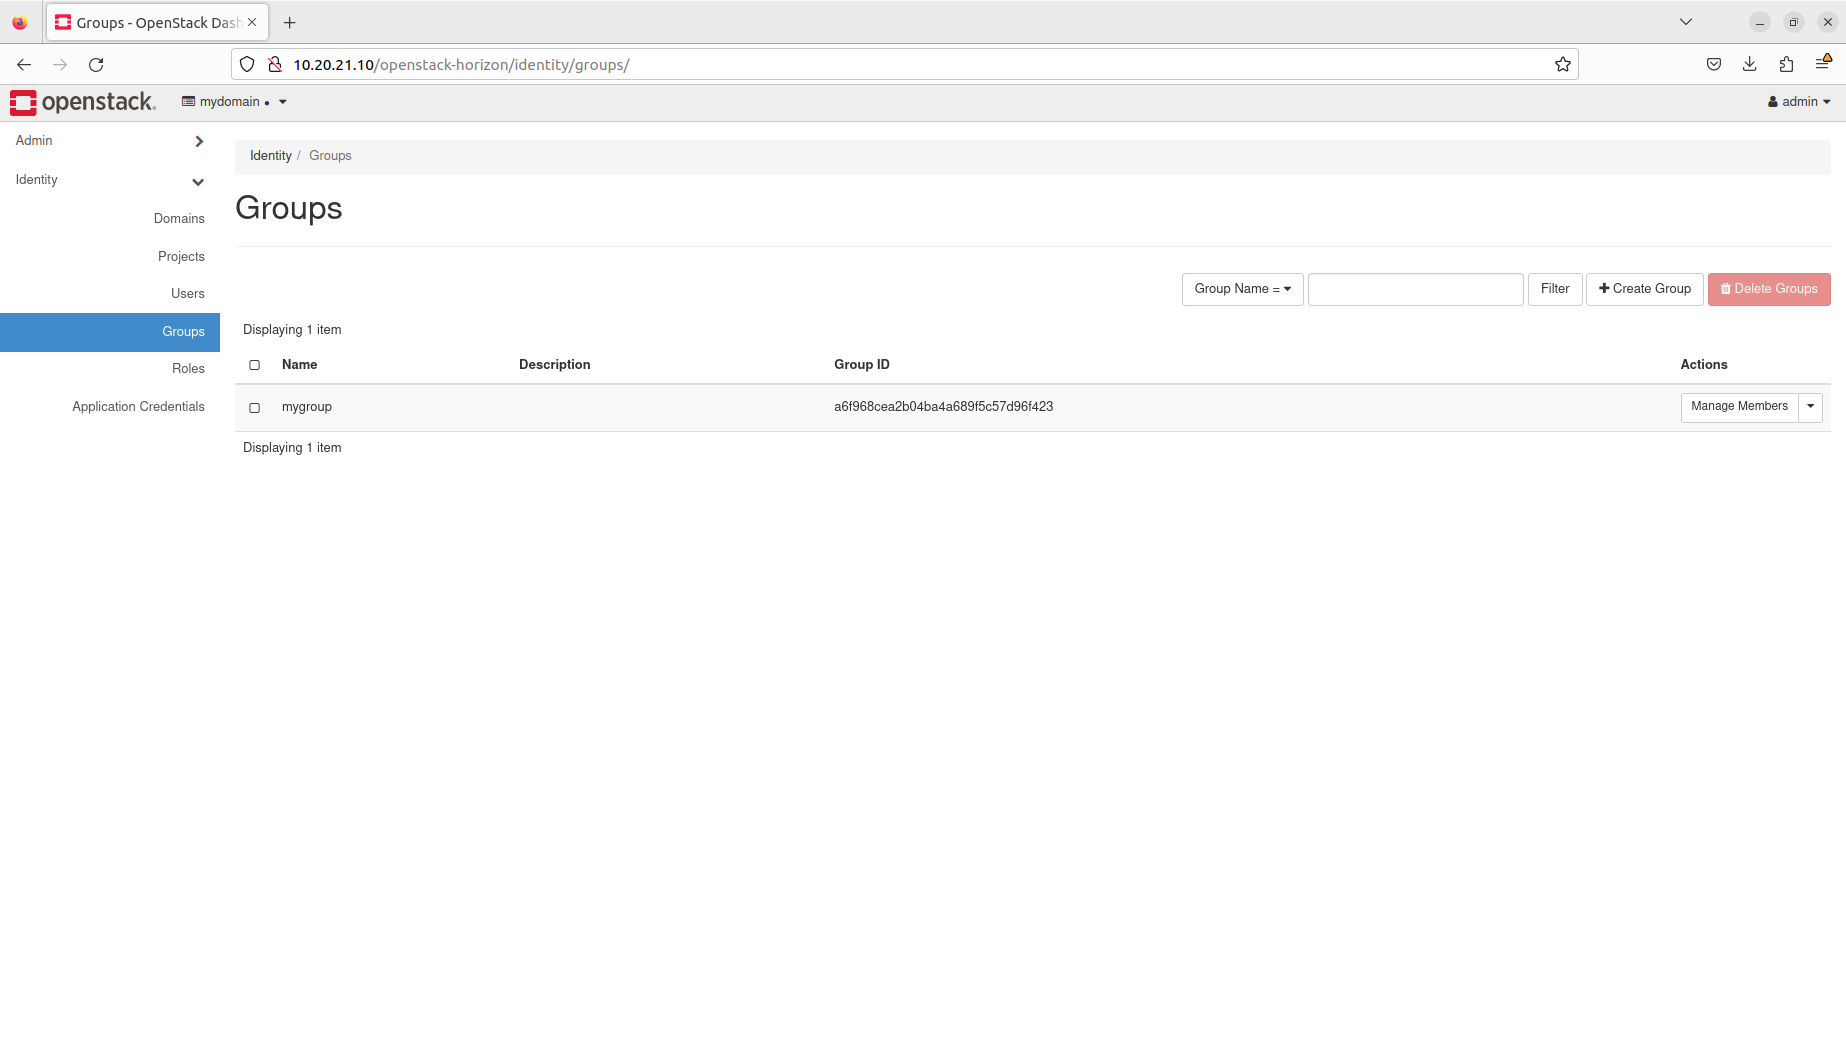
Note that the group ID may be different in your environment.
Manage membership and assignments
Duration: 4:00
In the following steps, we’ll add the myuser user to the mygroup group and assign the member role to the mygroup group on the myproject project under the mydomain domain.
Manage membership and assignments through the OpenStack client
To add the myuser user to the mygroup group, execute the following command:
$ openstack group add user --group-domain mydomain --user-domain mydomain mygroup myuser
To assign the member role to the mygroup group on the myproject project, execute the following command:
$ openstack role add --project myproject --project-domain mydomain --group mygroup --group-domain mydomain member
Manage membership and assignments through the OpenStack dashboard
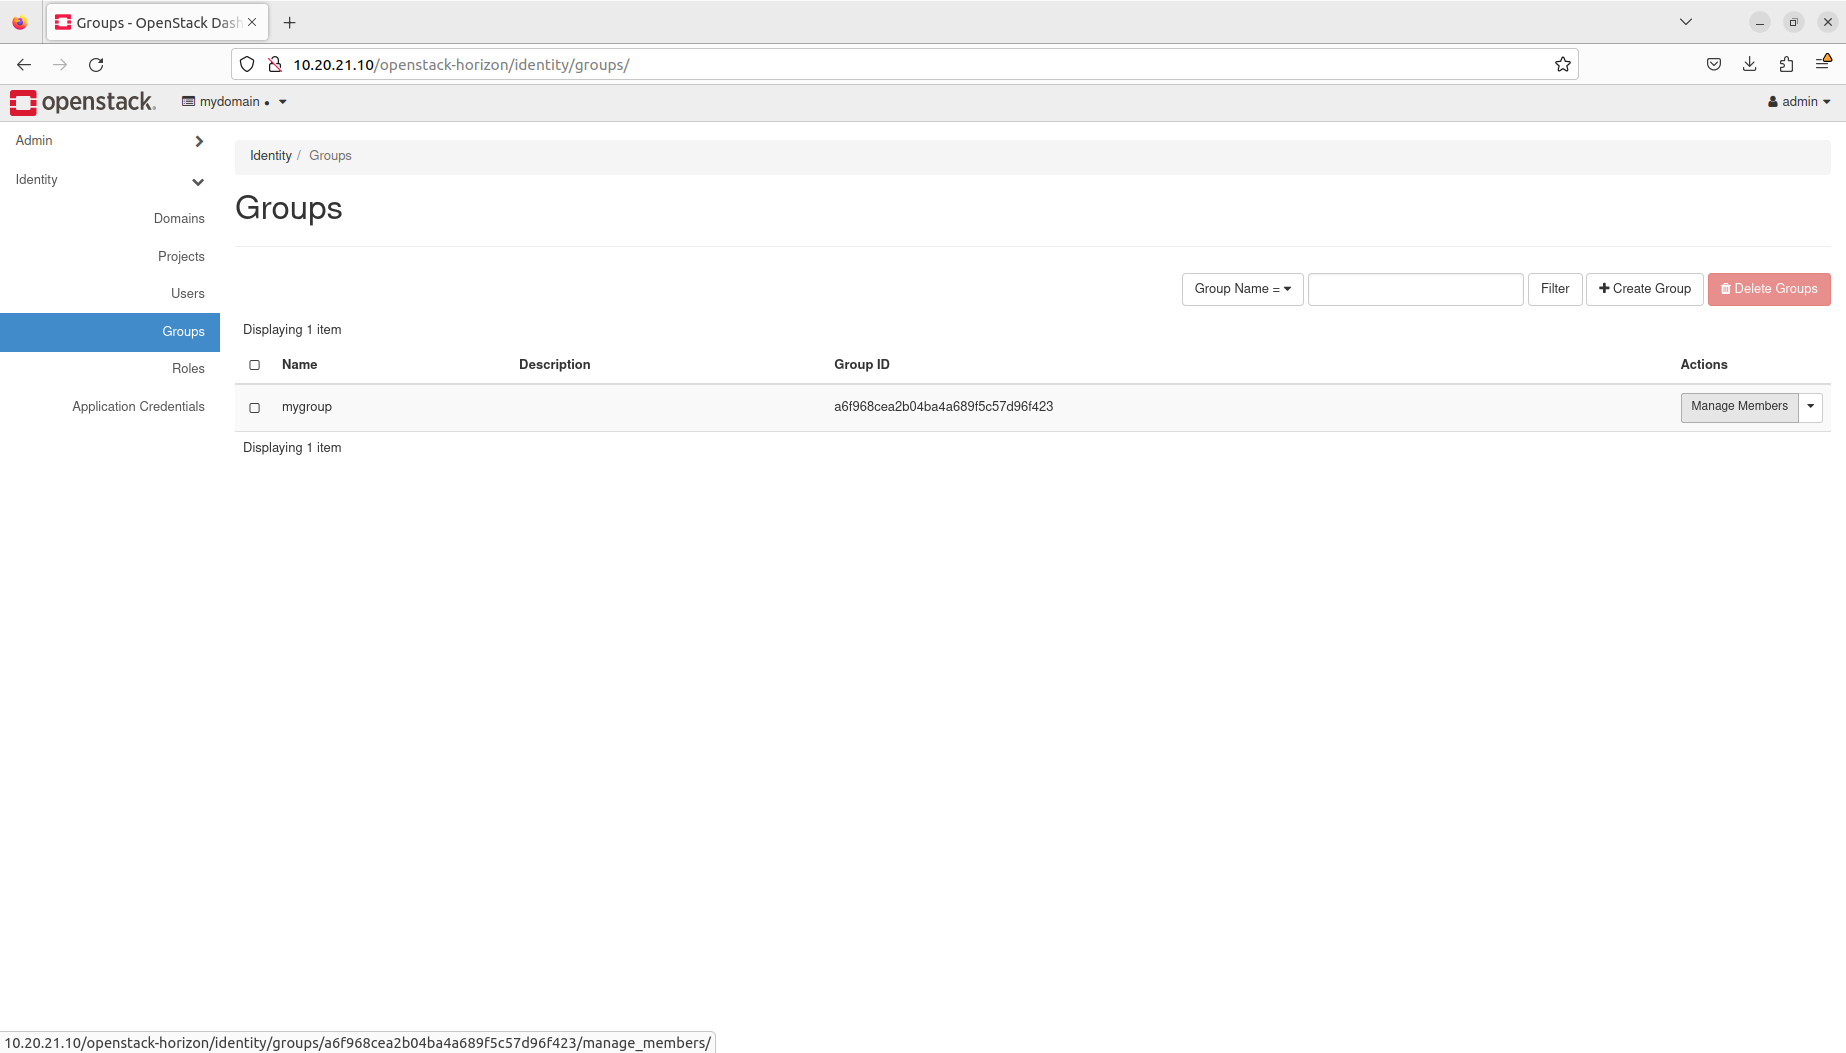
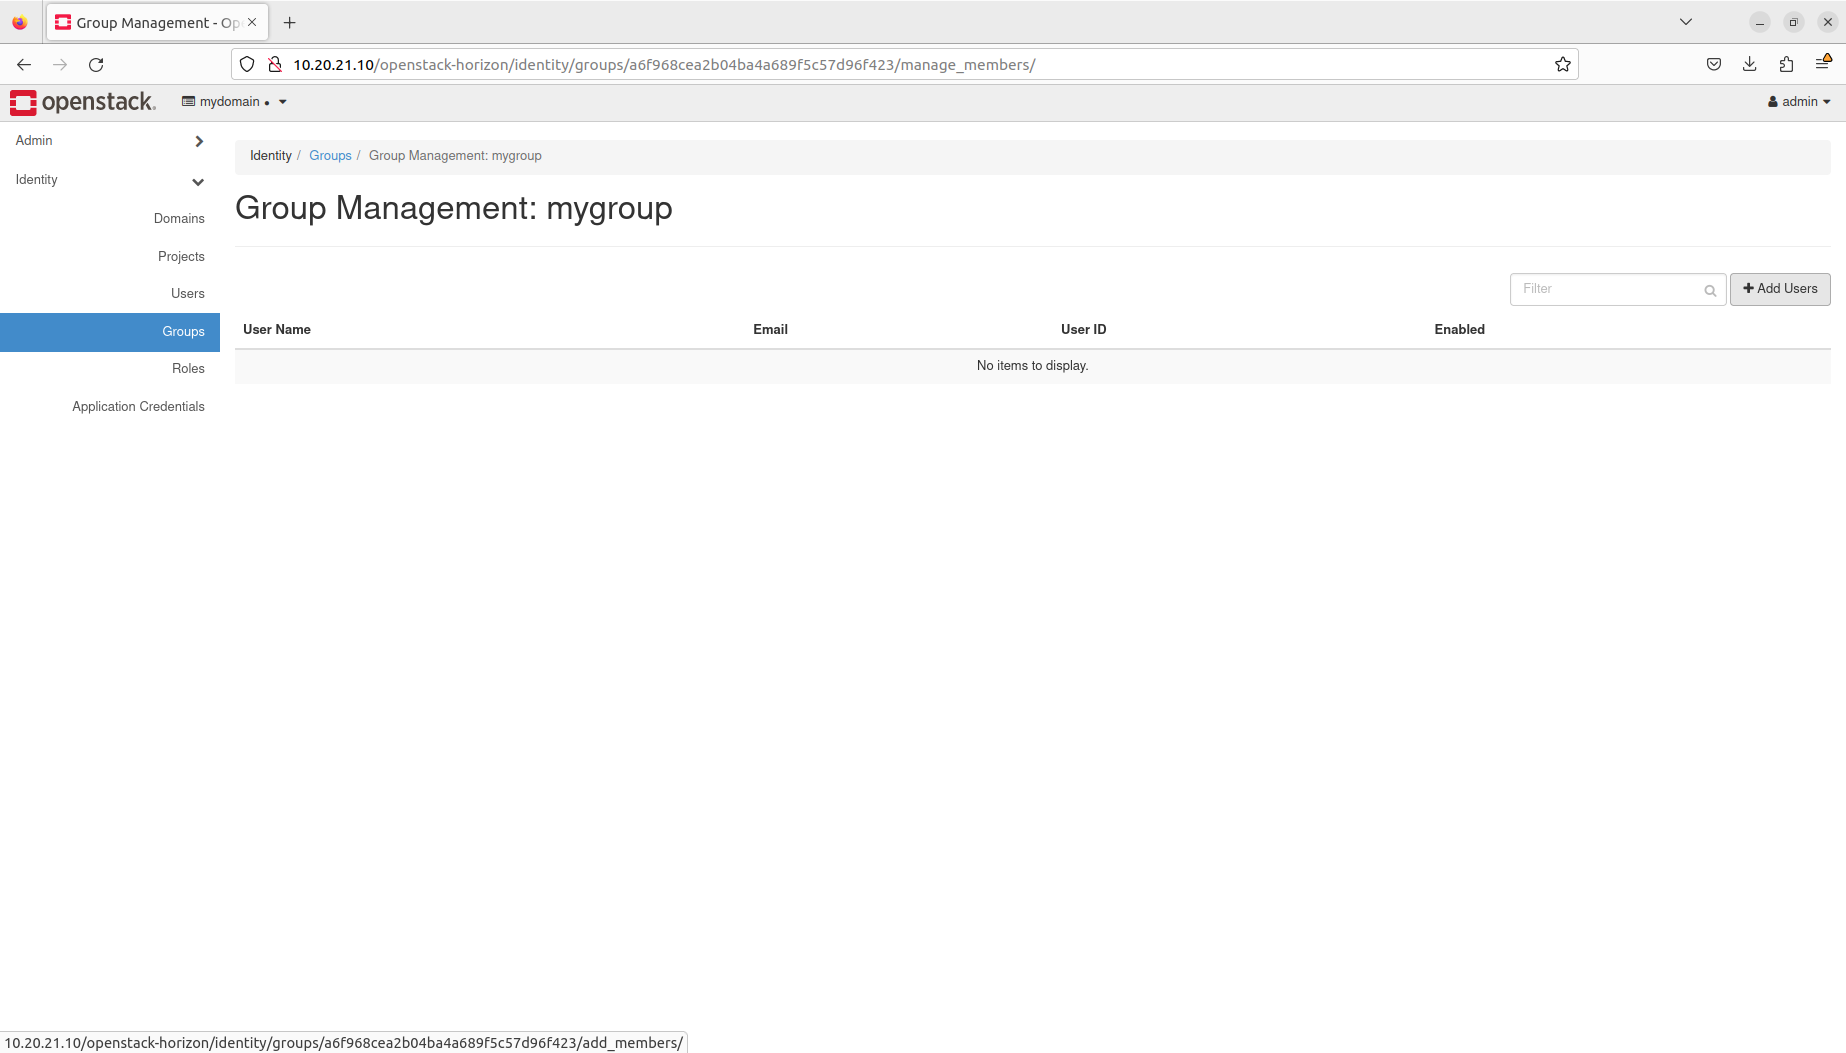
Navigate to Identity → Groups. Then, under the Actions column beside mygroup, click the Manage Members button:
Click the Add Users button on the right:
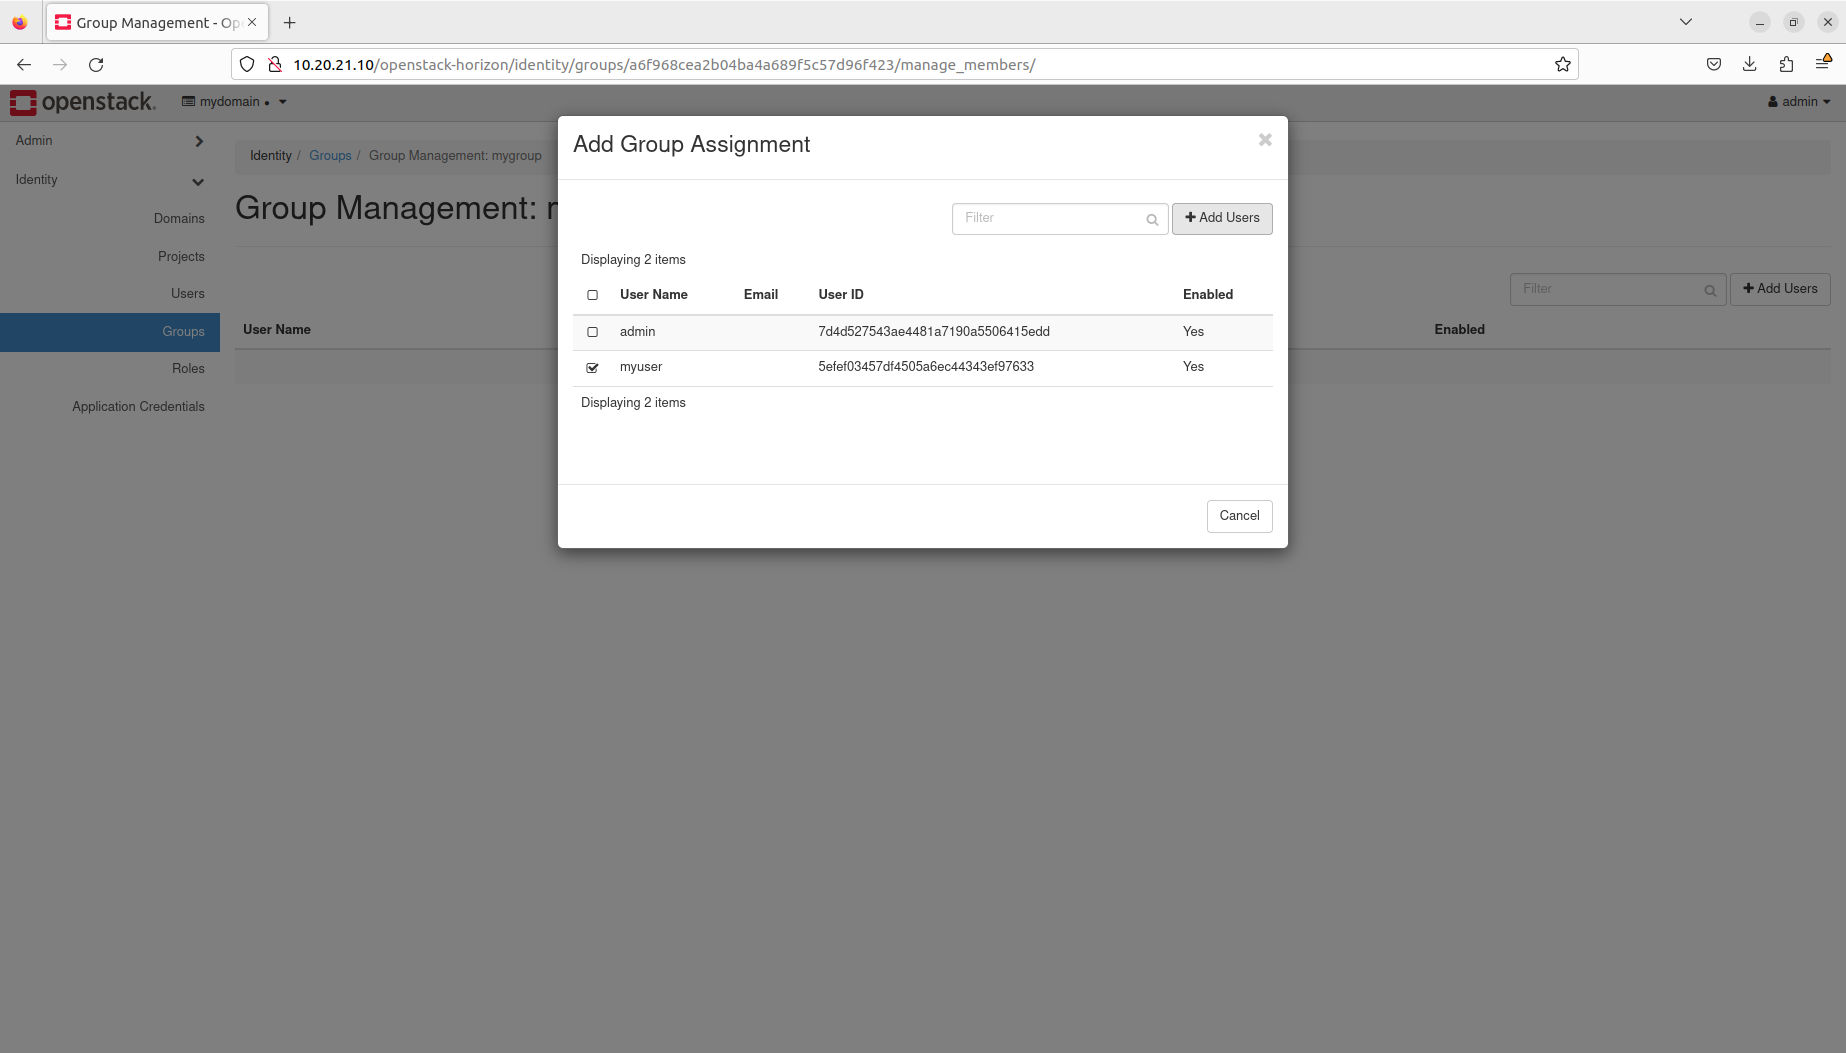
Select myuser from the list by checking the checkbox on the left and click the Add Users button:
You are now able to see the myuser user as a member of the mygroup group:
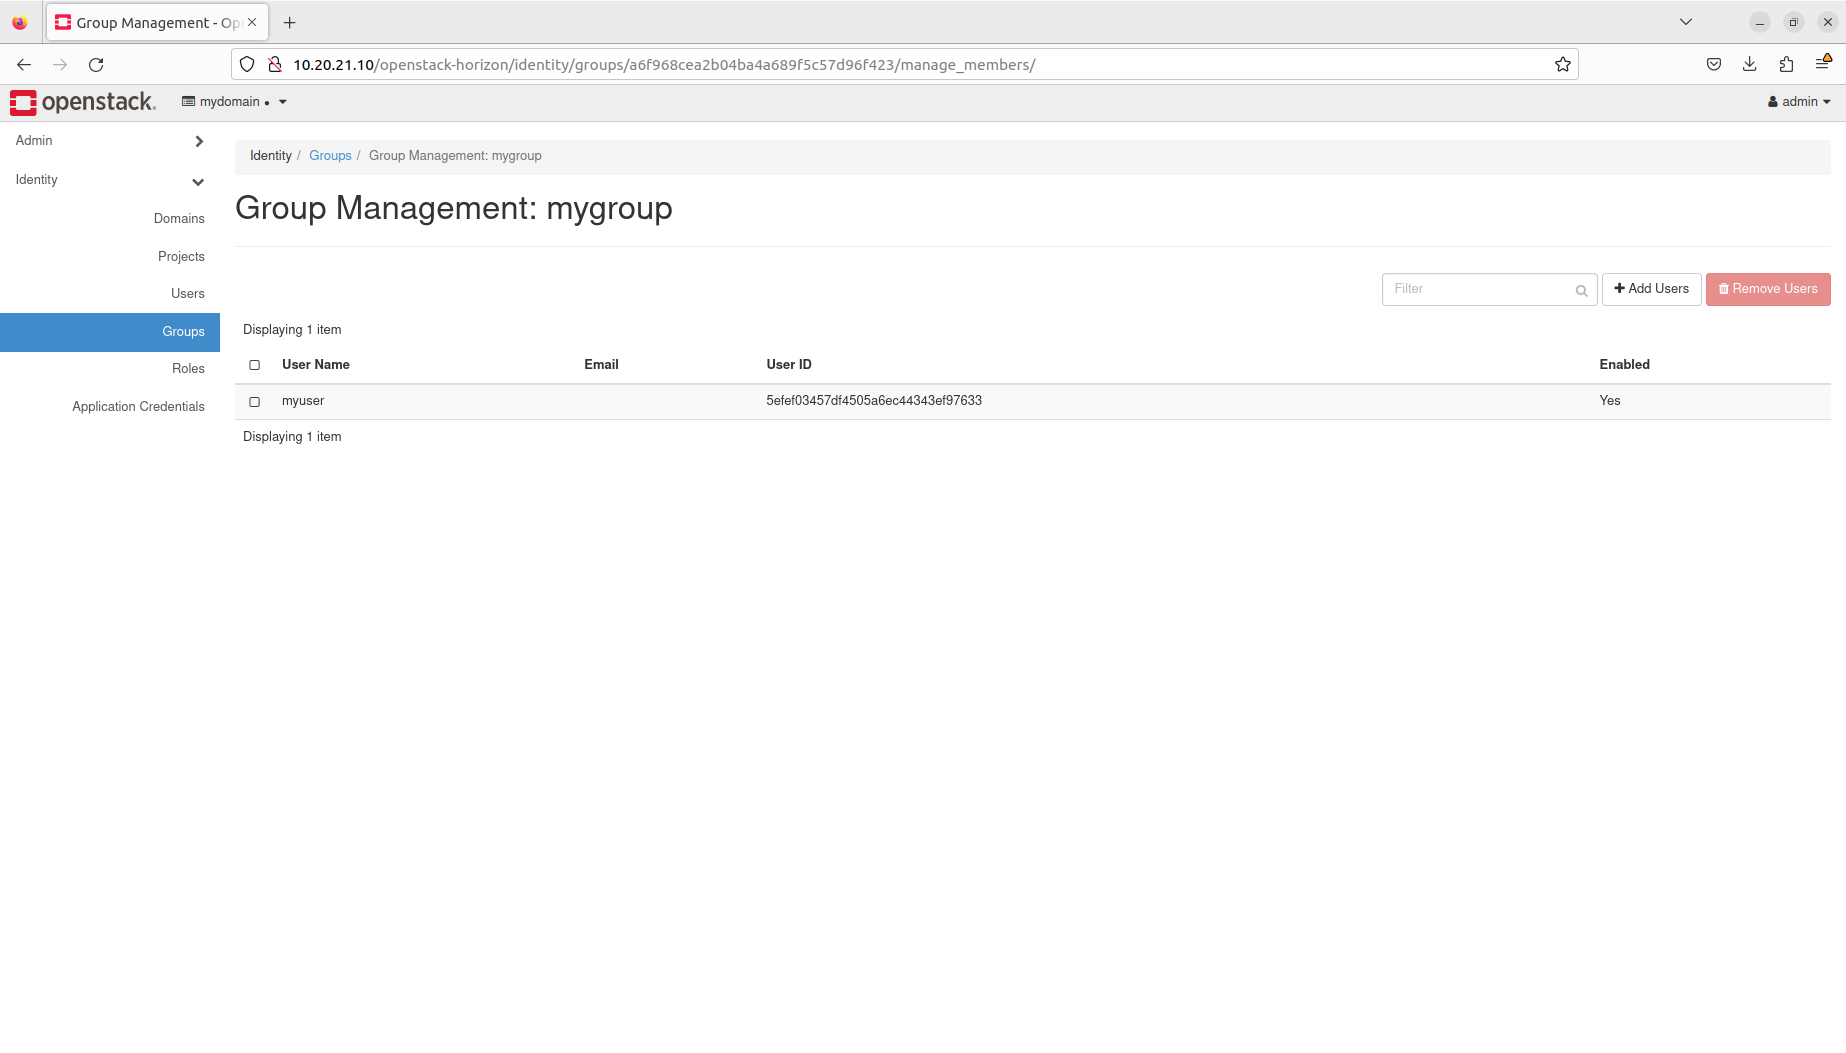
Note that the user ID may be different in your environment.
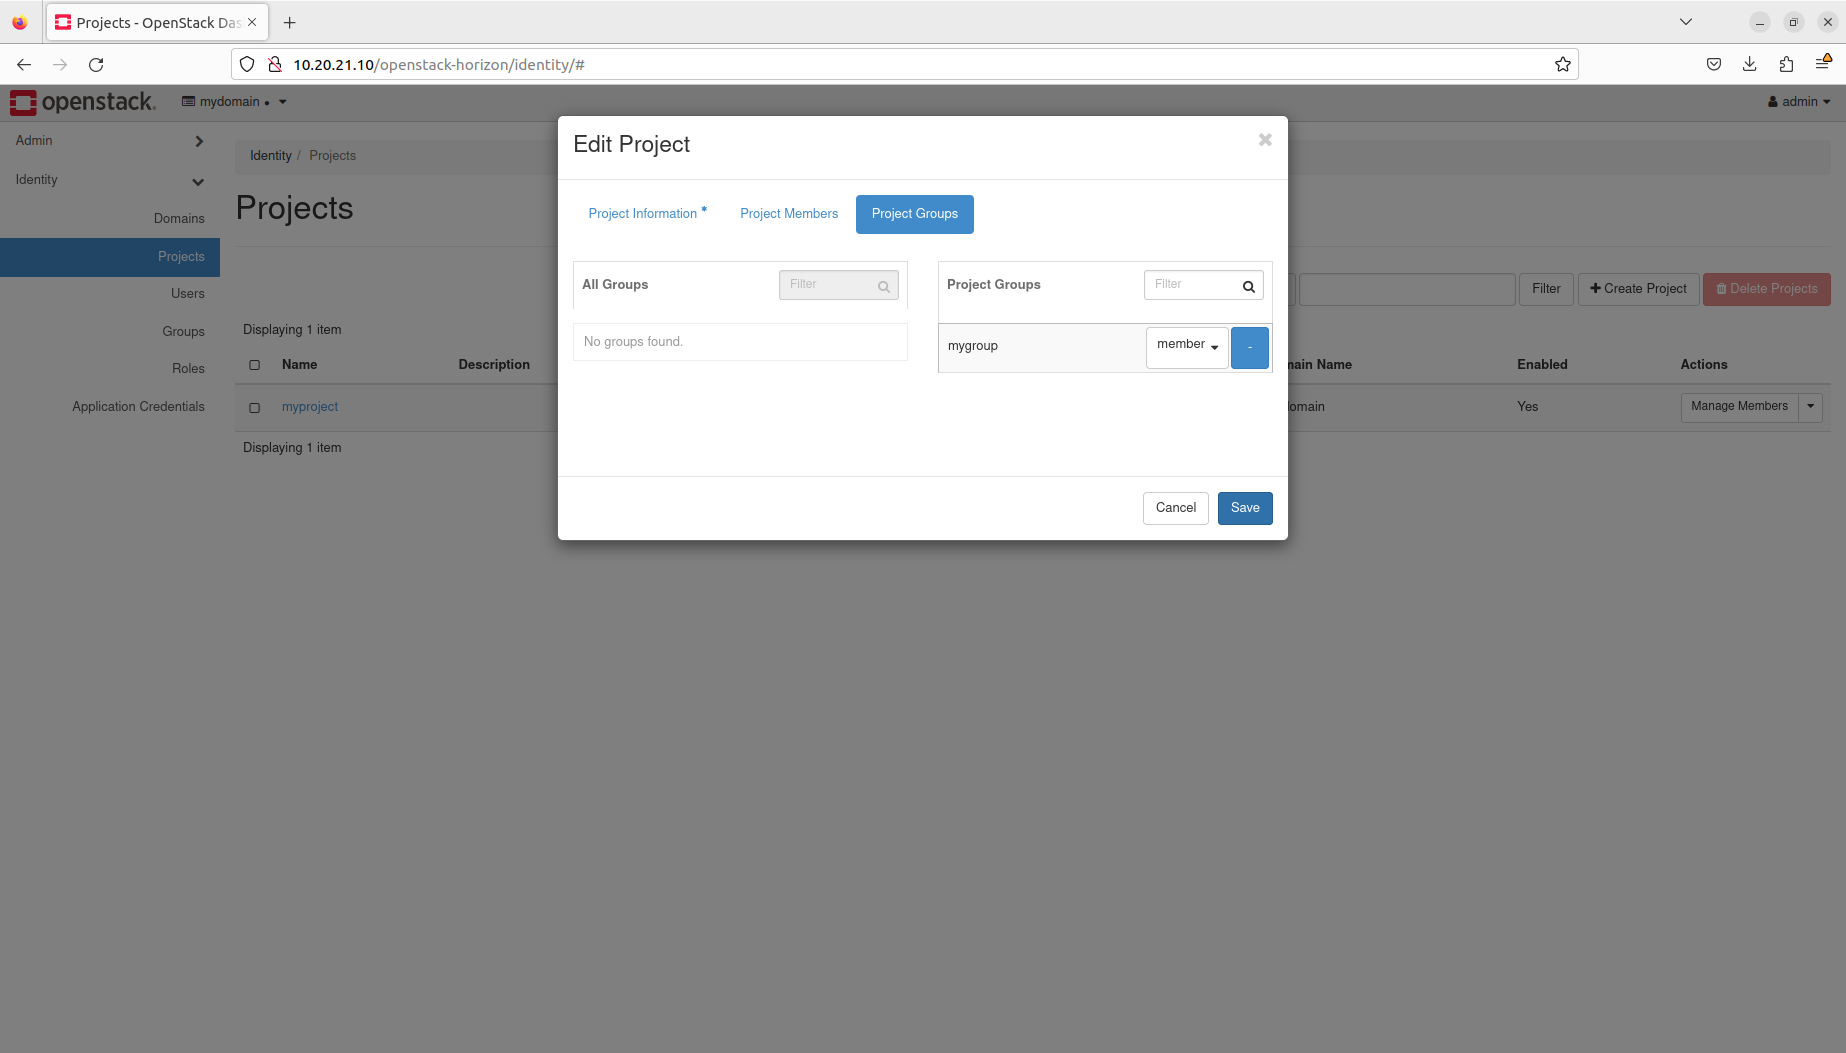
Navigate to Identity → Projects. Then, under the Actions column beside myproject, click the Manage Members button:
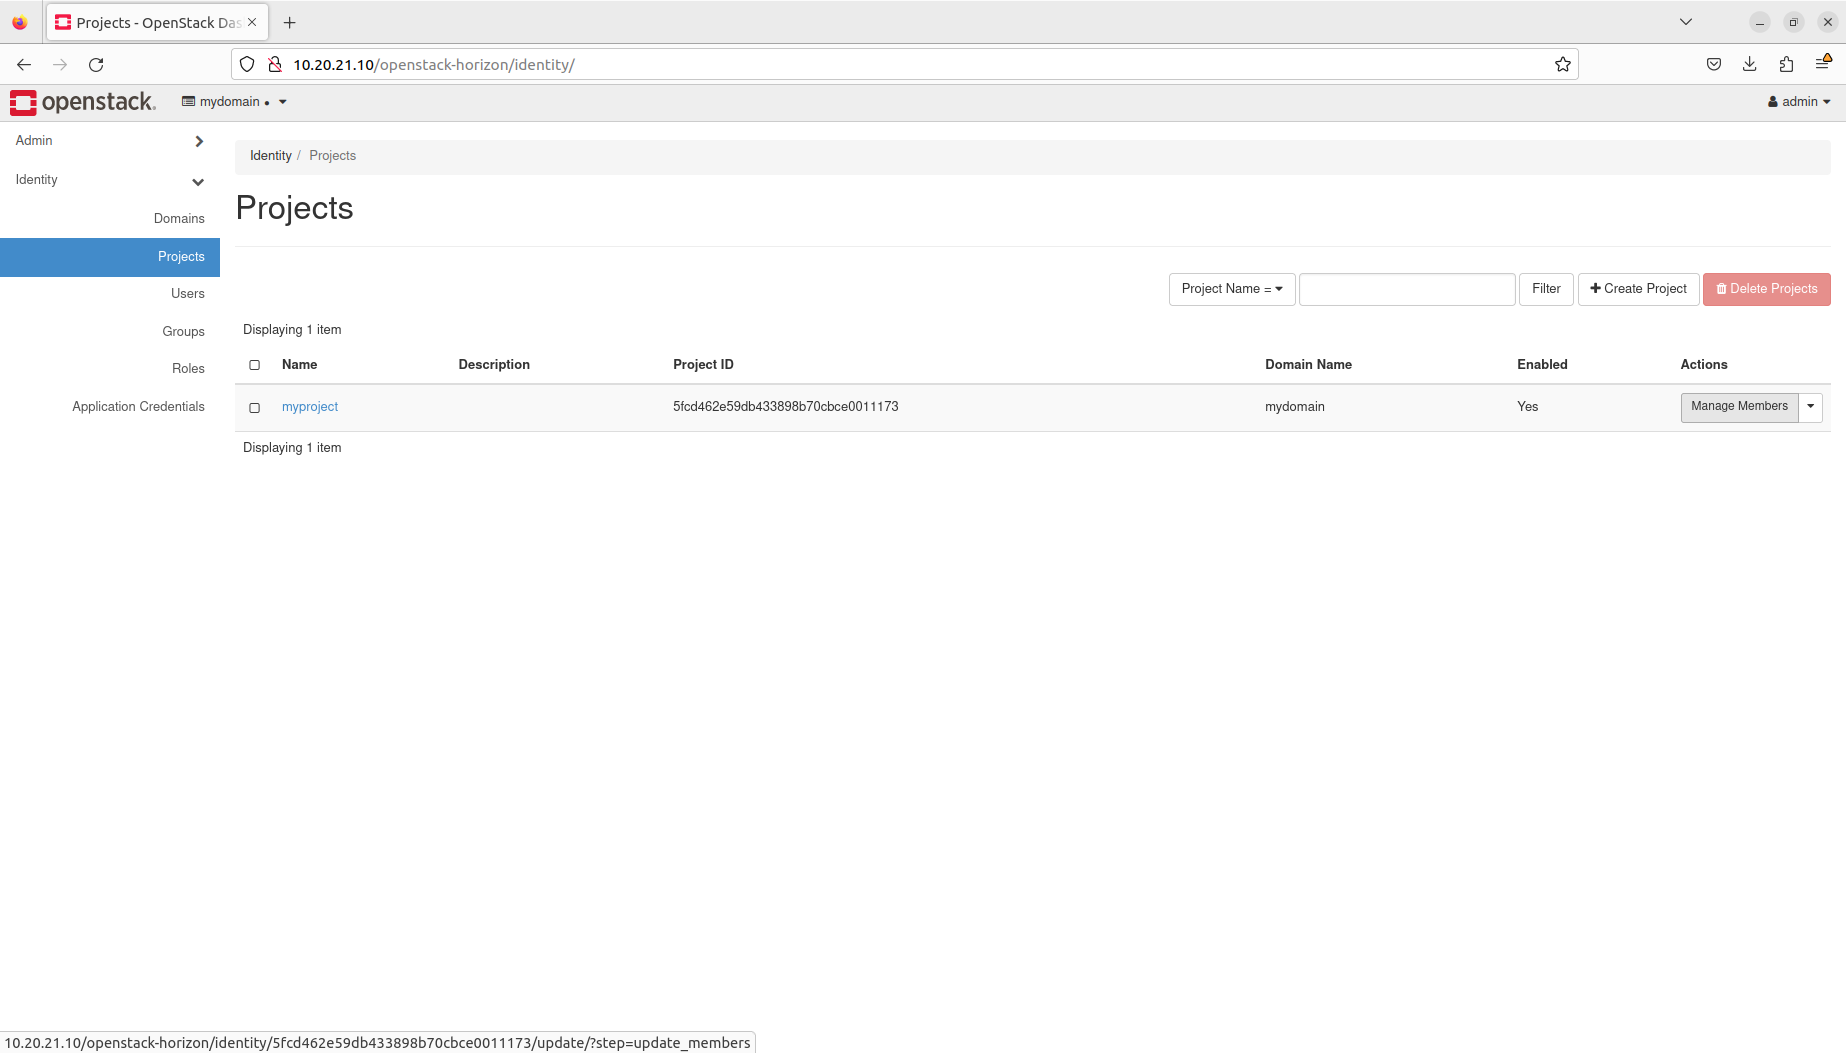
Select the Project Groups tab, click the + button beside mygroup and press the *Save button:
Finish setting up admin user
Duration 5:00
In order to finish setting up the admin user in the mydomain domain, we’re going to assign member and admin roles to this user on the myproject project, download the RC file and set up the OpenStack client.
To assign roles, execute the following commands:
$ openstack role add --project myproject --project-domain mydomain --user admin --user-domain mydomain member
$ openstack role add --project myproject --project-domain mydomain --user admin --user-domain mydomain admin
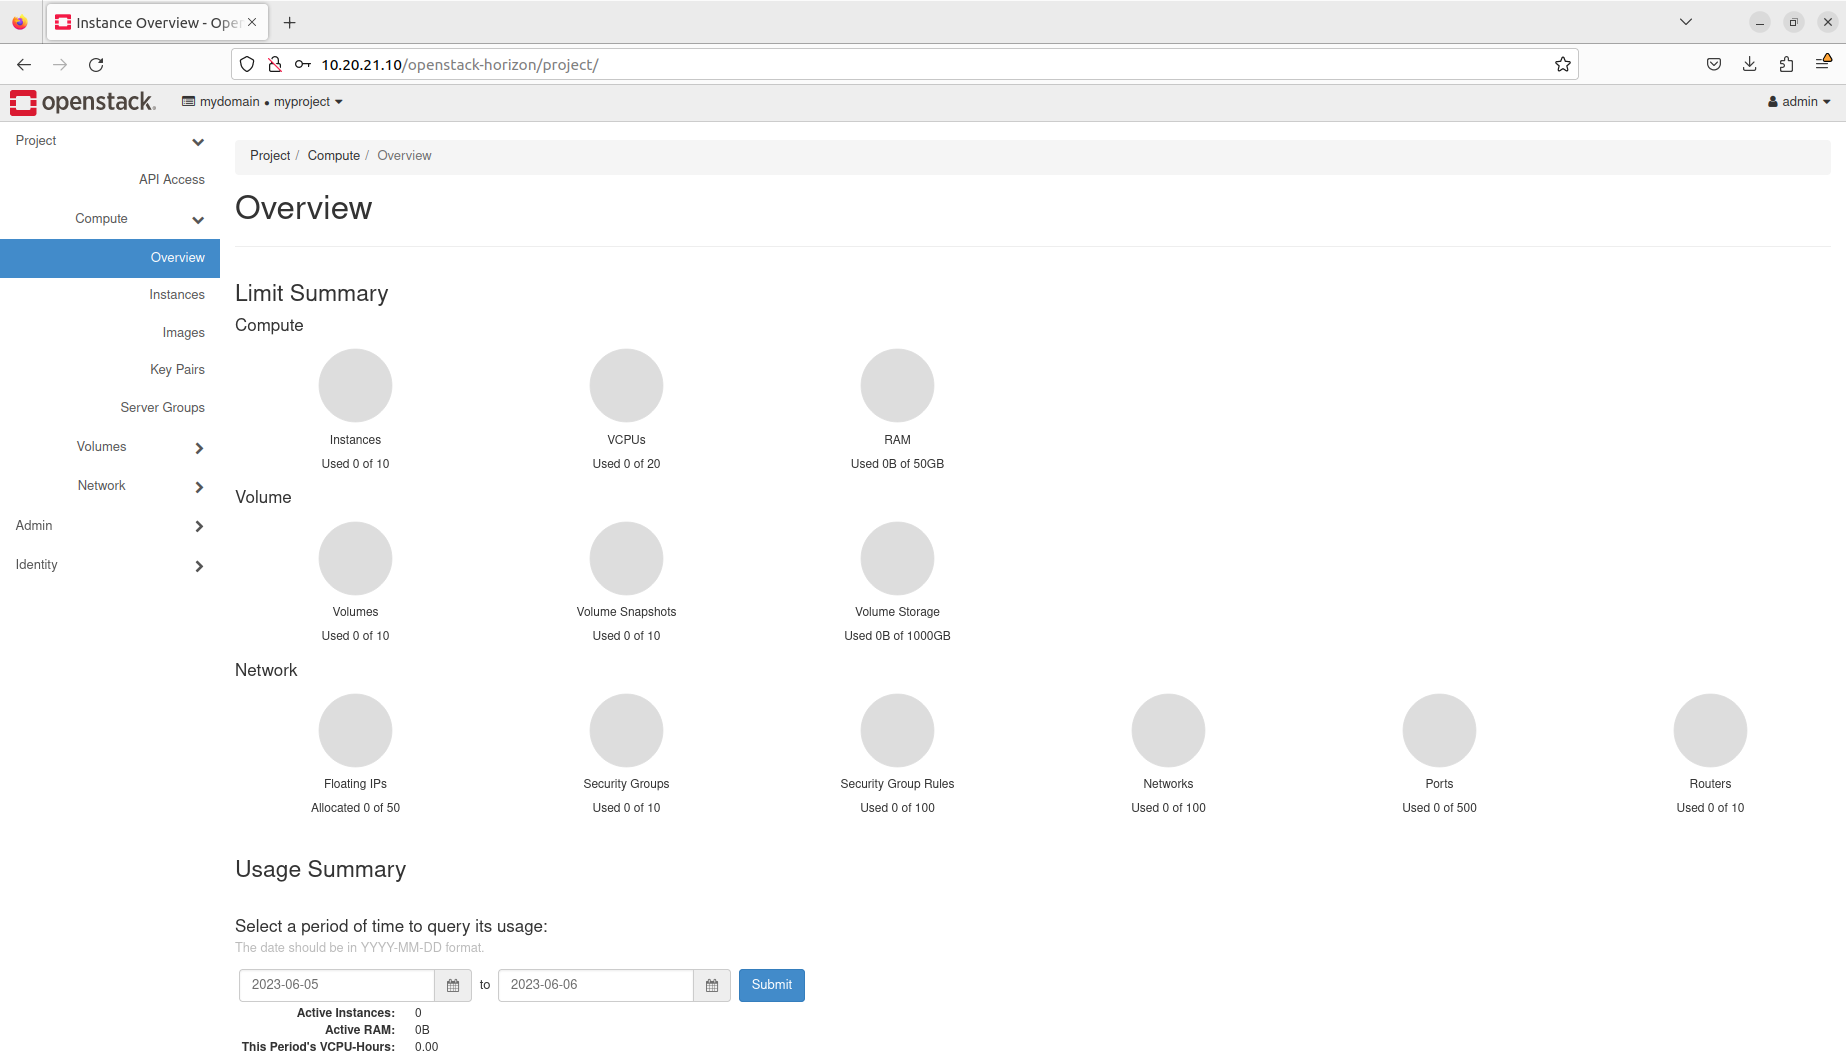
Log out and log in again to the OpenStack dashboard. You are now able to see the Project tab in the menu on the left:
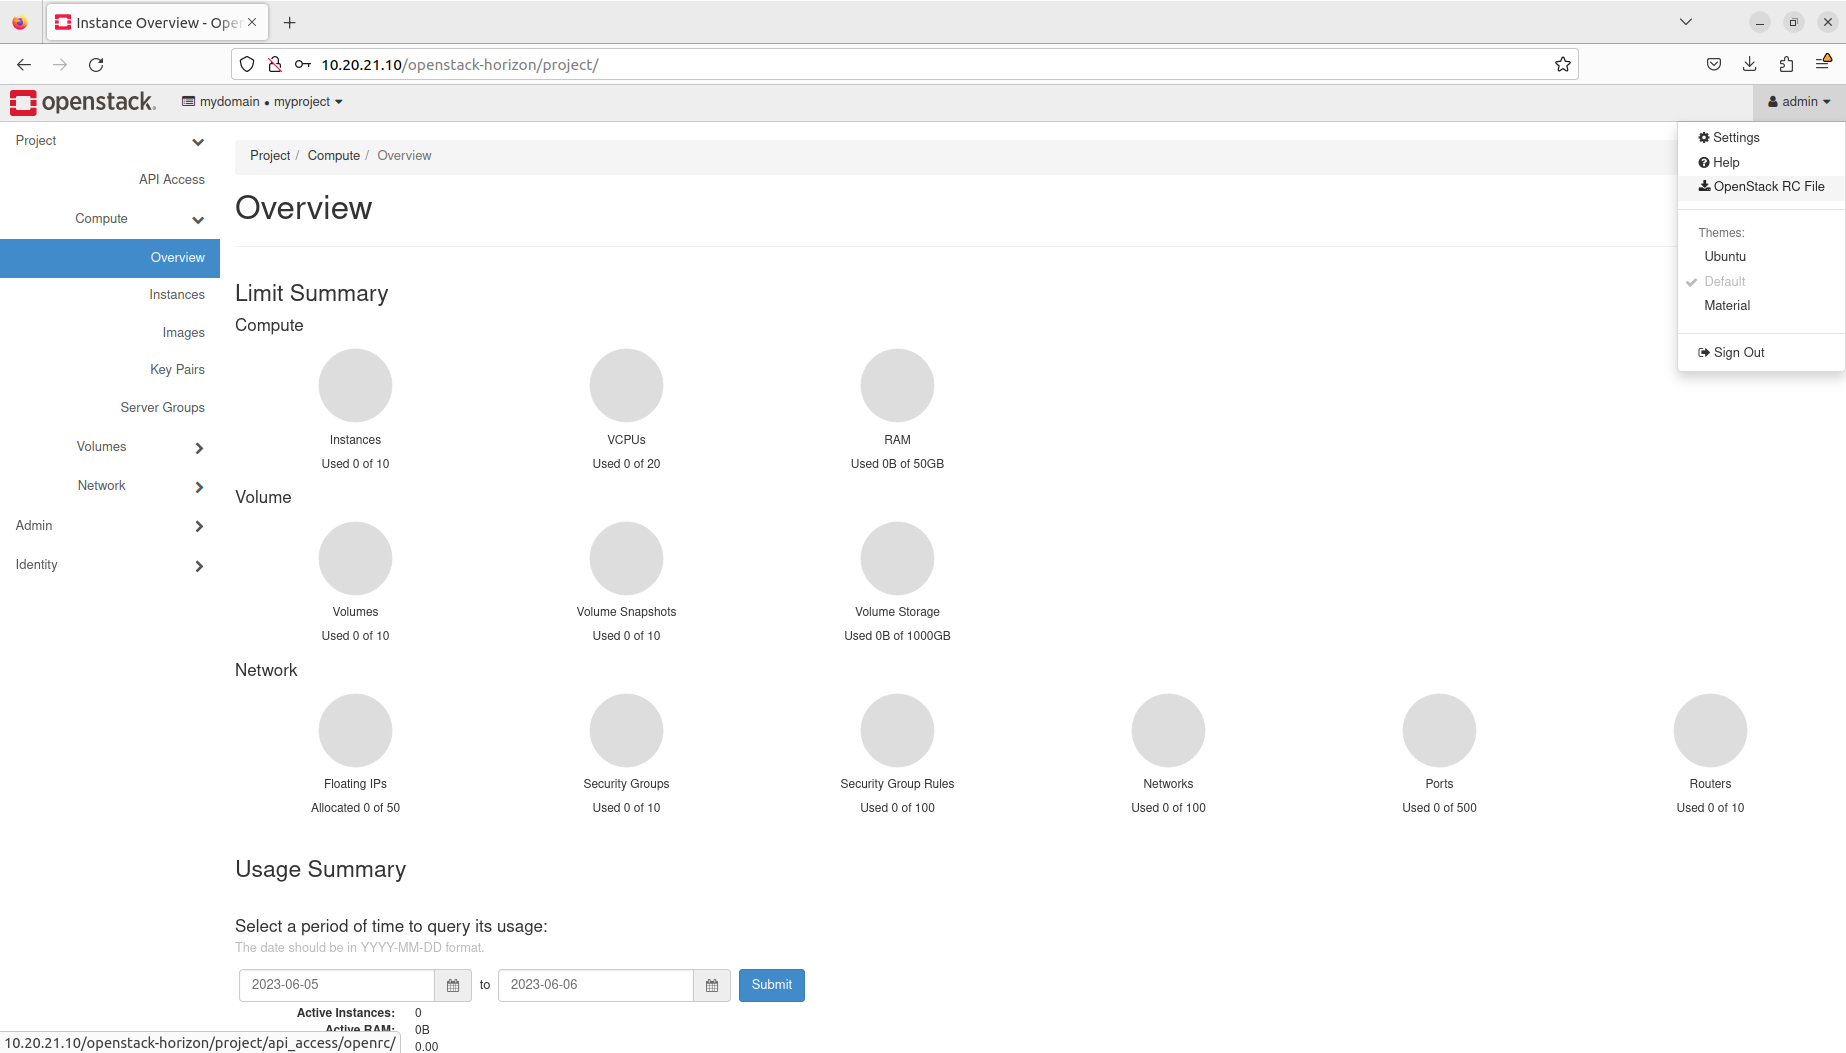
To download the RC file, navigate to the admin drop-down menu on the top right, click it, and select OpenStack RC File to download the RC file:
Then change the name of the file:
$ mv ~/Downloads/myproject-openrc.sh ~/Downloads/admin-openrc.sh
To set up the OpenStack client, open a new terminal window, execute the following command and type admin when asked for the password:
$ source ~/Downloads/admin-openrc.sh
You can now use the OpenStack client to interact with the OpenStack cloud as the admin user from the mydomain domain.
Next steps
Duration: 2:00
Congratulations! You have reached the end of this tutorial.
You can now move to the next tutorial - “7. Tenants” - or explore other tutorials.
In this tutorial, you have learnt how to:
- Distinguish between the various OpenStack identities
- Manage domains
- Manage roles
- Manage projects
- Manage users and groups
- Manage membership and assignments