| Key | Value |
|---|---|
| Summary | Launch and terminate cloud instances. |
| Categories | openstack |
| Difficulty | 1 |
| Author | Tytus Kurek tytus.kurek@canonical.com |
Overview
Duration: 3:00
Before you get started!
Welcome to OpenStack!
In this series of tutorials, we will walk you through all the necessary steps to install, configure and get started with OpenStack. Using just a single machine, you will learn how to use OpenStack for cloud infrastructure implementation purposes, from a single-node installation to large-scale clusters.
This tutorial is the ninth in the “Phase 1 - Learn OpenStack” series.
What is OpenStack?
OpenStack is a collection of open source projects designed to work together to form the basis of a cloud. OpenStack can be used for both private and public cloud implementation.
What is Sunbeam?
Sunbeam is an upstream project under the governance of the OpenInfra Foundation (OIF), which was created to lower the barrier to entry for OpenStack, simplify its adoption process, and set the foundation for an autonomous private cloud. Sunbeam uses cloud-native architecture and total bottom-up automation to make OpenStack more accessible to newcomers and to help users get to grips with the platform immediately.
What is MicroStack?
MicroStack (based on Sunbeam) is an OpenStack distribution designed for small-scale cloud environments. While it is available with full commercial support from Canonical, it can also be self-deployed with no friction, effectively eliminating the need for a paid consulting engagement. MicroStack currently includes core OpenStack services only, but is expected to evolve quickly to ensure full feature parity with Canonical’s Charmed OpenStack soon.
In this tutorial, you will learn how to:
- Launch instances
- Associate floating IPs
- Attach security groups
- Access instances
- Delete instances
You will only need:
One fresh physical or virtual machine with:
- Ubuntu 22.04 LTS installed,
- Static IP address assigned to its primary network interface,
- OpenSSH server installed and configured,
- 4+ core amd64 CPU,
- 16 GB of RAM,
- 50 GB of SSD storage,
- OpenStack cloud bootstrapped, configured and sample instance launched,
- OpenStack client set up,
- Samples templates created,
- Sample identities created,
- Sample key pair created,
- Sample network resources created.
Credentials
Duration: 1:00
Make sure you’re logged in as the myuser user we created in tutorial 6. Identities
To log in as the myuser user through the OpenStack client, open a new terminal window, execute the following command and type mypassword when asked for the password:
$ source ~/Downloads/myproject-openrc.sh
To log in as the myuser user through the OpenStack dashboard, visit https://10.20.20.1 and use the following credentials:
-
Domain - Type
mydomain -
User Name - Type
myuser -
Password - Type
mypassword
Launch instances
Duration: 5:00
In the following steps, we’ll launch two instances called myinstance-1 and myinstance-2 on the ephemeral storage using the ubuntu image, the myflavor flavor and the mykeypair key pair, attached to the mysubnet subnet with the default security group attached.
Launch instances through the OpenStack client
To launch instances, execute the following command:
$ openstack server create --flavor myflavor --image ubuntu --network mynetwork --key-name mykeypair --min 2 --max 2 myinstance
Launching instances takes a while. You are going to see that instances go through the BUILD status first.
To list all instances, execute the following command:
$ openstack server list
Sample output:
+--------------------------------------+--------------+--------+-------------------------+--------+----------+
| ID                                   | Name         | Status | Networks                | Image  | Flavor   |
+--------------------------------------+--------------+--------+-------------------------+--------+----------+
| 42a9c5a4-c6dd-4bf4-baa9-d055b671662a | myinstance-2 | ACTIVE | mynetwork=192.168.0.141 | ubuntu | myflavor |
| f686fc3c-e3ec-488d-85c1-89003bc7c83d | myinstance-1 | ACTIVE | mynetwork=192.168.0.124 | ubuntu | myflavor |
+--------------------------------------+--------------+--------+-------------------------+--------+----------+
Launch instances through the OpenStack dashboard
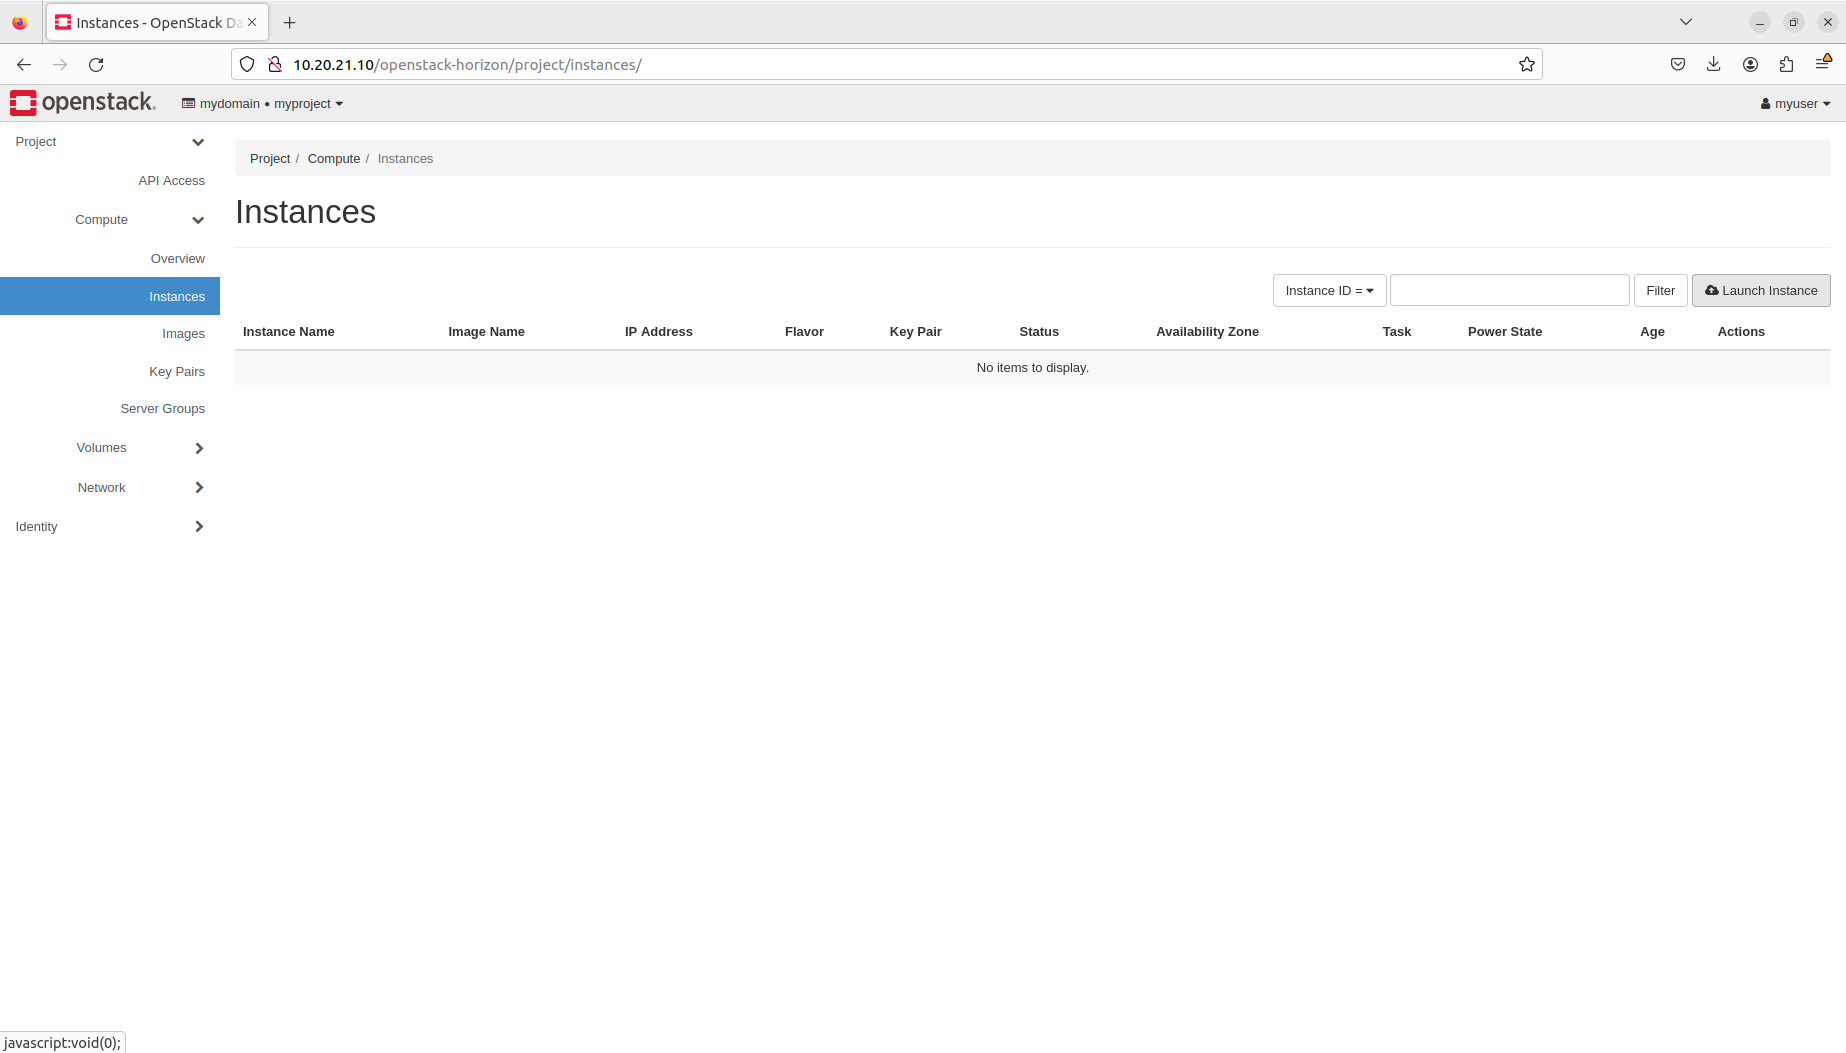
Navigate to Project → Compute → Instances and click the Launch Instance button on the right:
To launch instances, fill in the form as follows:
-
Instance Name - Type
myinstance -
Count - Type
2
Then choose Source from the menu on the left:

Fill in the form as follows:
-
Create New Volume - Choose No
-
Press UP beside ubuntu
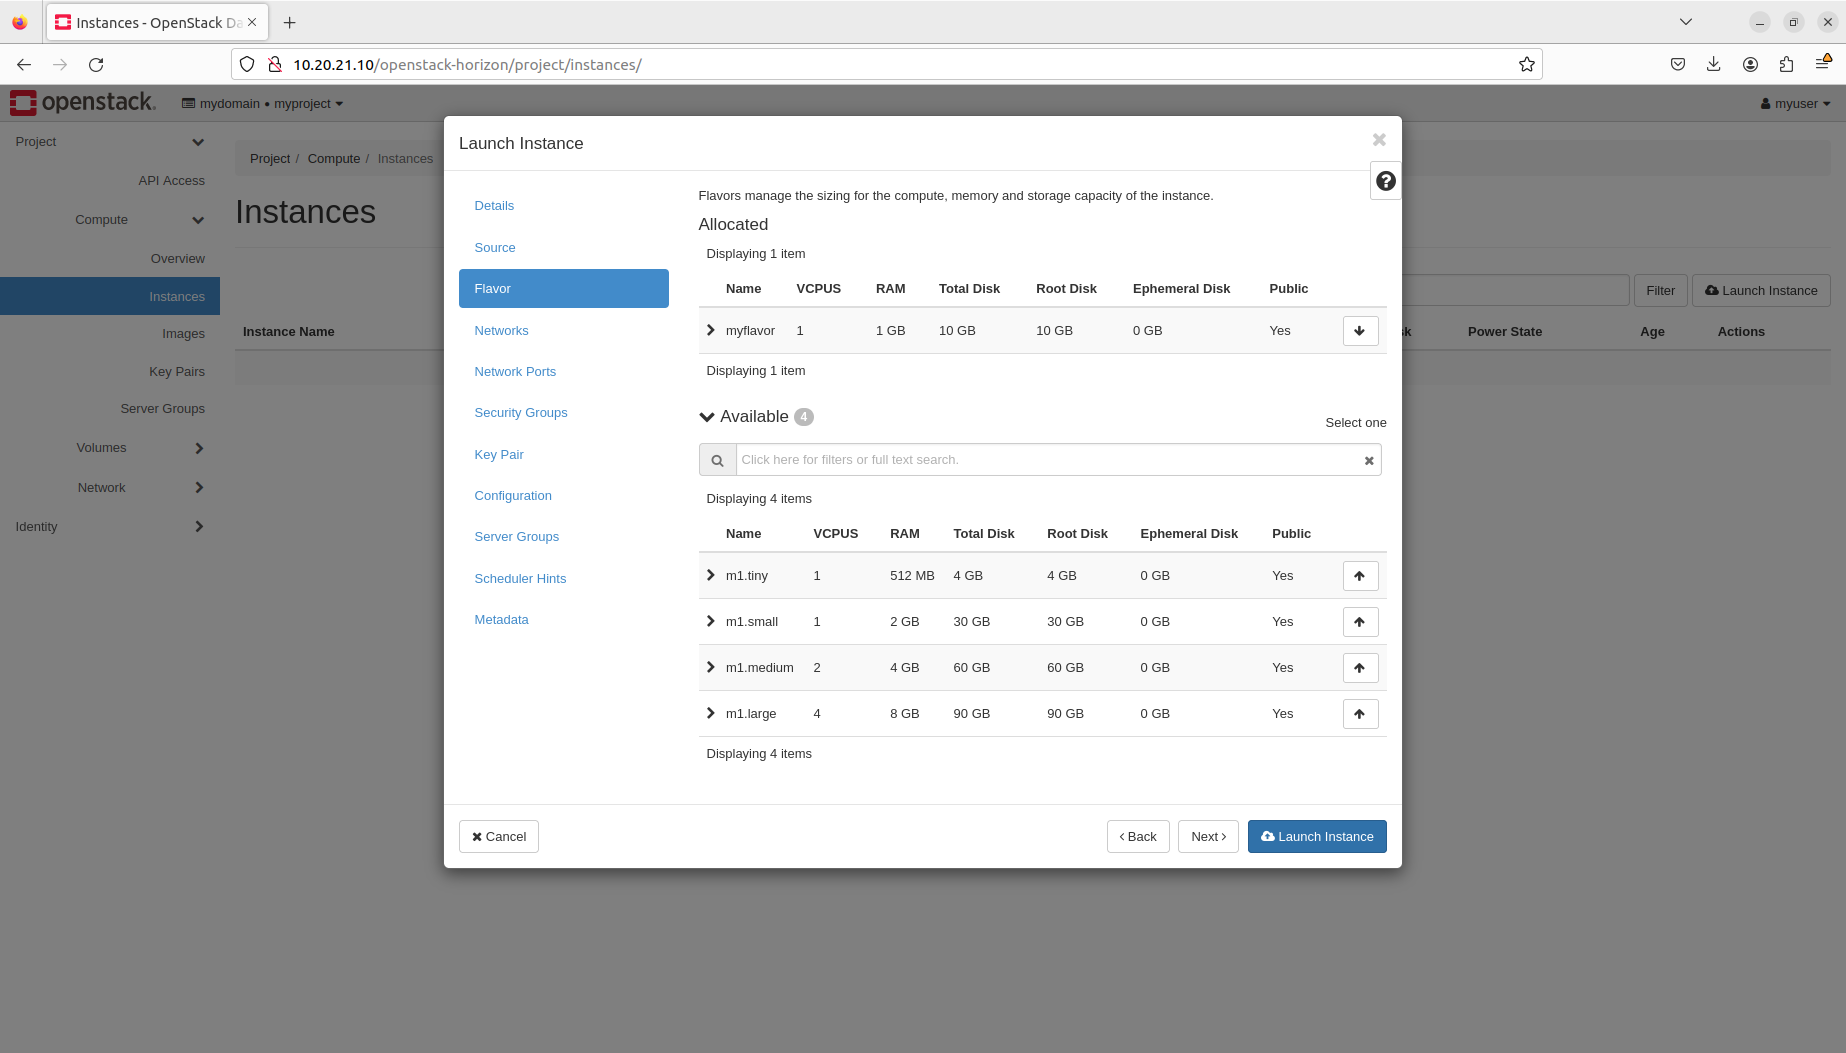
Then choose Flavor from the menu on the left:

Fill in the form as follows:
- Press UP beside myflavor
Then click the Launch Instance button:
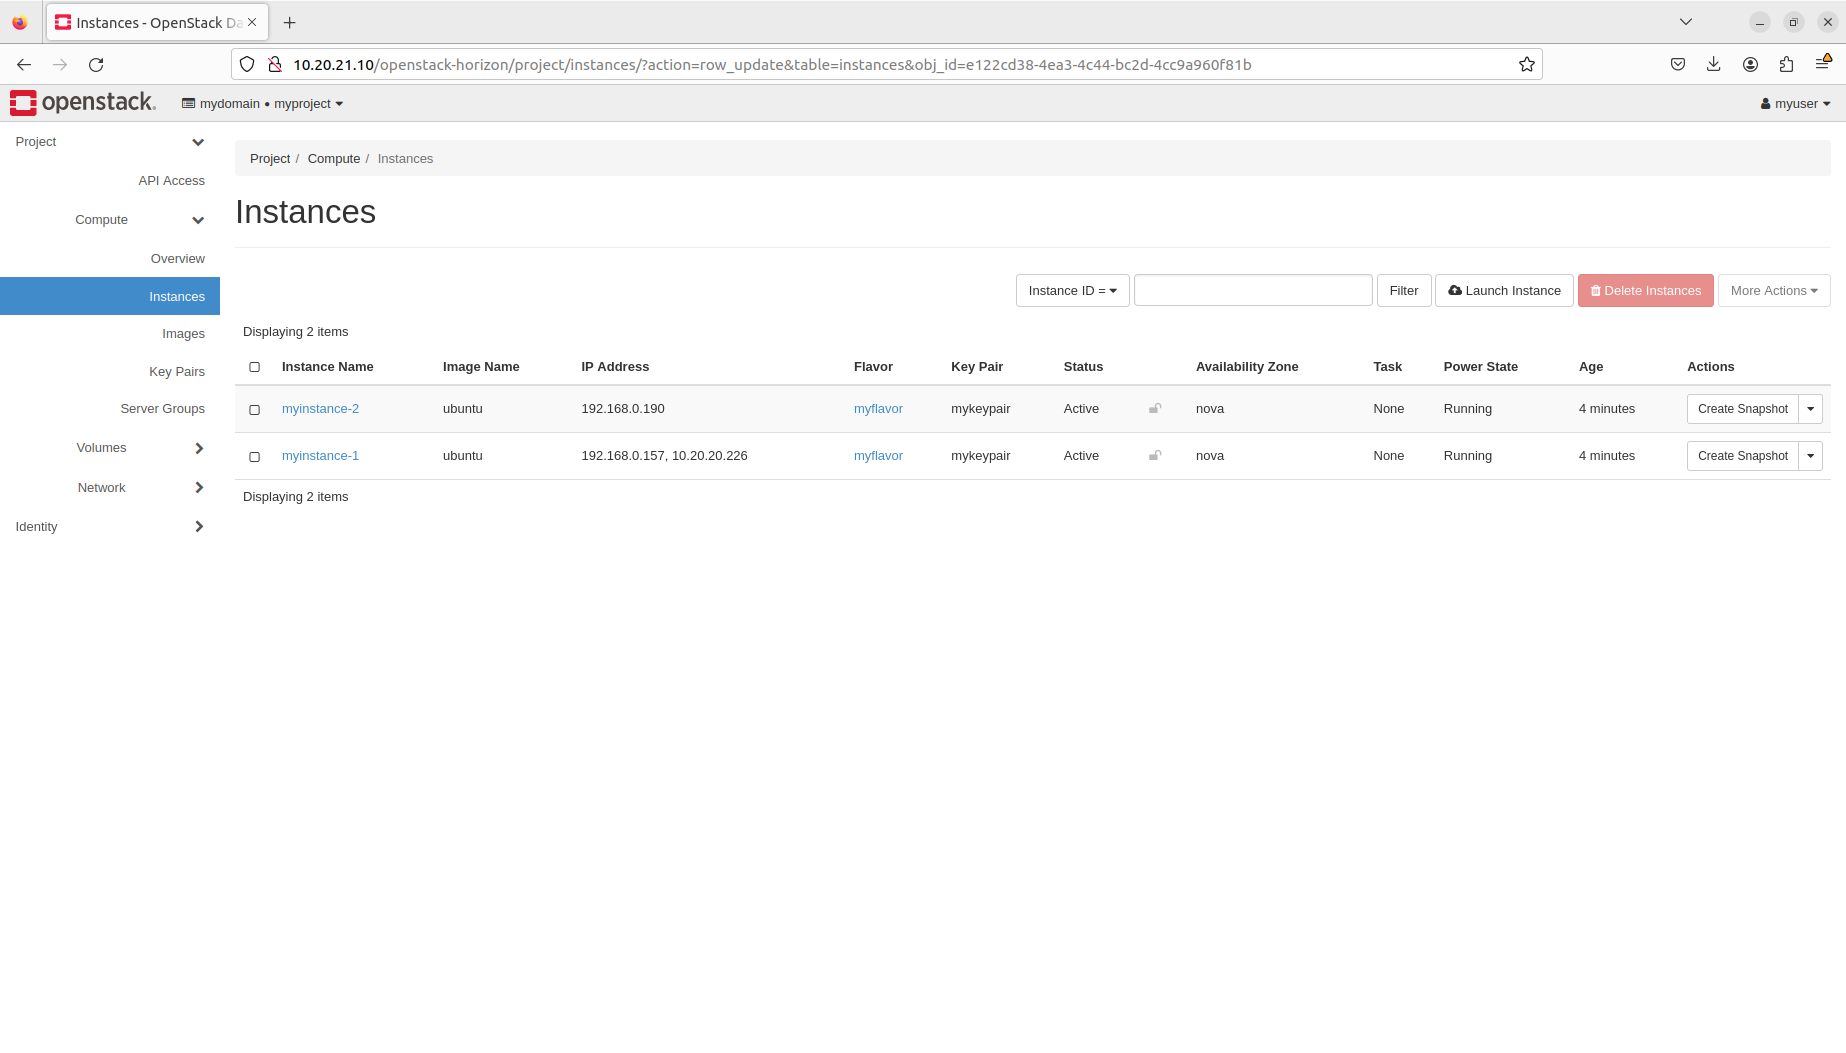
Launching instances takes a while. You are going to see that instances go through the Scheduling and Spawning stages until they reach the Active status. Once those complete, you will see both instances in Nova’s database:
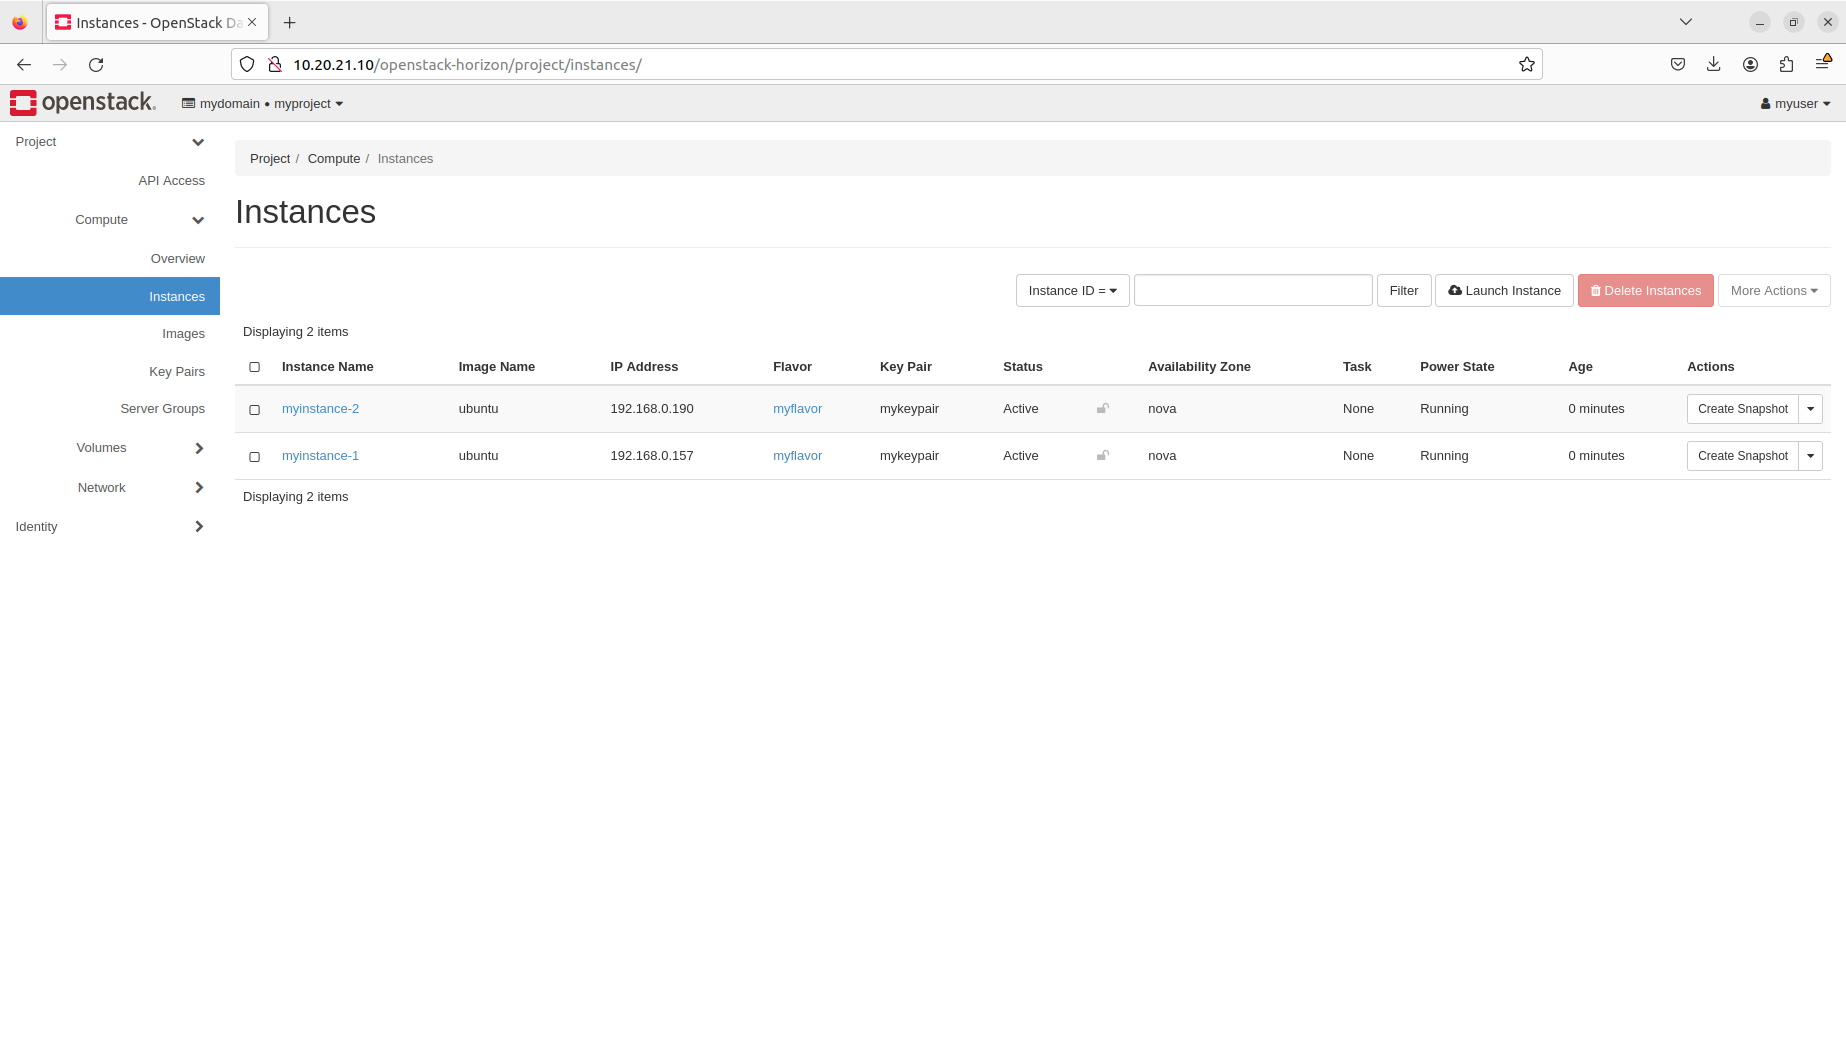
Please note that instance details may be different in your environment.
Associate floating IP
Duration: 2:00
In the following steps, we’ll associate floating IP with the myinstance-1 instance.
Associate floating IP through the OpenStack client
To associate floating IP, execute the following commands:
$ IP=$(openstack floating ip list | tail -n 2 | head -n 1 | awk '{print $4}')

$ openstack server add floating ip myinstance-1 $IP
Associate floating IP through the OpenStack dashboard
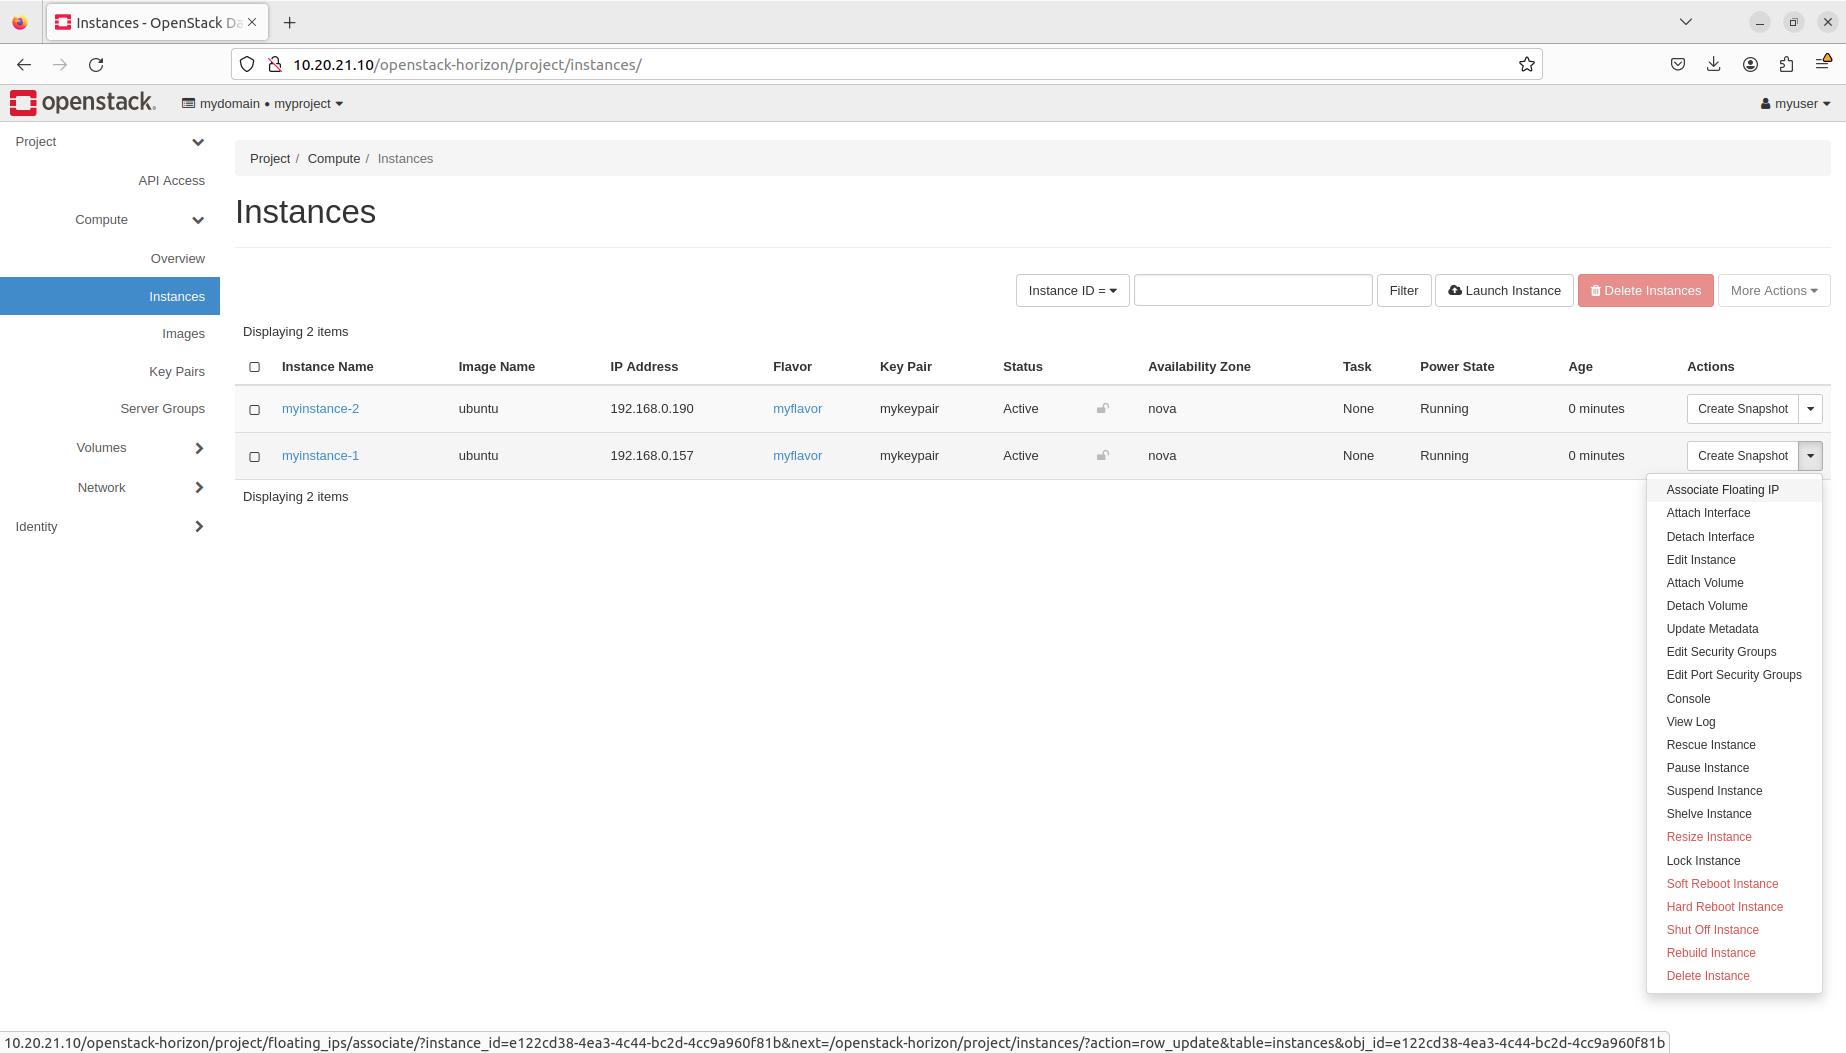
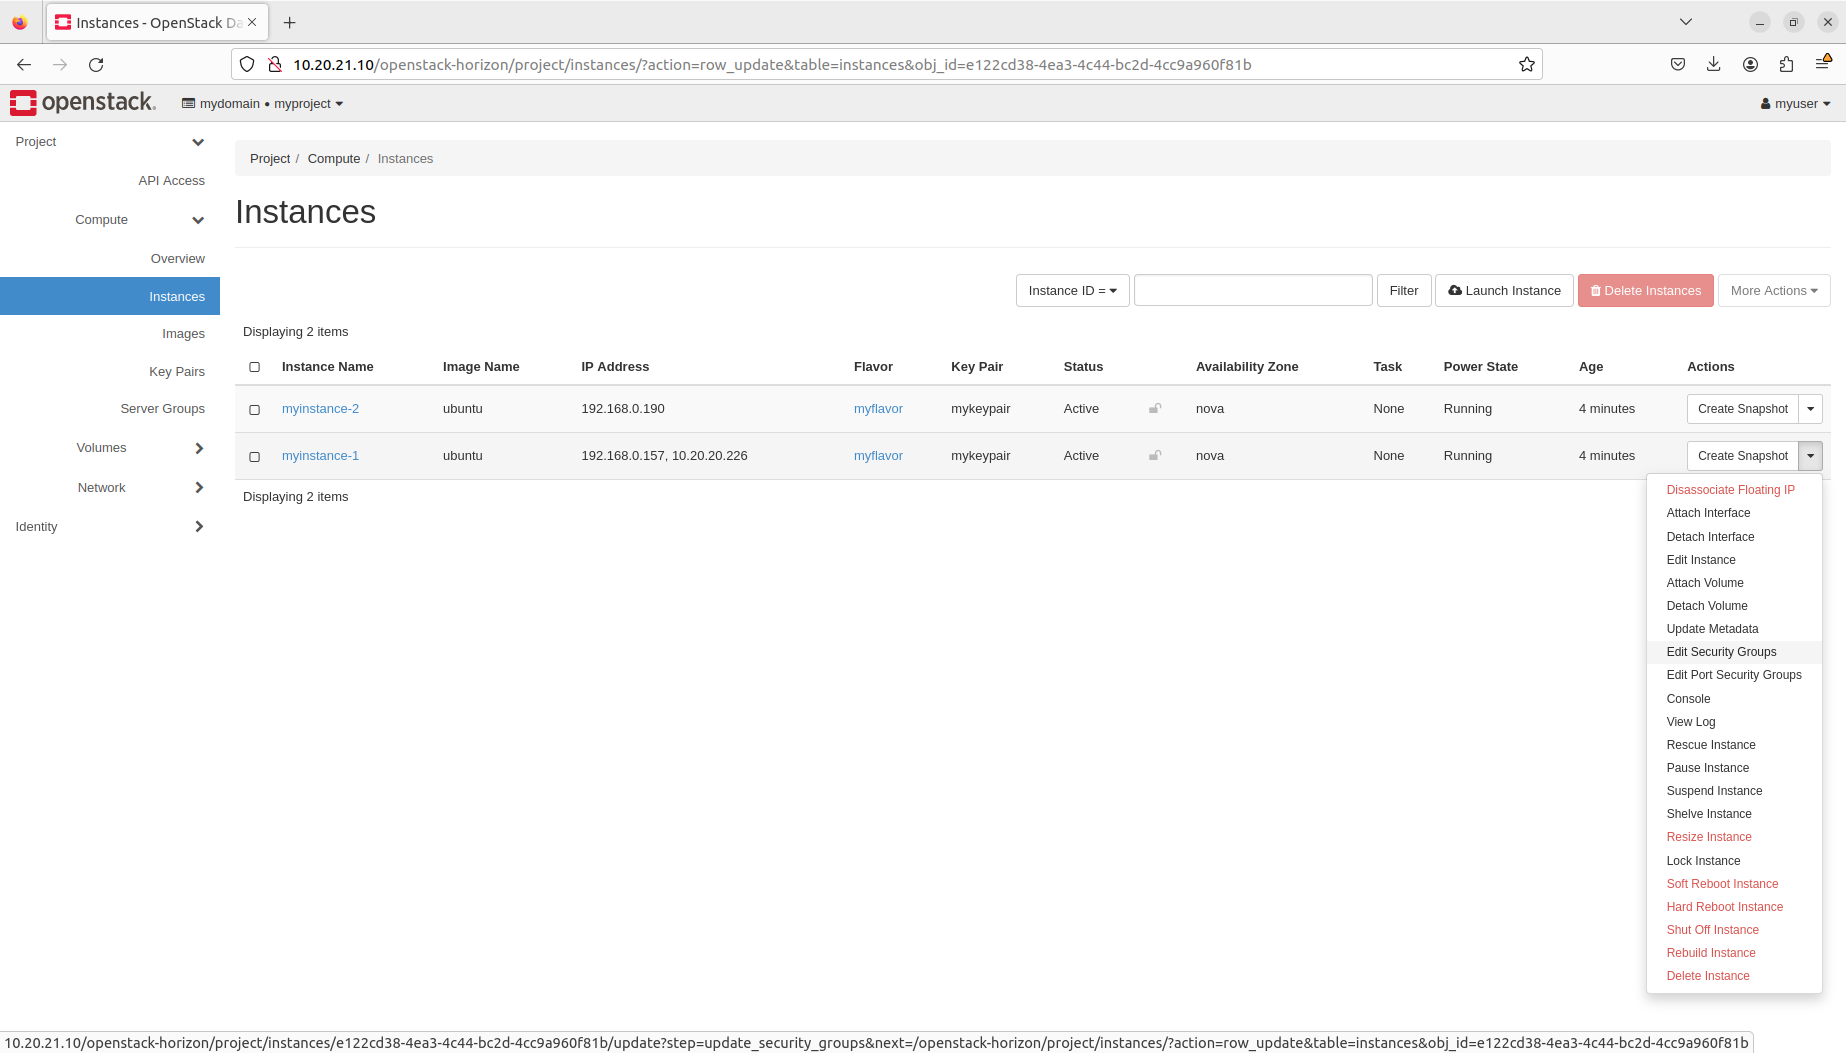
Navigate to Project → Compute → Instances. Then, under the Actions column beside myinstance-1, select Associate Floating IP from the drop-down menu:
To associate floating IP, fill in the form as follows:
- IP Address - Select the available IP address from the drop-down menu (10.20.20.226 in this case)
Then click the Associate button:

You are now able to see the floating IP being associated with the instance:
Attach security group
Duration: 4:00
In the following steps, we’ll attempt to SSH to the myinstance-1 instance using the mykeypair.pem private key we’ve downloaded in tutorial 7. Multi-tenancy.
First, we need to narrow down the default permissions in the mykeypair.pem file. To set the right permissions, execute the following command:
$ chmod 0400 ~/Downloads/mykeypair.pem
To attempt to SSH to the instance, execute the following commands:
$ IP=$(openstack floating ip list | tail -n 2 | head -n 1 | awk '{print $4}')

$ ssh -i ~/Downloads/mykeypair.pem -o StrictHostKeyChecking=no ubuntu@$IP
Sample output:
ssh: connect to host 10.20.20.19 port 22: Connection timed out
The connection was unsuccessful. The reason behind this is that the default security group does not allow ingress SSH connections. In order to SSH to the instance, we can attach the mysecuritygroup security group we created in tutorial 8. Network.
In the following steps, we’ll attach the mysecuritygroup security group to the myinstance-1 instance.
Attach security group through the OpenStack client
To attach a security group, execute the following command:
$ openstack server add security group myinstance-1 mysecuritygroup
Attach security group through the OpenStack dashboard
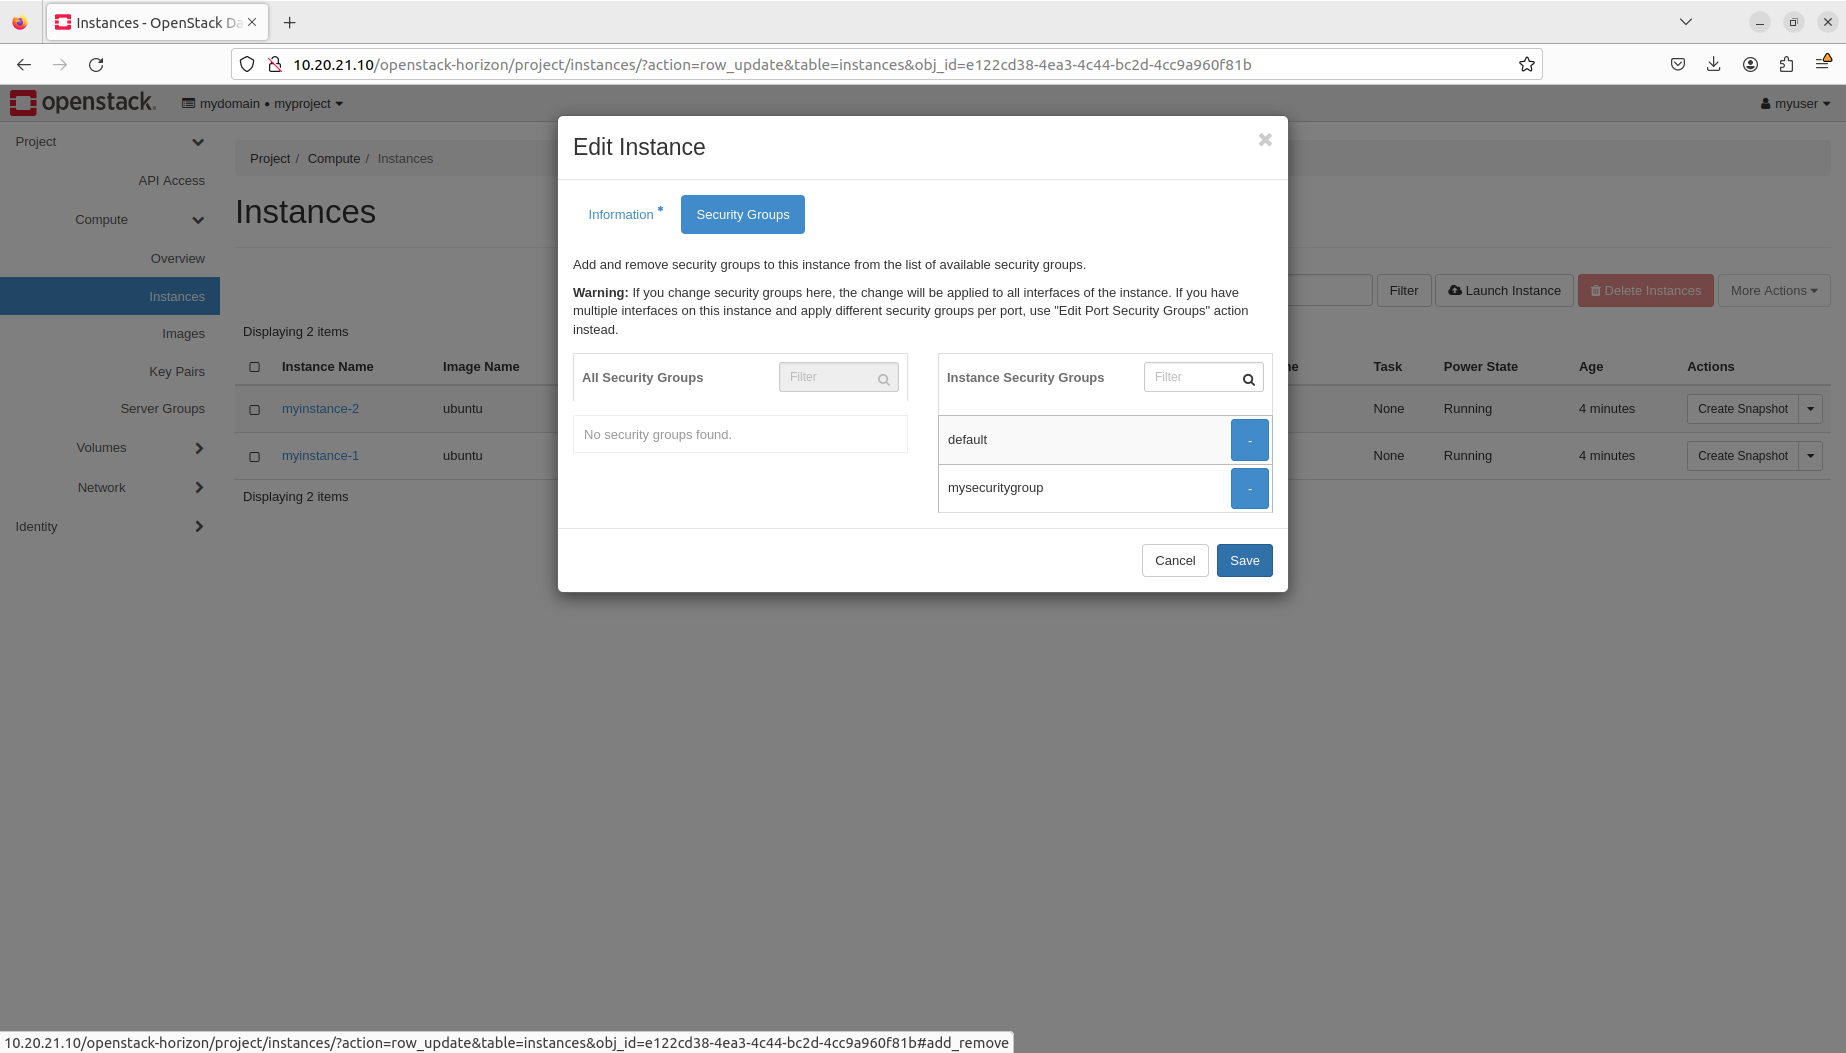
Navigate to Project → Compute → Instances. Then, under the Actions column beside myinstance-1, select Edit Security Groups from the drop-down menu:
To attach the mysecuritygroup security group, fill in the form as follows:
- All Security Groups - Press the + button beside mysecuritygroup
Then click the Save button:
Access instances
Duration: 1:00
At this point, you are able to SSH to the myinstance-1 instance:
To attempt to SSH to the instance, execute the following commands:
$ IP=$(openstack floating ip list | tail -n 2 | head -n 1 | awk '{print $4}')

$ ssh -i ~/Downloads/mykeypair.pem -o StrictHostKeyChecking=no ubuntu@$IP
Sample output:
Warning: Permanently added '10.20.20.19' (ECDSA) to the list of known hosts.
Welcome to Ubuntu 22.04.1 LTS (GNU/Linux 5.15.0-53-generic x86_64)

 * Documentation:  https://help.ubuntu.com
 * Management:     https://landscape.canonical.com
 * Support:        https://ubuntu.com/advantage

  System information as of Fri Dec  2 14:35:48 UTC 2022

  System load:  0.0               Processes:             89
  Usage of /:   14.9% of 9.51GB   Users logged in:       0
  Memory usage: 18%               IPv4 address for ens3: 192.168.0.140
  Swap usage:   0%


0 updates can be applied immediately.


The list of available updates is more than a week old.
To check for new updates run: sudo apt update

Last login: Fri Dec  2 14:35:49 2022 from 10.20.20.1
To run a command as administrator (user "root"), use "sudo <command>".
See "man sudo_root" for details.

ubuntu@myinstance-1:~$
To disconnect from the instance, type exit (or press CTRL+D).
Delete instances
Duration: 2:00
In the following steps, we’ll delete the myinstance-2 instance.
Delete instances through the OpenStack client
To delete the instance, execute the following command:
$ openstack server delete myinstance-2
Delete instances through the OpenStack dashboard
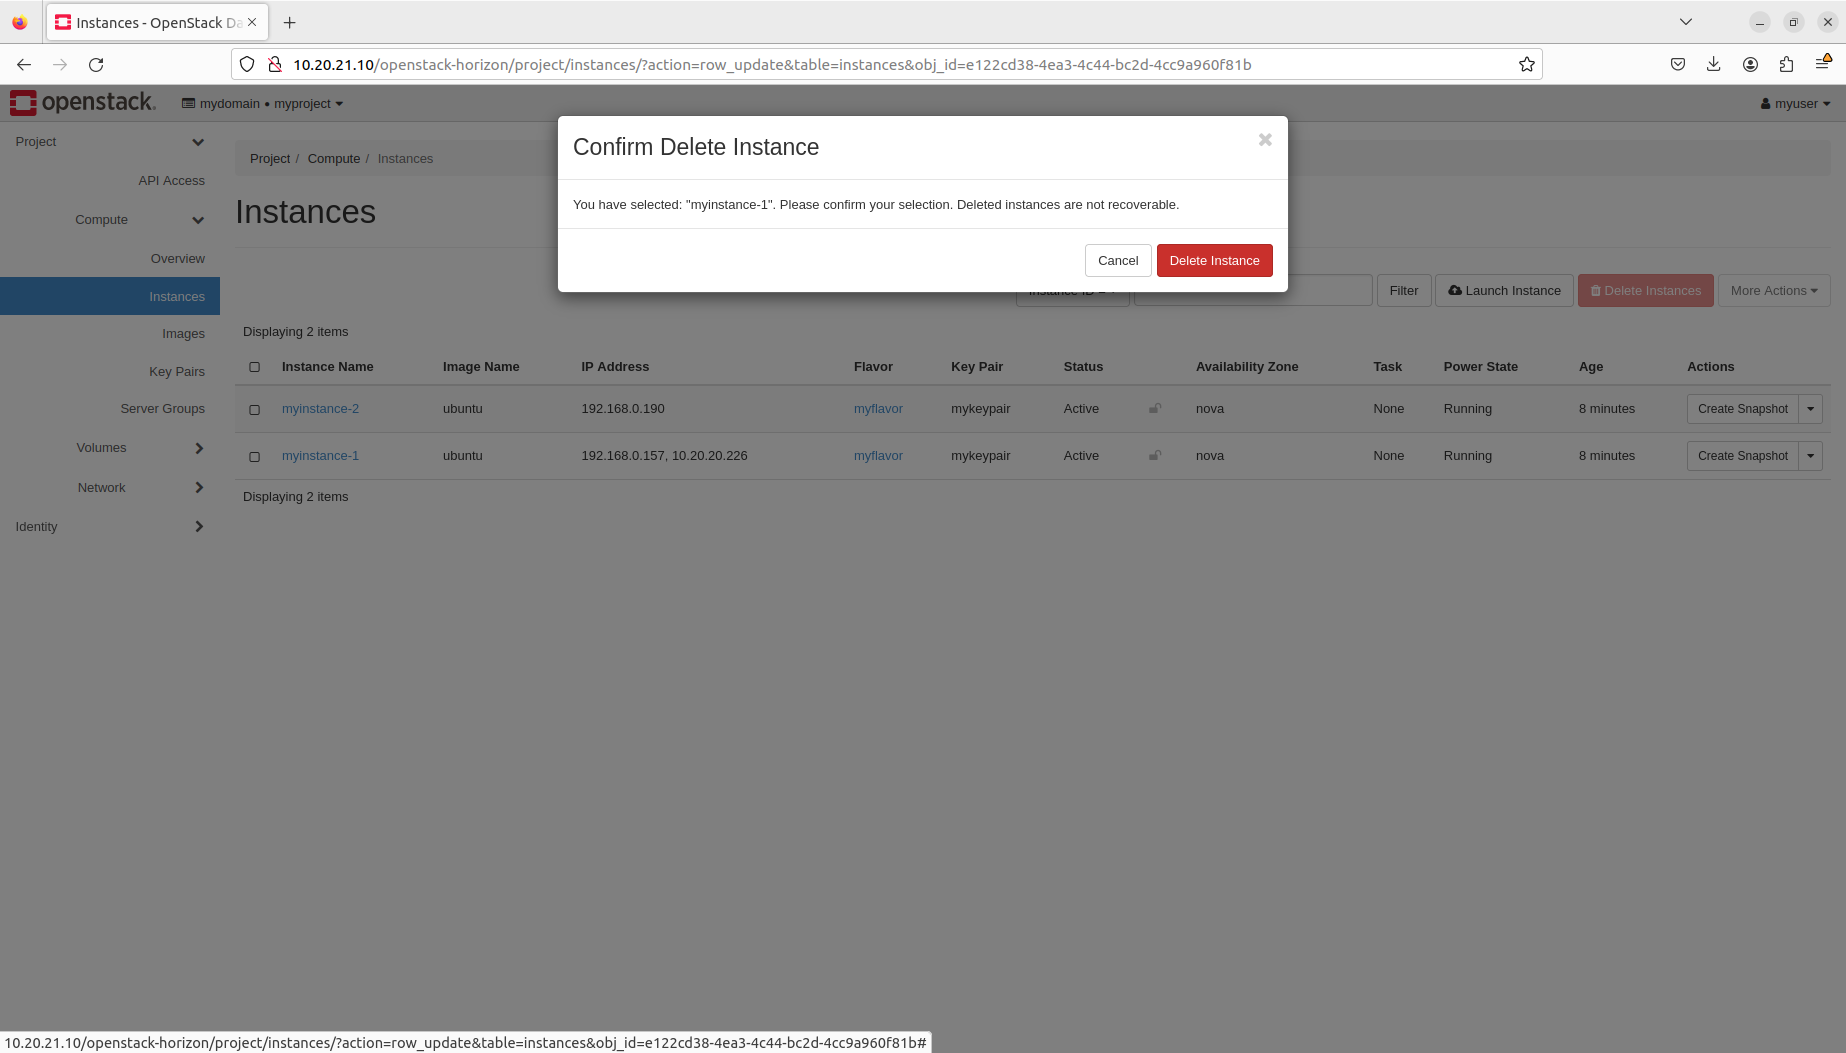
Navigate to Project → Compute → Instances. Then, under the Actions column beside myinstance-1, select Delete Instance from the drop-down menu:
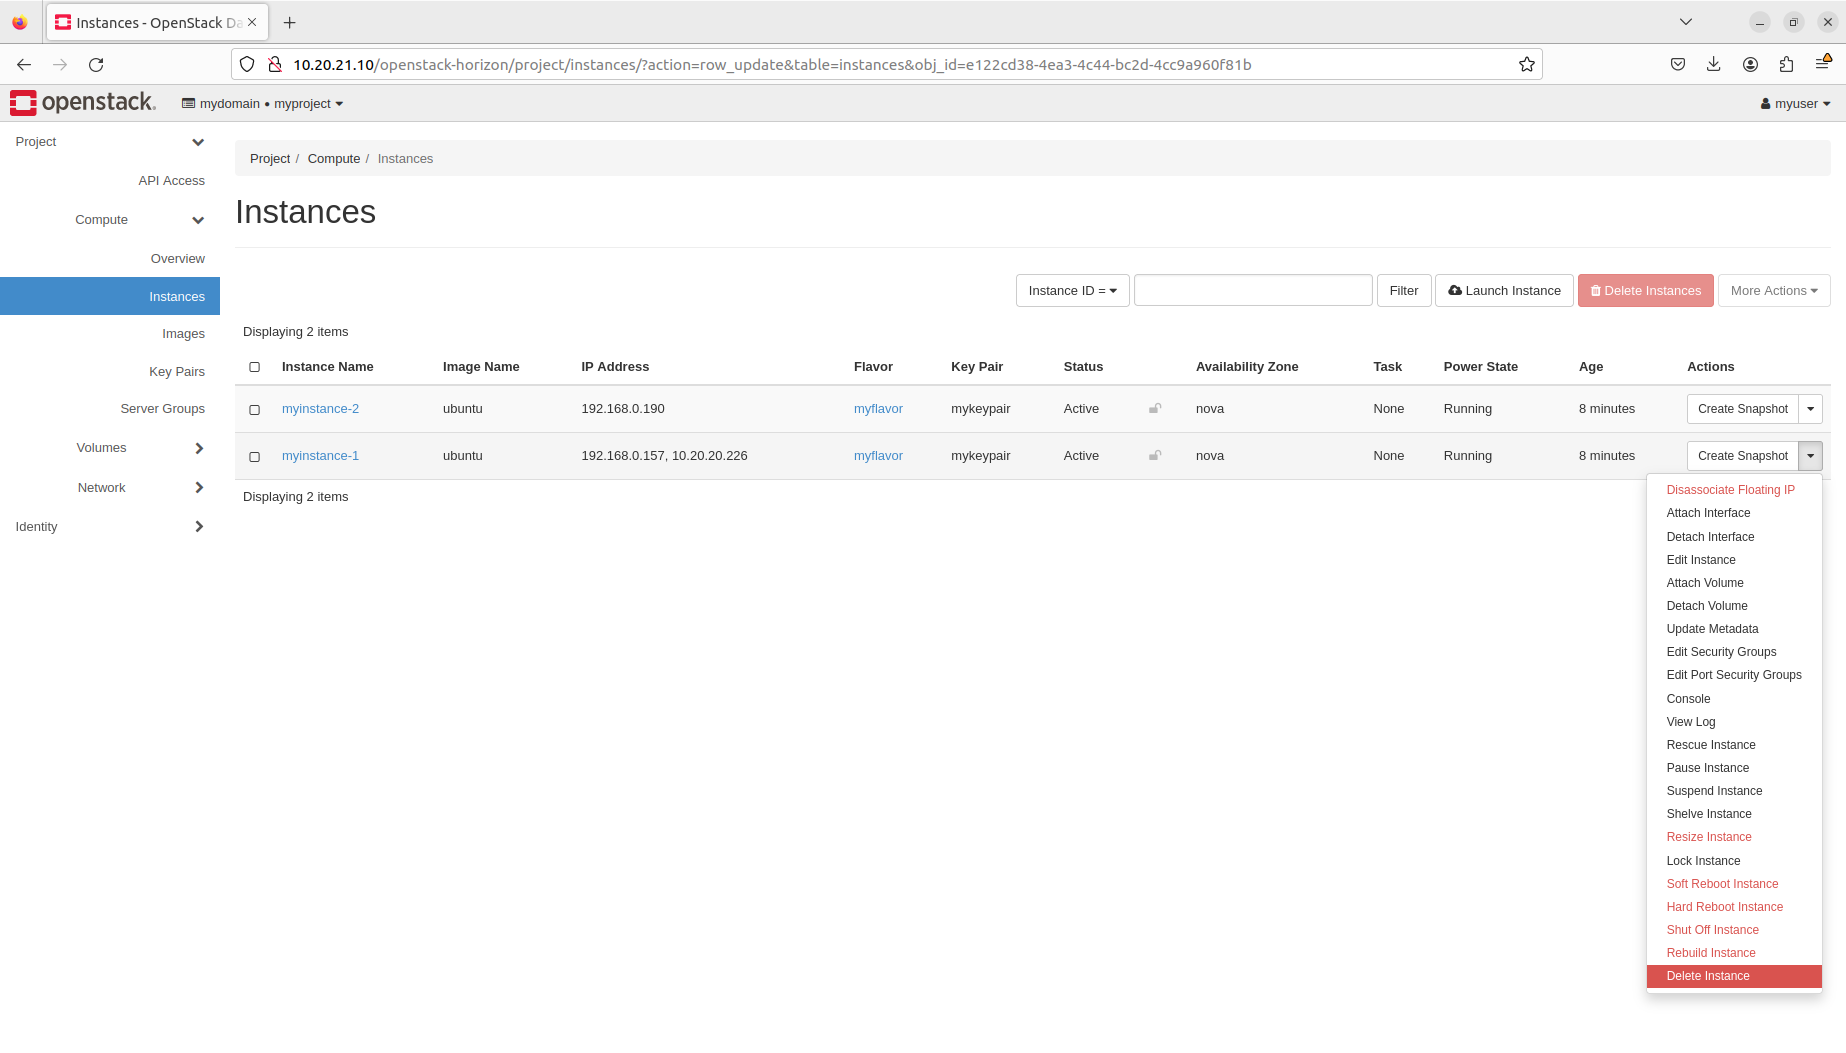
To delete the instance, click the Delete Instance button:
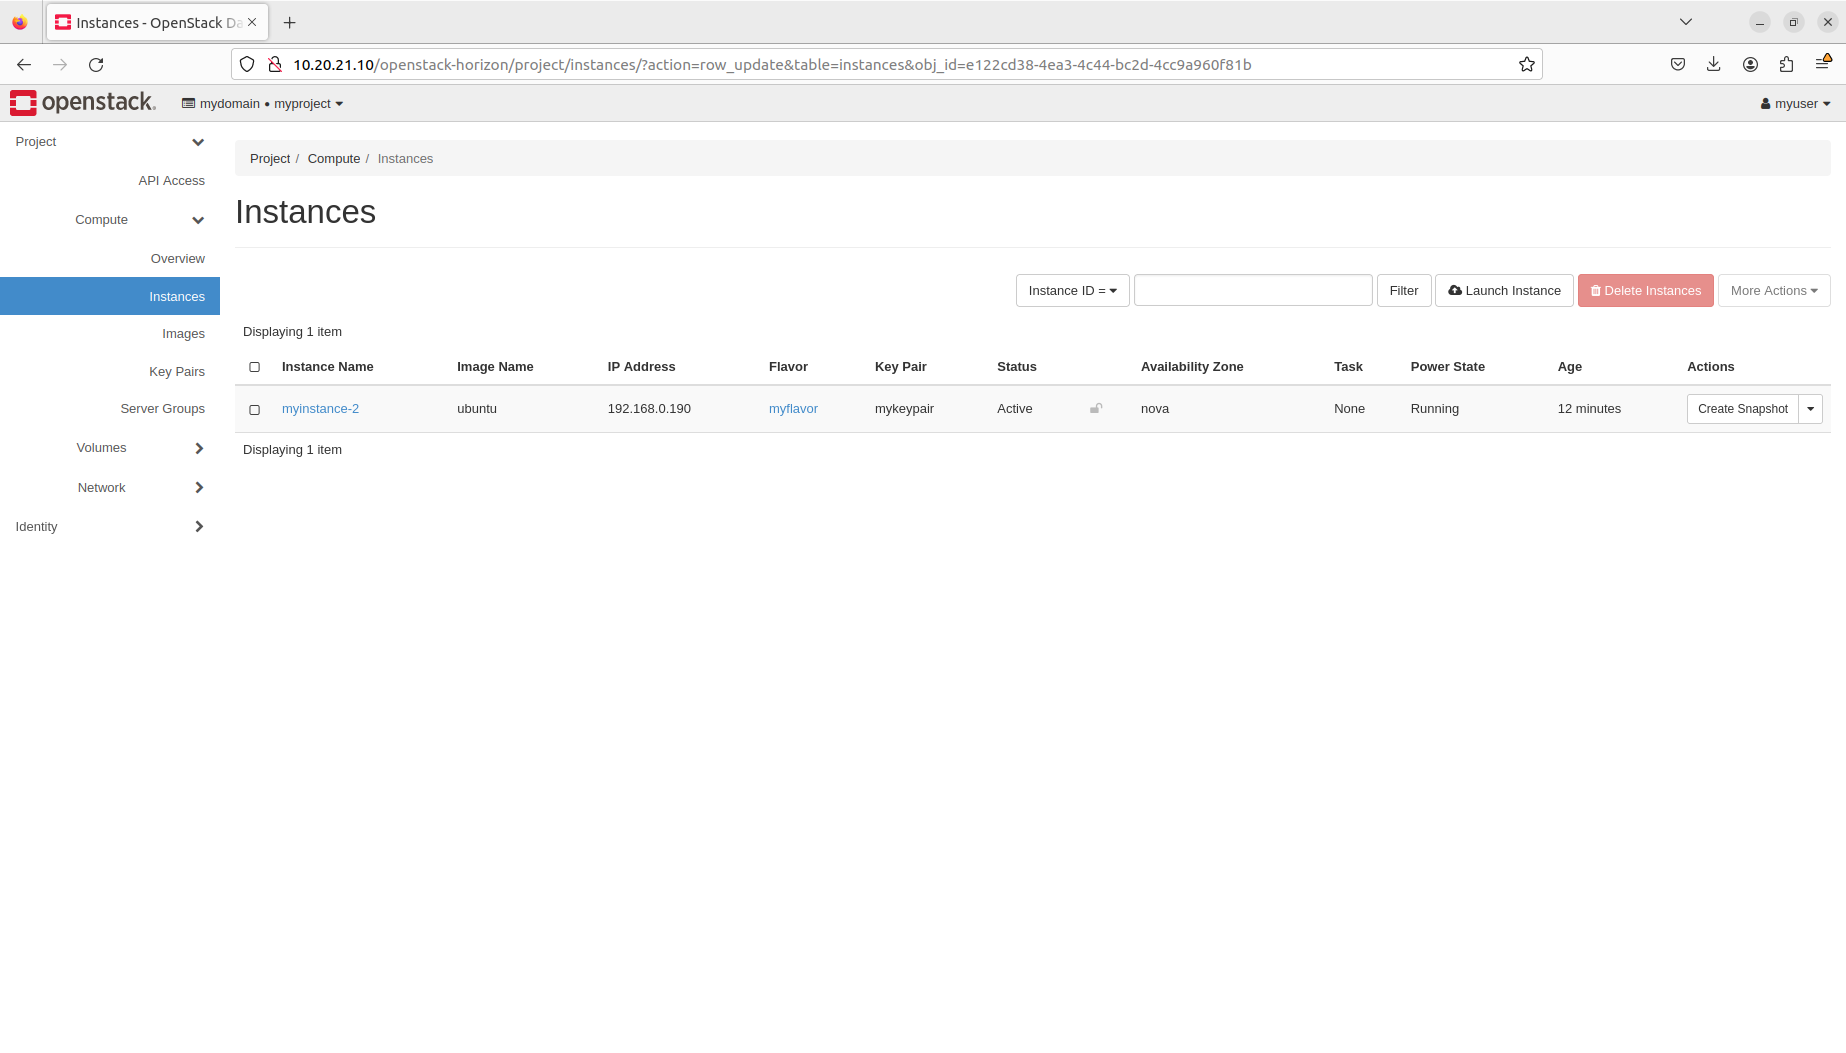
The myinstance-1 instance is no longer shown in Nova’s database:
Next steps
Duration: 2:00
Congratulations! You have reached the end of this tutorial.
You can now move to the next tutorial - “10. Storage” - or explore other tutorials.
In this tutorial, you have learnt how to:
- Launch instances
- Associate floating IPs
- Attach security groups
- Access instances
- Delete instances