| Key | Value |
|---|---|
| Summary | Learn how to create, write and publish guides on ubuntu.com/tutorials, reaching a wide audience of both beginner and advanced Linux users. |
| Categories | community |
| Difficulty | 2 |
| Author | Canonical Web Team webteam@canonical.com |
Overview
Duration: 1:00
In this guide, you will learn how to write content for ubuntu.com/tutorials. and reach a wide audience of both beginner Linux users and advanced users such as developers and system administrators.
We will start by looking at general guidelines, the structure of a guide and go through the publication and review process.
What you’ll learn
- How to create and structure a guide from a single Markdown file
- How to use the additional Markdown features specific to the engine
- How to render it locally to see what your readers will see
- How to get it ready for review by the Ubuntu Docs team
What you’ll need
- A Ubuntu Discourse account, for the publication and review process
Depending on the topic and your level of experience, writing a guide can be a very easy task, but following these guidelines is important to keep the whole set of published guides consistent. Let’s get started!
General guidelines
Duration: 1:00
Mission of Ubuntu guides
These are step by step guides aimed at a very diverse audience. To provide a good learning experience, a consistent and didactic approach is key.
A good guide should:
- be focused on one topic or a very small group of related topics. Keep it simple and on point as people who want to learn multiple subjects will take multiple guides.
- produce a tangible result. The topic is demonstrated with a small practical project and not only a theoretical or “hello world” example. The reader will come out of it with a working example on their environment.
- be short. An estimated 60 minutes for a guide is an absolute maximum. Most guides should be in the range of 15 - 30 minutes.
- be divided in short steps. Each step is practical and results in user-visible progress.
- be entertaining! Try to have a fun project to work on, even if it’s something impractical!
Tone
The tone of your guide should be friendly. Try to make the reader feel that they’re building and learning something together with you.
All guides should have the same tone, regardless of the topic. This is why you should complete one or two of the existing guides before writing your first one.
In short, this isn’t a teacher/student paradigm, but rather friends sharing some time together. Thus, “we” should be used as much as possible, like “we have just seen”, “we now understand that…”. However, “you” can be used for demonstrating things in the user’s context, like: “edit your file”, “your directory should look like this”, “on your system”, etc.
And now, let’s see the first required step!
Metadata and structure
Duration: 5:00
Each guide is built using a single topic on discourse, under the category tutorials.
Title of the topic
The title should be kept short (3 to 8 words as a guide) to not break the design. Try to make concise titles but also specific when possible, e.g. “Create a bootable USB stick on Windows 10”
Steps
Each step is delimited by a second level title, for example:
## Step title
A step Duration in the MM:SS format should immediately follow the step title. The total time will then be computed automatically. A third level heading or empty line will break into the step content.
## Step title

Duration: 2:00

Step content starts here.
Basic example
If we put these pieces together here is what a very simple guide looks like:
## This is the first step

Duration: 2:00

This is the content of the first step.

## This is the second and final step

Duration: 1:00

Congrats, you made it!
Once these structural pieces are out of the way, we can start getting into the most interesting part: the content.
Introducing your content
Duration: 2:00
First impressions matter and the first page of your guide should be welcoming and informative. On ubuntu.com/tutorials, an “Overview” page should be the first step of every guide.
The overview contains at least three small parts:
- a summary
- a “What you’ll learn” section
- a “What you’ll need” section.
The summary
The first paragraph or paragraphs of the overview is a summary of the guide’s objectives, its purpose and why the reader should go through it. An image can be included, as well as external links.
Example
## Overview
Duration: 1:00
Turning your website into a desktop integrated app is a relatively simple thing to do,
but distributing it as such and making it noticeable in app stores is another story.
This guide will show you how to leverage Electron and snaps to create a website-based
desktop app from scratch and publish it on a multi-million user store shared between
many Linux distributions.
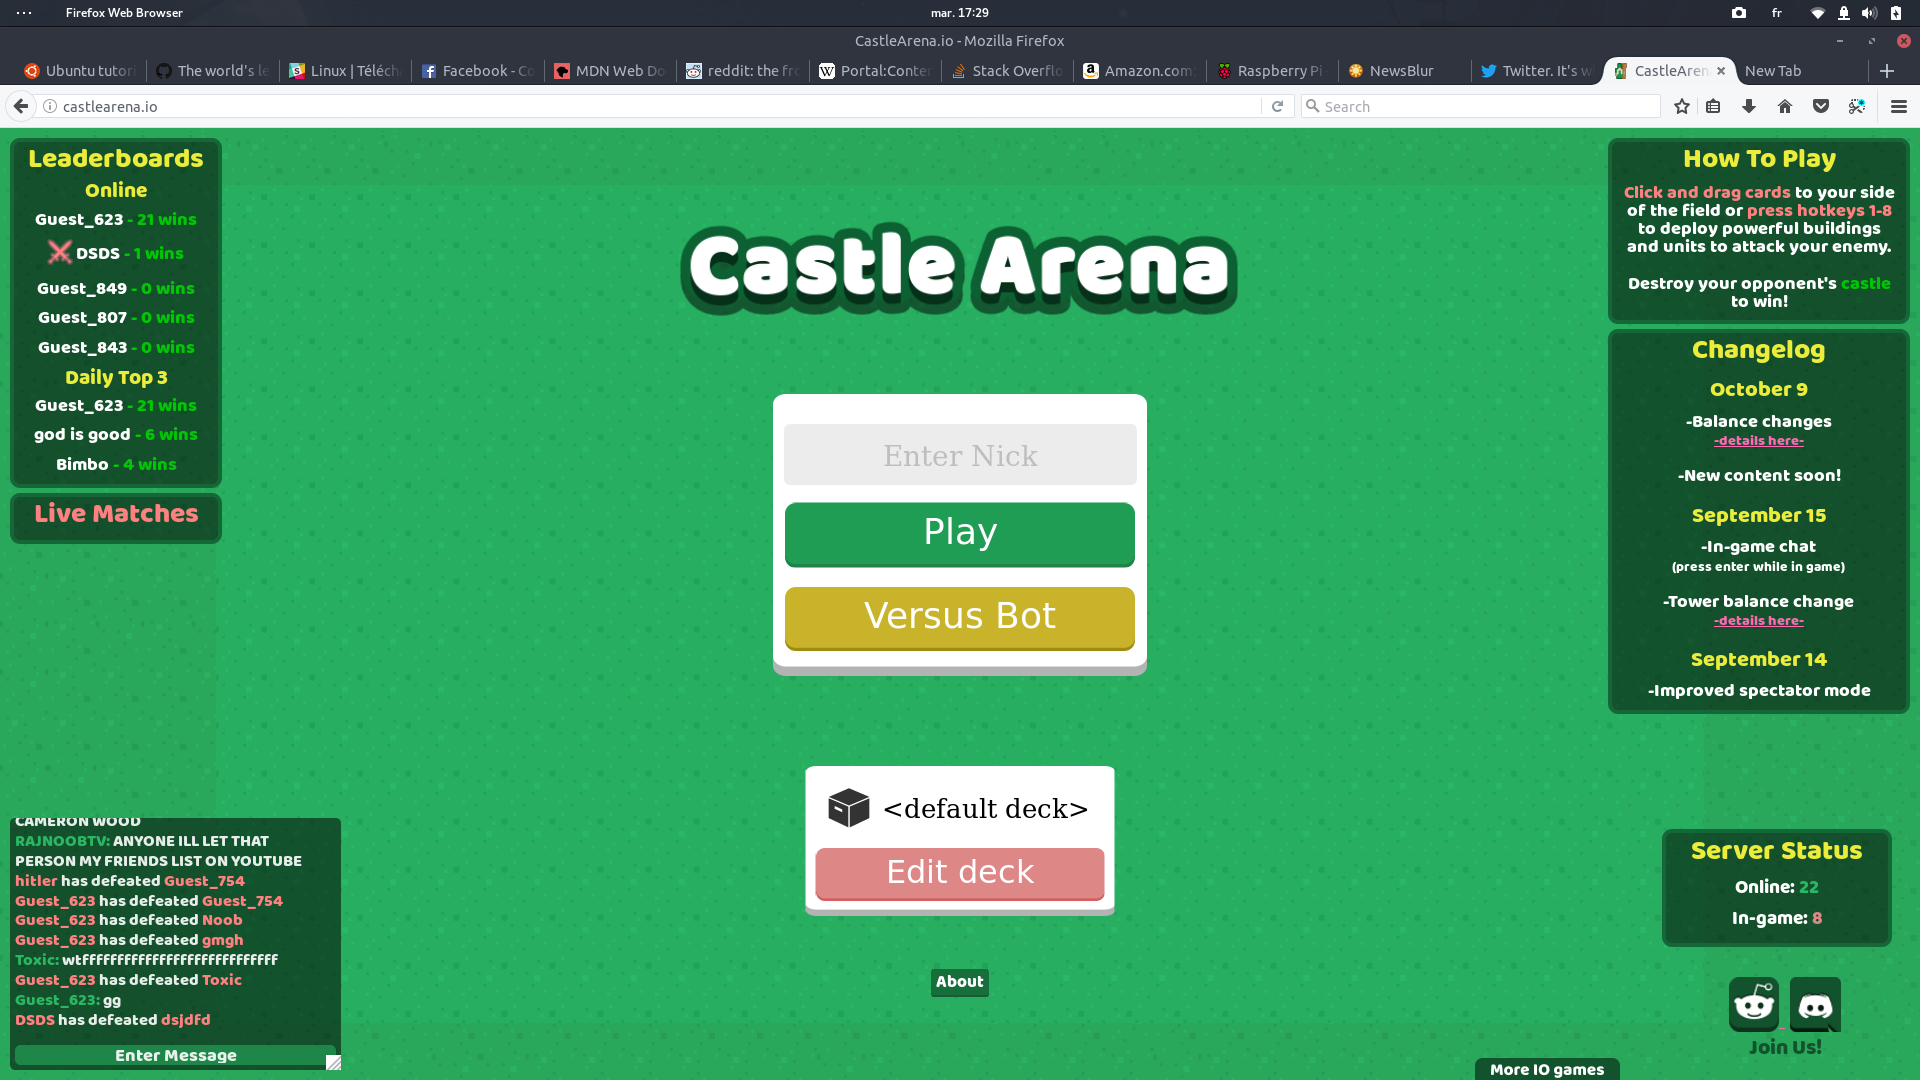
For this guide, the website we are going to package is
an HTML5 game called [Castle Arena](http://castlearena.io).
The “What you’ll learn” section
This section includes the list of topics covered by your guide. It’s a way to align readers expectations with the content they are going to read. Topics are presented as bullet points.
Example
### What you'll learn

- How to create a website-based desktop app using Electron
- How to turn it into a snap package
- How to test it and share it with the world
The “What you’ll need” section
This is the list of prerequisites the reader needs to meet before starting the guide. If there is a need for specific hardware, software or user accounts, this is the right place to talk about it. If there is a need for specific technical knowledge to go through your guide, use this section as an opportunity to link to documentation and other guides.
Prerequisites are presented as bullet points.
Example
### What you'll need

- Ubuntu Desktop 16.04 or above
- Some basic command-line knowledge
Optionally: a survey widget
You can gather some insights on who your readers are by adding a survey widget. Using this widget is not a requirement, but it helps gathering audience statistics and can help making guides better as a whole.
If you use this widget, you should include at least the following questions:
How will you use this guide?
- Only read through it
- Read it and complete the exercises
What is your current level of experience?
- Novice
- Intermediate
- Proficient
To create this widget, you need to use the following syntax:
#### How will you use this guide?
[poll name="poll_1"]
- Only read through it
- Read it and complete the exercises
[/poll]

#### What is your current level of experience?
[poll name="poll_2"]
- Novice
- Intermediate
- Proficient
[/poll]
Note that Google Analytics is used as the survey backend.
All the pieces together
When we put all of these pieces together, here’s what an Overview step looks like:
## Overview
Duration: 1:00
Turning your website into a desktop integrated app is a relatively simple thing to do,
but distributing it as such and making it noticeable in app stores is another story.
This guide will show you how to leverage Electron and snaps to create a website-based
desktop app from scratch and publish it on a multi-million user store shared between
many Linux distributions.
For this guide, the website we are going to package is
an HTML5 game called [Castle Arena](http://castlearena.io).

### What you'll learn
- How to create a website-based desktop app using Electron
- How to turn it into a snap package
- How to test it and share it with the world
### What you'll need
- Ubuntu Desktop 16.04 or above
- Some basic command-line knowledge
When you are done with your friendly and informative introduction, you can start adding more steps (remember, second level titles are used to declare the start of a step) and build your guide story.
To do so, we will now go through some content recommendations.
Dos and Don’ts
Duration: 5:00
In addition to the previous advice on what a guide should be and what is mandatory, you should pay special attention to the following points:
Each step should be concise, but not too short
Be wary of a step’s length. On average, 5 to 10 minutes is more than enough for a single step to complete. Don’t make them too short either. Naturally, some steps will be shorter than others (such as the first and last steps).
If too long, prefer dividing the guide
Tutorials are self-sufficient, but they can nonetheless build upon each other (you can link from the requirements section of the first step, for example). One guide could require another guide to be completed first. And if you are reusing the same code, ensure you provide a repository as a starting point.
If a guide is too long, consider breaking it up into several pieces. However, ensure all guides present a distinct objective.
Don’t have too many steps
Steps should be concise and guides should be rather short. Consequently, you shouldn’t have too many steps in your guide. We don’t want to make the reader desperate by glancing at the number of remaining steps before guide completion.
Each step should be rewarding
As a writer, you should try to keep the reader entertained at each step and this is achieved by careful story building. Each step should end on concrete progress towards the end goal. It should be, if possible, tangible and interactive, so that the reader can be familiarised with notions introduced by the step.
To earn bonus reader commitment points, finish a step on a “cliffhanger”!
Make intentional mistakes
This could seem counterintuitive at first. However, learning by fire (or rather, by error here) is a key way of learning new things. Executing, erroring, analyzing and fixing has multiple benefits:
-
Users will be familiar with a particular error, and even if they don’t remember explicitly how to fix it the next time they encounter it, they will have some clue and some deja-vu feeling which will guide them towards its resolution.
-
Providing the perfect answer from the start hides complexity and a lot of non-formally written subtleties. Forcing readers to face them will ensure that the guide written doesn’t take these subtleties as a given and will greatly help newcomers.
ⓘ A concrete example of this is, in the “Create your first snap” guide, how we introduce building a snap. After creating the parts, we immediately build the snap and install it. Then, we try to execute one of the snap binaries, but no such command is found! That way, we can introduce the fact (in the following step) that binaries are not exposed by default as part of the snap. We can use this “mistake” to introduce further concepts.
External links in guides
Links to external websites are forbidden during a guide. We don’t want people’s attention diverted from the task they are going through (which emphasizes the fact that each step should have enough knowledge to be self-sufficient). In particular, do not link the reader to the reference documentation. We want to keep the user’s attention on the current task only. Download links are allowed though.
As previously written, only the first and last steps can (and probably should) link to external documentation for prerequisites or learning more on a particular topic. The same rule applies to external websites for libraries or frameworks.
The only exception to this rule is when linking to source code that is being used as a checkpoint in the guide (eg. “your code should look like this”).
Of course, this doesn’t concern key guide actions happening on a given website, like Launchpad, GitHub, login.ubuntu.com, etc.
Provide regular code “checkpoints”
This is mostly for developer oriented guides, but if this rule can be applied to an admin/advanced users oriented one, please do so!
The advice is to provide regular checkpoints where people can sync back their source code with the guide, in particular, at the start of a given step. Readers could have stopped then resumed going through a guide, and may not have the source code from previous steps anymore. Consequently, in the case of a code-writing guide, please try to provide a link to the current state of the code at the start of a step.
You can refer to it as “If you want to ensure you have all the needed bits we saw together in the previous steps…“ and point to an external repository on GitHub, Launchpad or others… This element should be in an admonition:
ⓘ Lost or starting from here?
Check or[download](http://link/torepo/directory)to see what your current directory should look like.
“download” being a link to the code in question.
Do not separate exercises and answers
In general, try to avoid leaving the user hanging for the right answer. Tutorials aren’t a class/lesson or a test to pass with some exercises.
In particular, to avoid a teacher/student relationship, do not separate questions and answers (apart from cliffhangers as previously stated, but the questions you are asking your audience are more rhetorical in that case!).
Do not repeat the setup/install phase for each guide
Avoid repetitive setups or installation phases, particularly if the guide isn’t a beginner one. Beginner guides should contain a setup phase while more advanced guides should reference other beginner guides as prerequisites.
Command line snippets
Inline commands are styled with single backticks :
For example:
`foo/something --bar`
Which renders as foo/something --bar.
For longer example code we expect people to type in, we do not use the command prompt at the beginning of each line, and we separate the command from the output. This makes the command and outputs clearer and also easier to copy and paste.
Example
‘’
` Run the following command:
cat my_file
This will display the content of the file:
Awesome my_file content

on multiple lines
‘’
Finally, the code blocks (commands and code to write) of the guide should be self-sufficient. It means that we don’t expect people to write code or run commands outside of what we expose in code blocks, and only typing and executing their content should lead them to the desired state.
You should now have all the cards in hand to provide a rewarding learning experience! It’s time we look at how to structure the final page of a guide: the “rewarding” step.
Rewarding your readers
Duration: 2:00
On the last page of a guide, the project is finished and you remind readers they have reached their goal and have grown some new skills.
Take one or two paragraphs to remind them of what they went through and what they have achieved. That way, readers can reflect upon the various steps and their newly acquired knowledge. Ensure you use a friendly title for this final step.
For example, as a reader of this guide, you should have understood what’s needed to create a successful learning experience, what the recommendations are, and how the Markdown syntax works. You now know how to deploy the website locally and how to propose your content for review!
On the last page, make sure you also include at least one of the following sections:
- Next steps
- Further reading
“Next steps”
With a list of bullet points, offer some guidance on the next steps a reader may want to take. This could be other guides being the “next logical ones”, communication channels and places where to get support from.
Example
### Next steps

* If you need support, the [snapcraft forum](https://forum.snapcraft.io) is the best place to get
all your questions answered and get in touch with the community.
“Further reading”
With another list of bullet points, provide a list of external resources to get more information on the topic. You can link to documentation, related source code, or blog posts that will provide more insights.
Example
### Further readings

* The snapcraft documentation has everything you need if you want to look more

into [hooks](https://docs.snapcraft.io/build-snaps/hooks)

and [scriptlets](https://docs.snapcraft.io/build-snaps/scriptlers).
To use everything the system has to offer, let’s look at some syntax tips.
Syntax tips
Duration: 05:00
The syntax used is by and large regular Markdown syntax, but there are some specificities:
Line breaks and empty lines
- Paragraphs are delimited by empty lines
- Line breaks will create a new line
In the context of an admonition or a survey widget, using an empty line will close it and go back to text.
Images
Images can be hosted locally (relatively linked to the markdown source) or remotely. The system will fetch remote images and cache them locally.
In Markdown the syntax for an image is the following:

Admonitions
Admonitions are colored blocks that enclose special information, they can be a positive tip or a negative warning. To create an admonition, write its type (“positive” or “negative”) on a line by itself, then begin the next line with a colon and a space.
A positive admonition should contain positive information like best practices and time-saving tips.
> ⓘ **Eat your vegetables!**
> This is a positive message.
Which renders as:
ⓘ Eat your vegetables!
This is a positive message.
A negative admonition should contain negative information such as warnings and API usage restrictions.
> ⚠️ **Eat your vegetables!**
> This is a warning.
> It can be multi-lines like this.
Which renders as:
Eat your vegetables!
This is a warning.
It can be multi-lines like this.
Fenced Code and Language Hints
Code blocks are declared by placing them between two lines containing three backticks. The system will attempt to perform syntax highlighting on code blocks, but it is not always effective at guessing the language to highlight in.
Put the name of the coding language after the first fence to explicitly specify which highlighting plan to use, like this:
```go
import "fmt"

fmt.Println("This block is highlighted as Go source code.")
```
Which renders as:
import "fmt"

fmt.Println("This block is highlighted as Go source code.")
These additions to standard Markdown are easy to master and play with, but in case you face unexpected behaviours in the rendering, feel free to reach out to the guides maintainers at #ubuntu-doc on Libera IRC.
Local rendering
Duration: 1:00
When writing a guide, it’s extremely useful to see how it will render. Discourse provides a very useful way of rendering the markdown when writing a new topic. Make sure that the guide is well rendered.
Once you can have seen your guide in its final form, it’s time to share it with the world.
Review and publishing process
Duration: 01:00
The guides (named “tutorials”, for historical reasons) category is managed by the Ubuntu Web & design team. A review process is in place to ensure new guides are being looked at by writers, engineers and documentation experts.
To get a new guide reviewed and published, please complete the text of the guide in discourse and then email: canonical-editors@canonical.com. The email should contain the following:
- Link: the link to the new guide
- Summary: a description of the guide (just 10 to 20 words) that will be displayed on the frontpage of the site
- Categories: suggest categories that users can use to filter to find guides. Use any of these preset options;
cloud,community,containers,desktop,iot,packaging,serverorua - Difficulty level: the scale spans from 1 to 5. Beginners without previous knowledge of the given topic should be able to follow and understand guides from level 1 without any other prerequisite knowledge. As a guide:
- 1: Complete beginner with Ubuntu - just about knows how to open a terminal
- 2: Ubuntu novice - can be trusted to enter commands but experience limited to simple file operations
- 3: Experienced user - doesn’t need explanations about common topics (networking, sudo, services)
- 4: Advanced user - has experience running Ubuntu for many years, but may be unfamiliar with some sysadmin/programming topics
- 5: Ubuntu sysadmin/developer- very familiar with most aspects of the operating system and can be expected to know details about its inner worki
- Author: the name and email address between brackets of the author of the guide. If you don’t intend to maintain this guide after publication, please use
Canonical Web team <canonical-editors@canonical.com>
Once they get to it, they will review the content and open a discussion with you on the discourse topic directly. At the end of this process, they will either include your changes into the project or request additional changes.
That’s all folks!
Duration: 01:00
Congrats, you made it! If you have been watching closely, you are now fully equipped to write a compelling guide and take your future readers to new heights!
Now you know how to:
- Create a welcoming and informative intro to your content
- Provide an interesting and easy-to-follow learning experience
- Structure your markdown source file
- Render guides locally and submit them for publication
There are a lot of topics to write about and if you are looking for ideas, just think about what you master and frequently do on Ubuntu, something that’s useful to you, even if it’s an arcane topic or a very simple set of tips you think people would benefit from.
Next steps
- Write your first guide on your topic of choice and propose it for publication!
- Join the #ubuntu-doc channel on Libera IRC to chat with the doc team and share your thoughts
- Read other guides and help us improving them by submitting comments