This page is no longer maintained. Please refer to Tutorial.
Multipass is a flexible and powerful tool that can be used for many purposes. In its simplest form, it can be used to quickly create and destroy Ubuntu VMs (instances) on any host machine. When used maximally, Multipass is a local mini-cloud on your laptop, ensuring that you can test and develop multi-instance or container-based cloud applications.
This tutorial will teach you how to create, customise and manage instances using Multipass. You will also learn how to apply Multipass in two common use cases.
Install Multipass
Multipass is available for Linux, macOS and Windows. To install it on the OS of your choice, please follow the instructions provided in How to install Multipass.
This tutorial gives instructions for using Multipass on Windows.
Create and use a basic instance
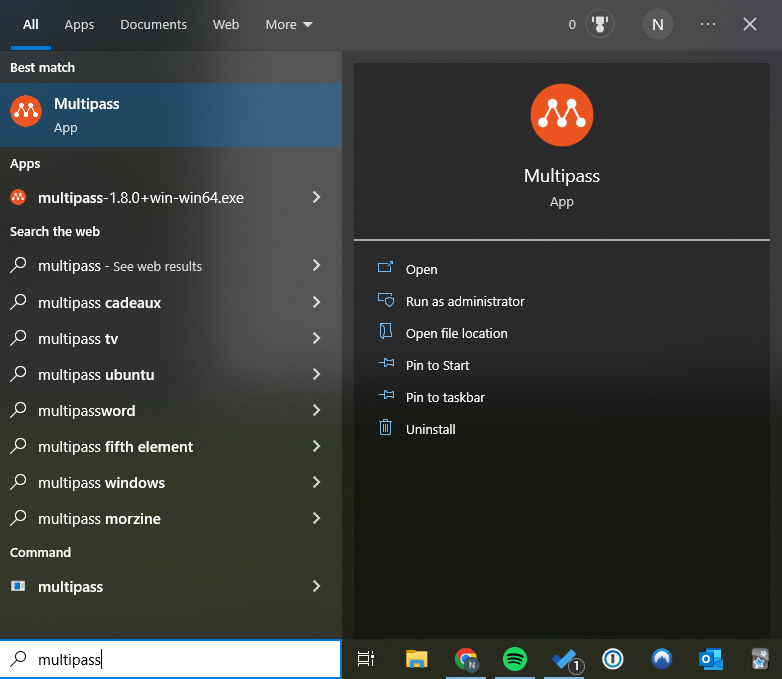
Start Multipass from the application launcher. Press the Windows key and type “Multipass”, then launch the application.
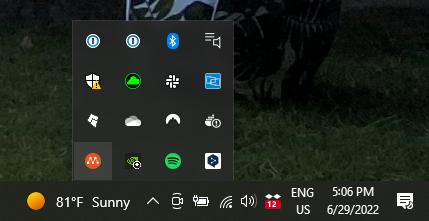
After launching the application, you should see the Multipass tray icon in the lower right section of the screen (you may need to click on the small arrow located there).
Click on the Multipass icon and select Open Shell.
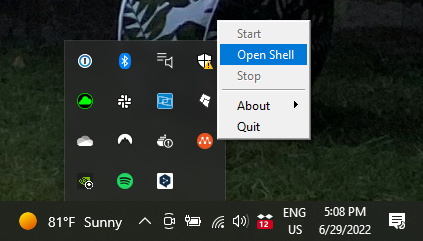
Clicking this button does many things in the background. First, it creates a new virtual machine (instance) named “primary”, with 1GB of RAM, 5GB of disk, and 1 CPU. Second, it installs the most recent Ubuntu LTS release on that instance. Third, it mounts your $HOME directory in the instance. Last, it opens a shell to the instance, announced by the command prompt ubuntu@primary.
You can see elements of this in the printout below:
Launched: primary
Mounted '/home/<user>' into 'primary:Home'
Welcome to Ubuntu 22.04.1 LTS (GNU/Linux 5.15.0-57-generic x86_64)

 * Documentation:  https://help.ubuntu.com
 * Management:     https://landscape.canonical.com
 * Support:        https://ubuntu.com/advantage

  System information as of Thu Jan 26 08:06:22 PST 2023

  System load:  0.0               Processes:             95
  Usage of /:   30.2% of 4.67GB   Users logged in:       0
  Memory usage: 21%               IPv4 address for ens3: 10.110.66.242
  Swap usage:   0%

 * Strictly confined Kubernetes makes edge and IoT secure. Learn how MicroK8s
   just raised the bar for easy, resilient and secure K8s cluster deployment.

   https://ubuntu.com/engage/secure-kubernetes-at-the-edge

0 updates can be applied immediately.


The list of available updates is more than a week old.
To check for new updates run: sudo apt update

ubuntu@primary:~$
Let’s test it out. As you’ve just learnt, the previous step automatically mounted your $HOME directory in the instance. Try out a few Linux commands to see what you’re working with.
ubuntu@primary:~$ free
               total        used        free      shared  buff/cache   available
Mem:          925804      203872      362484         916      359448      582120
Swap:              0           0           0
ubuntu@primary:~$ df
Filesystem       1K-blocks    Used  Available Use% Mounted on
tmpfs                92584     912      91672   1% /run
/dev/sda1          4893836 1477300    3400152  31% /
tmpfs               462900       0     462900   0% /dev/shm
tmpfs                 5120       0       5120   0% /run/lock
/dev/sda15          106858    5329     101529   5% /boot/efi
tmpfs                92580       4      92576   1% /run/user/1000
:C:/Users/Scott 1048576000       0 1048576000   0% /home/ubuntu/Home
Congratulations, you’ve got your first instance!
This instance is great for when you just need a quick Ubuntu VM, but let’s say you want a more customised instance, how can you do that? Multipass has you covered there too.
Optional Exercises
Exercise 1:
When you select Open Shell, what happens in the background is the equivalent of the CLI commands multipass launch –name primary followed by multipass shell. Open a terminal and try multipass shell (if you didn’t follow the steps above, you will have to run the launch command first).
Exercise 2:
In Multipass, an instance with the name “primary” is privileged. That is, it serves as the default argument of multipass shell among other capabilities. In different terminal instances, check multipass shell primary and multipass shell. Both commands should give the same result.
Create a customised instance
Multipass has a great feature to help you get started with creating customised instances. Open a terminal and run the multipass find command. The result shows a list of all images you can currently launch through Multipass.
C:\WINDOWS\system32> multipass find
Image                       Aliases           Version          Description
snapcraft:core18            18.04             20201111         Snapcraft builder for Core 18
snapcraft:core20            20.04             20210921         Snapcraft builder for Core 20
snapcraft:core22            22.04             20220426         Snapcraft builder for Core 22
snapcraft:devel                               20230126         Snapcraft builder for the devel series
core                        core16            20200818         Ubuntu Core 16
core18                                        20211124         Ubuntu Core 18
core20                                        20230119         Ubuntu Core 20
core22                                        20230119         Ubuntu Core 22
18.04                       bionic            20230112         Ubuntu 18.04 LTS
20.04                       focal             20230117         Ubuntu 20.04 LTS
22.04                       jammy,lts         20230107         Ubuntu 22.04 LTS
22.10                       kinetic           20230112         Ubuntu 22.10
daily:23.04                 devel,lunar       20230125         Ubuntu 23.04
appliance:adguard-home                        20200812         Ubuntu AdGuard Home Appliance
appliance:mosquitto                           20200812         Ubuntu Mosquitto Appliance
appliance:nextcloud                           20200812         Ubuntu Nextcloud Appliance
appliance:openhab                             20200812         Ubuntu openHAB Home Appliance
appliance:plexmediaserver                     20200812         Ubuntu Plex Media Server Appliance
anbox-cloud-appliance                         latest           Anbox Cloud Appliance
charm-dev                                     latest           A development and testing environment for charmers
docker                                        0.4              A Docker environment with Portainer and related tools
jellyfin                                      latest           Jellyfin is a Free Software Media System that puts you in control of managing and streaming your media.
minikube                                      latest           minikube is local Kubernetes
Launch an instance running Ubuntu 22.10 (“Kinetic Kudu”) by typing the multipass launch kinetic command.
Now, you have an instance running and it has been named randomly by Multipass. In this case, it has been named “decorous-skate”.
C:\WINDOWS\system32> multipass launch kinetic
Launched: decorous-skate
You can check some basic info about your new instance by running the following command:
multipass exec decorous-skate -- lsb_release -a
This tells Multipass to execute the command lsb_release -a on the “decorous-skate” instance.
C:\WINDOWS\system32> multipass exec decorous-skate -- lsb_release -a
No LSB modules are available.
Distributor ID:	Ubuntu
Description:	Ubuntu 22.10
Release:		22.10
Codename:		kinetic
Perhaps after using this instance for a while, you decide that what you really need is the latest LTS version of Ubuntu, with a more informative name and a little more memory and disk. You can delete the “decorous-skate” instance by running the following command:
multipass delete decorous-skate
You can now launch the type of instance you need by running this command:
multipass launch lts --name ltsInstance --memory 2G --disk 10G --cpus 2
Manage instances
You can confirm that the new instance has the specs you need by running multipass info ltsInstance.
C:\WINDOWS\system32> multipass info ltsInstance
Name:           ltsInstance
State:          Running
IPv4:           172.22.115.152
Release:        Ubuntu 22.04.1 LTS
Image hash:     3100a27357a0 (Ubuntu 22.04 LTS)
CPU(s):         2
Load:           1.11 0.36 0.12
Disk usage:     1.4GiB out of 9.5GiB
Memory usage:   170.4MiB out of 1.9GiB
Mounts:         --
You’ve created and deleted quite a few instances. It is time to run multipass list to see the instances you currently have.
C:\WINDOWS\system32> multipass list
Name                    State             IPv4             Image
primary                 Running           10.110.66.242    Ubuntu 22.04 LTS
decorous-skate          Deleted           --               Not Available
ltsInstance             Running           172.22.115.152   Ubuntu 22.04 LTS
The result shows that you have two instances running, the “primary” instance and the LTS machine with customised specs. The “decorous-skate” instance is still listed, but its state is “Deleted”. You can recover this instance by running multipass recover decorous-skate. But for now, delete the instance permanently by running multipass purge. Then run multipass list again to confirm that the instance has been permanently deleted.
C:\WINDOWS\system32> multipass list
Name                    State             IPv4             Image
primary                 Running           10.110.66.242    Ubuntu 22.04 LTS
ltsInstance             Running           172.22.115.152   Ubuntu 22.04 LTS
You’ve now seen a few ways to create, customise, and delete an instance. It is time to put those instances to work!
Put your instances to use
One way to put a Multipass instance to use is by running a local or web server in it.
Run a simple web server
Return to your customised LTS instance. Take note of its IP address, which was revealed when you ran multipass list. Then run multipass shell ltsInstance to open a shell in the instance.
From the shell, you can run:
sudo apt update

sudo apt install apache2
Open a browser and type in the IP address of your instance into the address bar. You should now see the default Apache homepage.
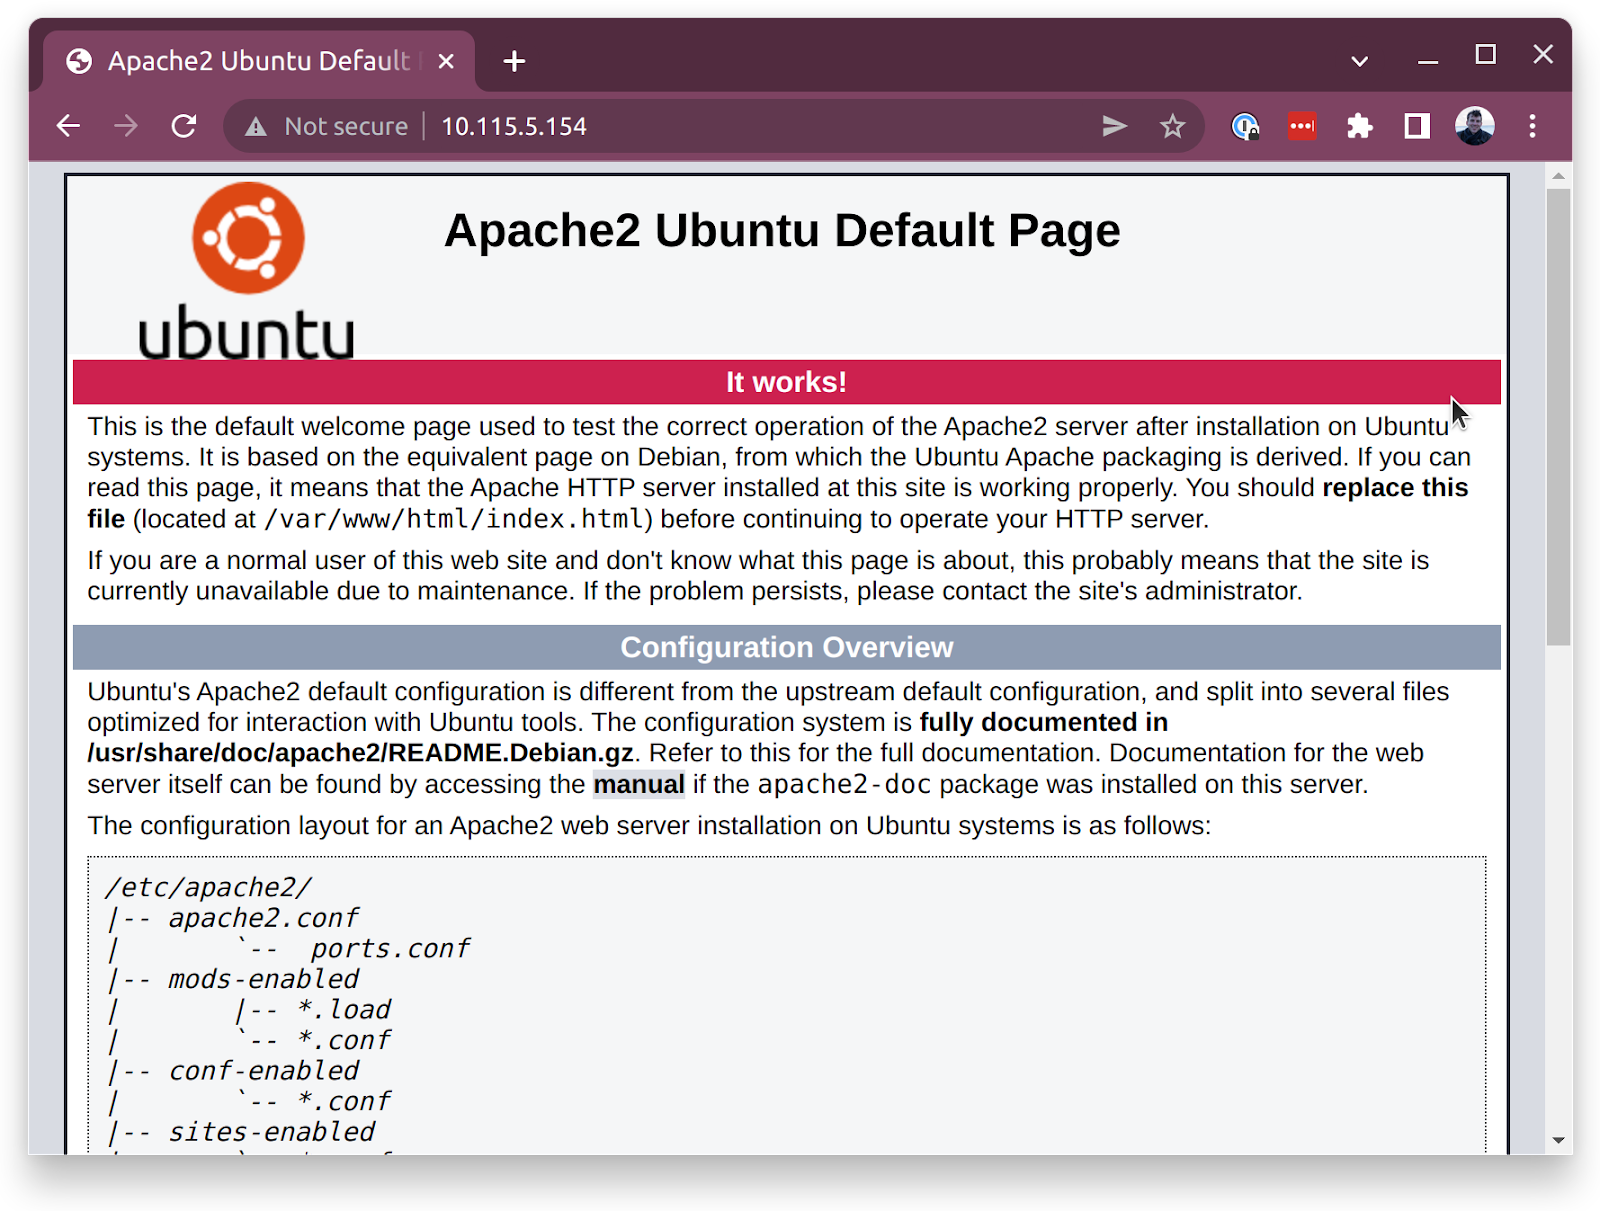
Just like that, you’ve got a web server running in a Multipass instance!
You can use this web server locally for any kind of local development or testing. However, if you want to access this web server from the internet (for instance, a different computer), you need an instance that is exposed to the external network.
Launch from a Blueprint to run Docker containers
Some environments require a lot of configuration and setup. Multipass Blueprints are instances with a deep level of customization. For example, the Docker Blueprint is a pre-configured Docker environment with a Portainer container already running. You can launch an instance using the Docker Blueprint by running multipass launch docker --name docker-dev.
Once that’s done, run multipass info docker-dev to note down the IP of the new instance.
C:\WINDOWS\system32> multipass launch docker --name docker-dev
Launched: docker-dev
C:\WINDOWS\system32> multipass info docker-dev
Name:           docker-dev
State:          Running
IPv4:           10.115.5.235
                172.17.0.1
Release:        Ubuntu 22.04.1 LTS
Image hash:     3100a27357a0 (Ubuntu 22.04 LTS)
CPU(s):         2
Load:           0.04 0.17 0.09
Disk usage:     2.5GiB out of 38.6GiB
Memory usage:   283.3MiB out of 3.8GiB
Mounts:         --
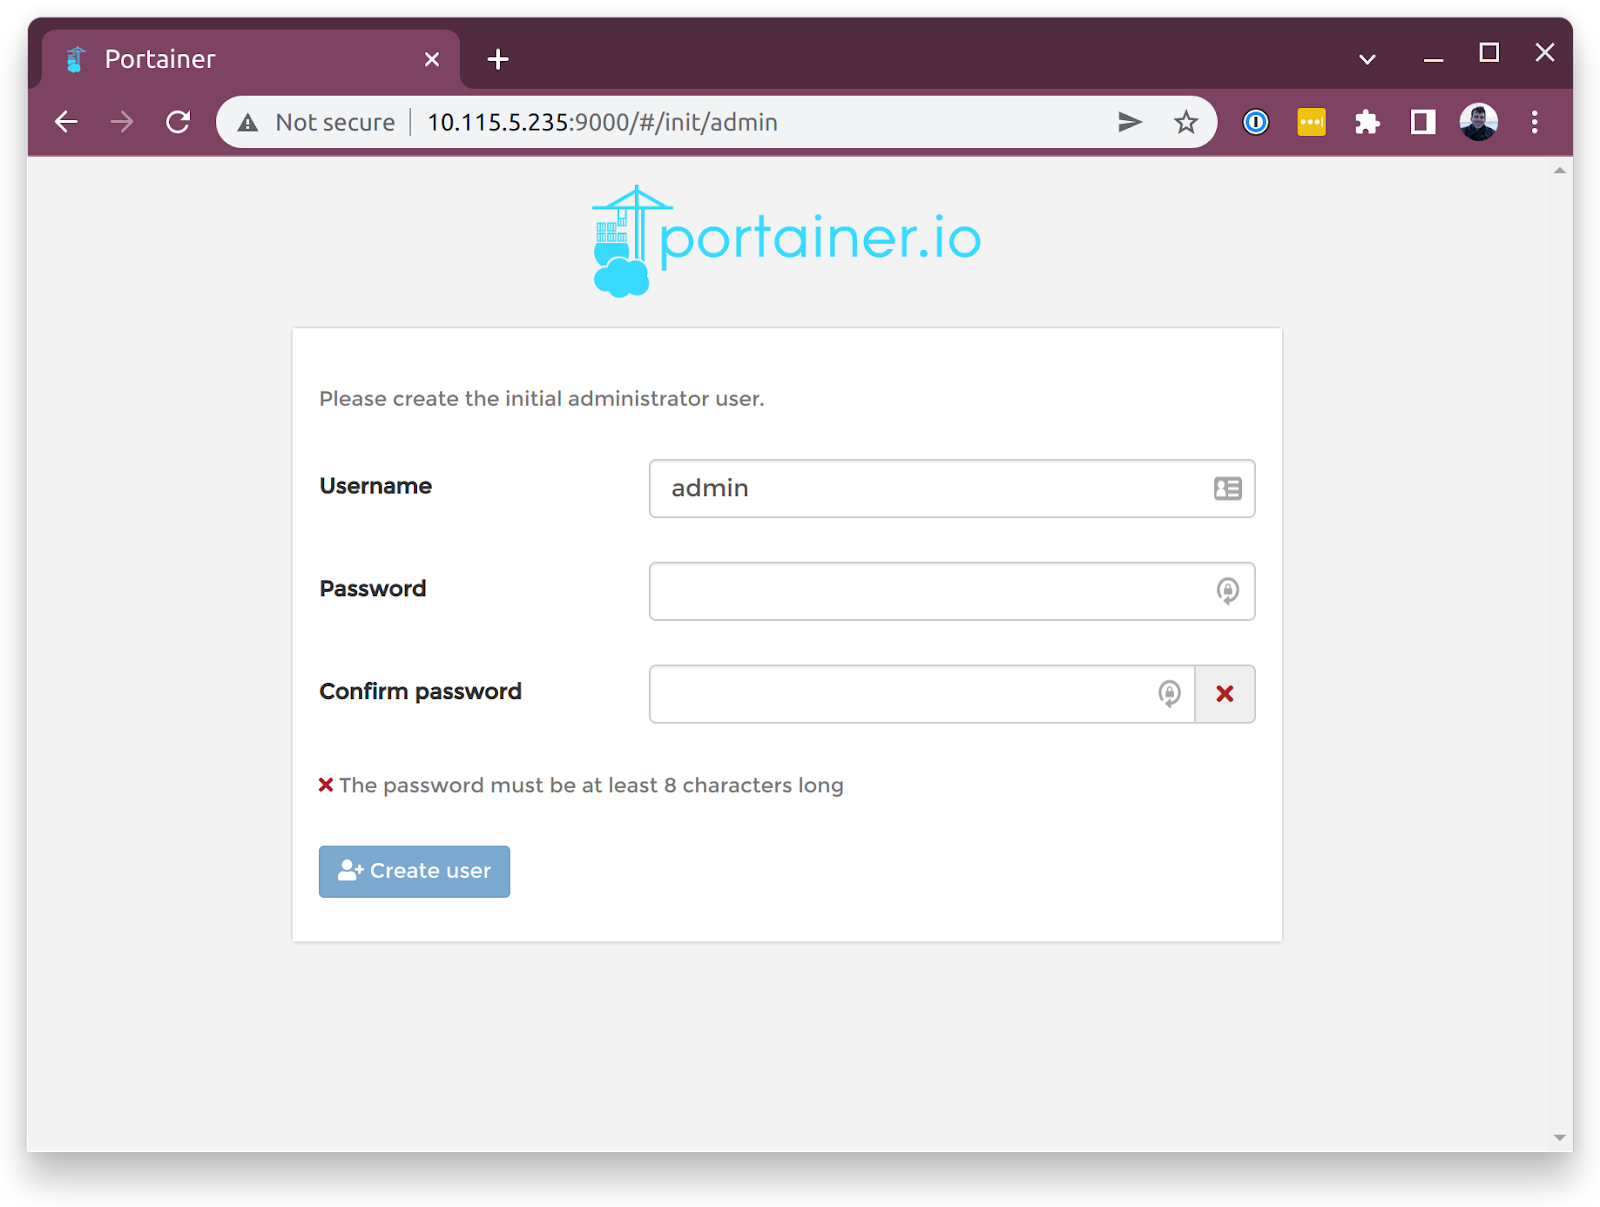
Copy the IP address starting with “10” and paste it into your browser, then add a colon and the portainer default port, 9000. It should look like this: 10.115.5.235:9000. This will take you to the Portainer login page where you can set a username and password.
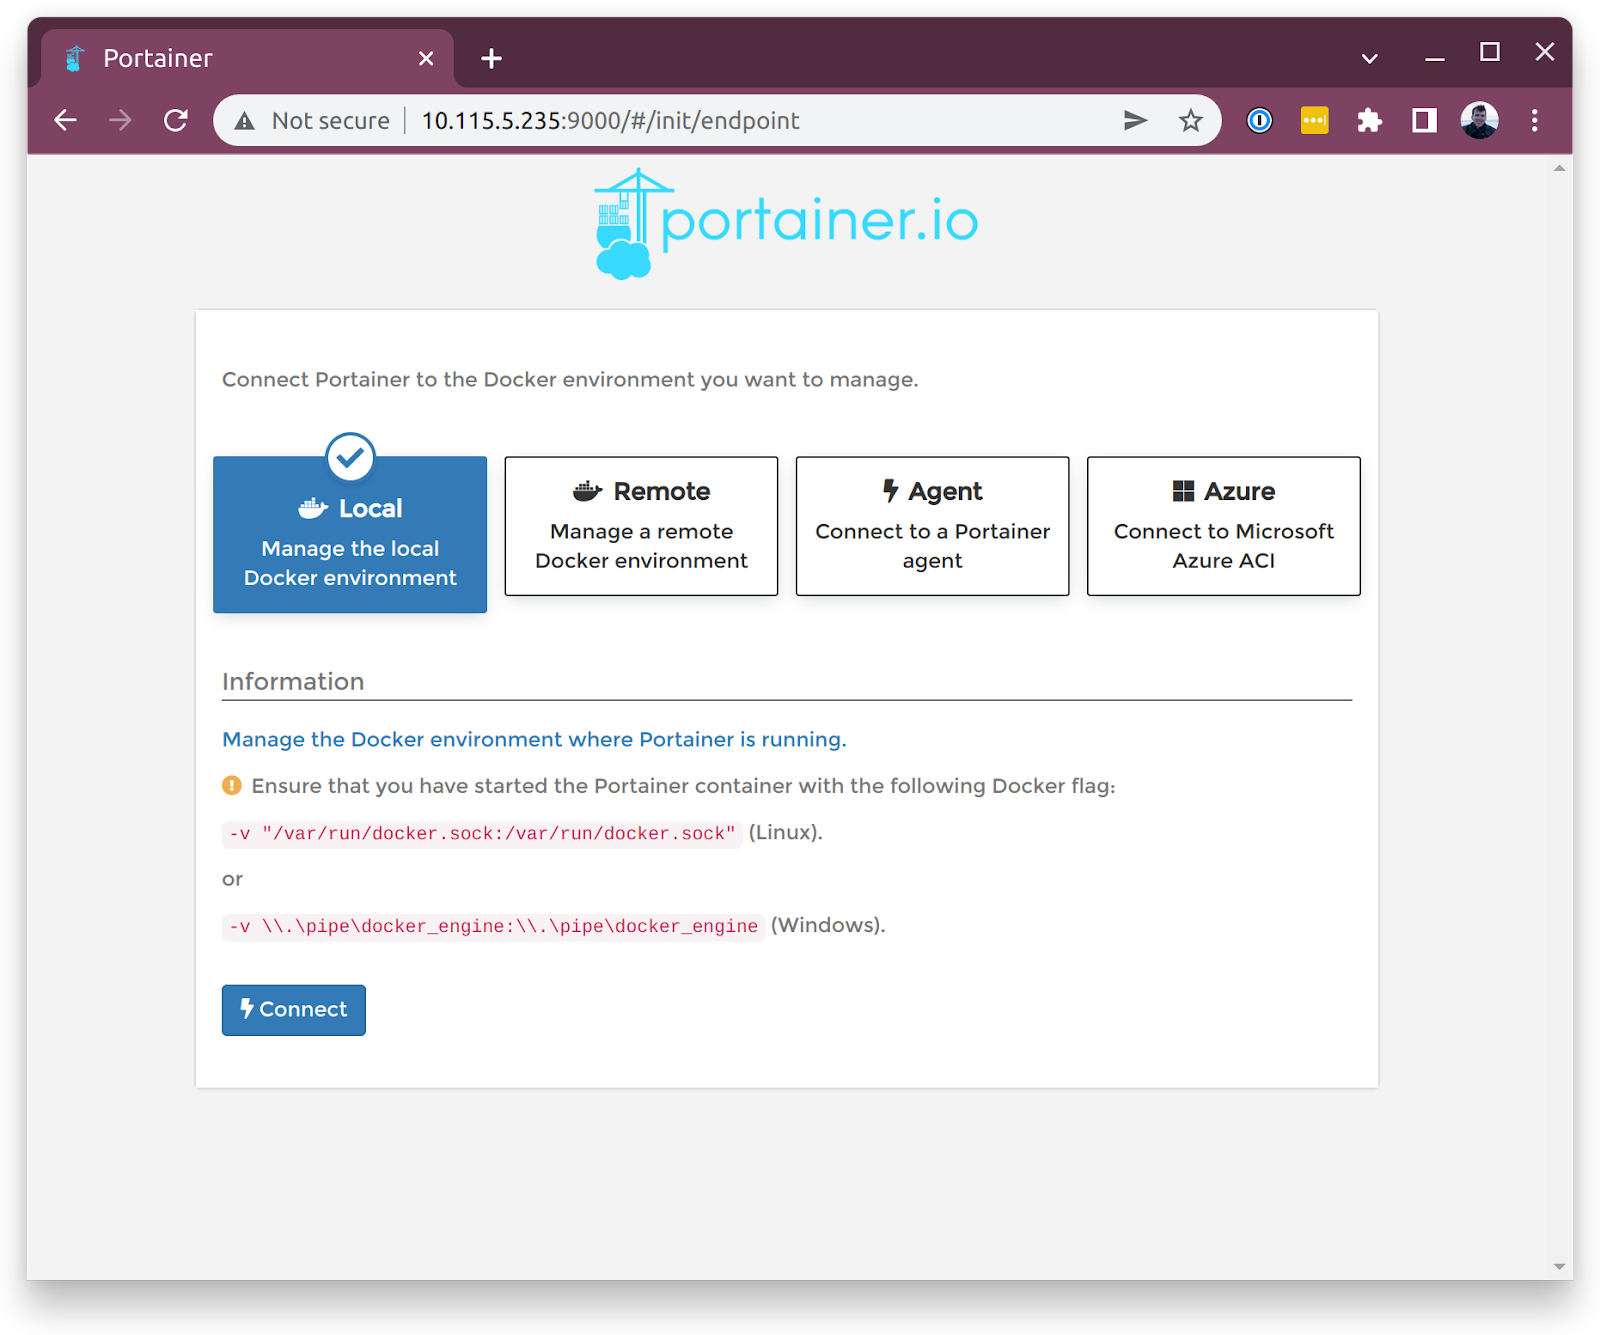
From there, select Local to manage a local Docker environment.
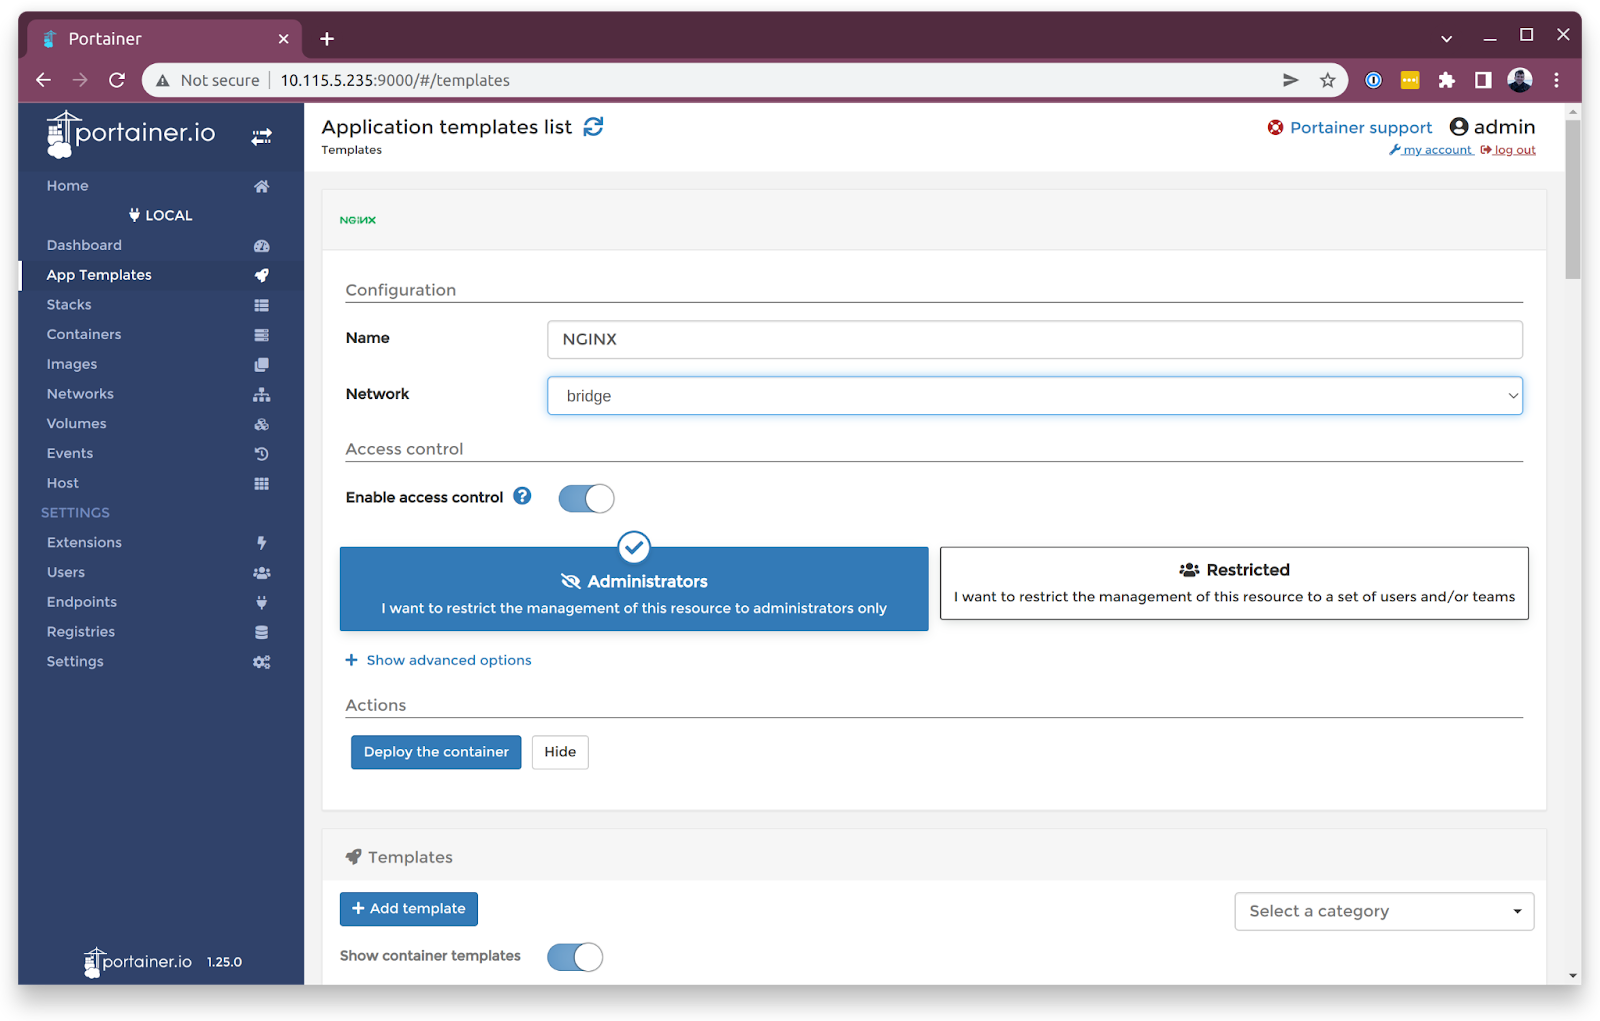
Inside the newly selected local Docker environment, locate the sidebar menu on the page and click on app templates, then select NGINX.
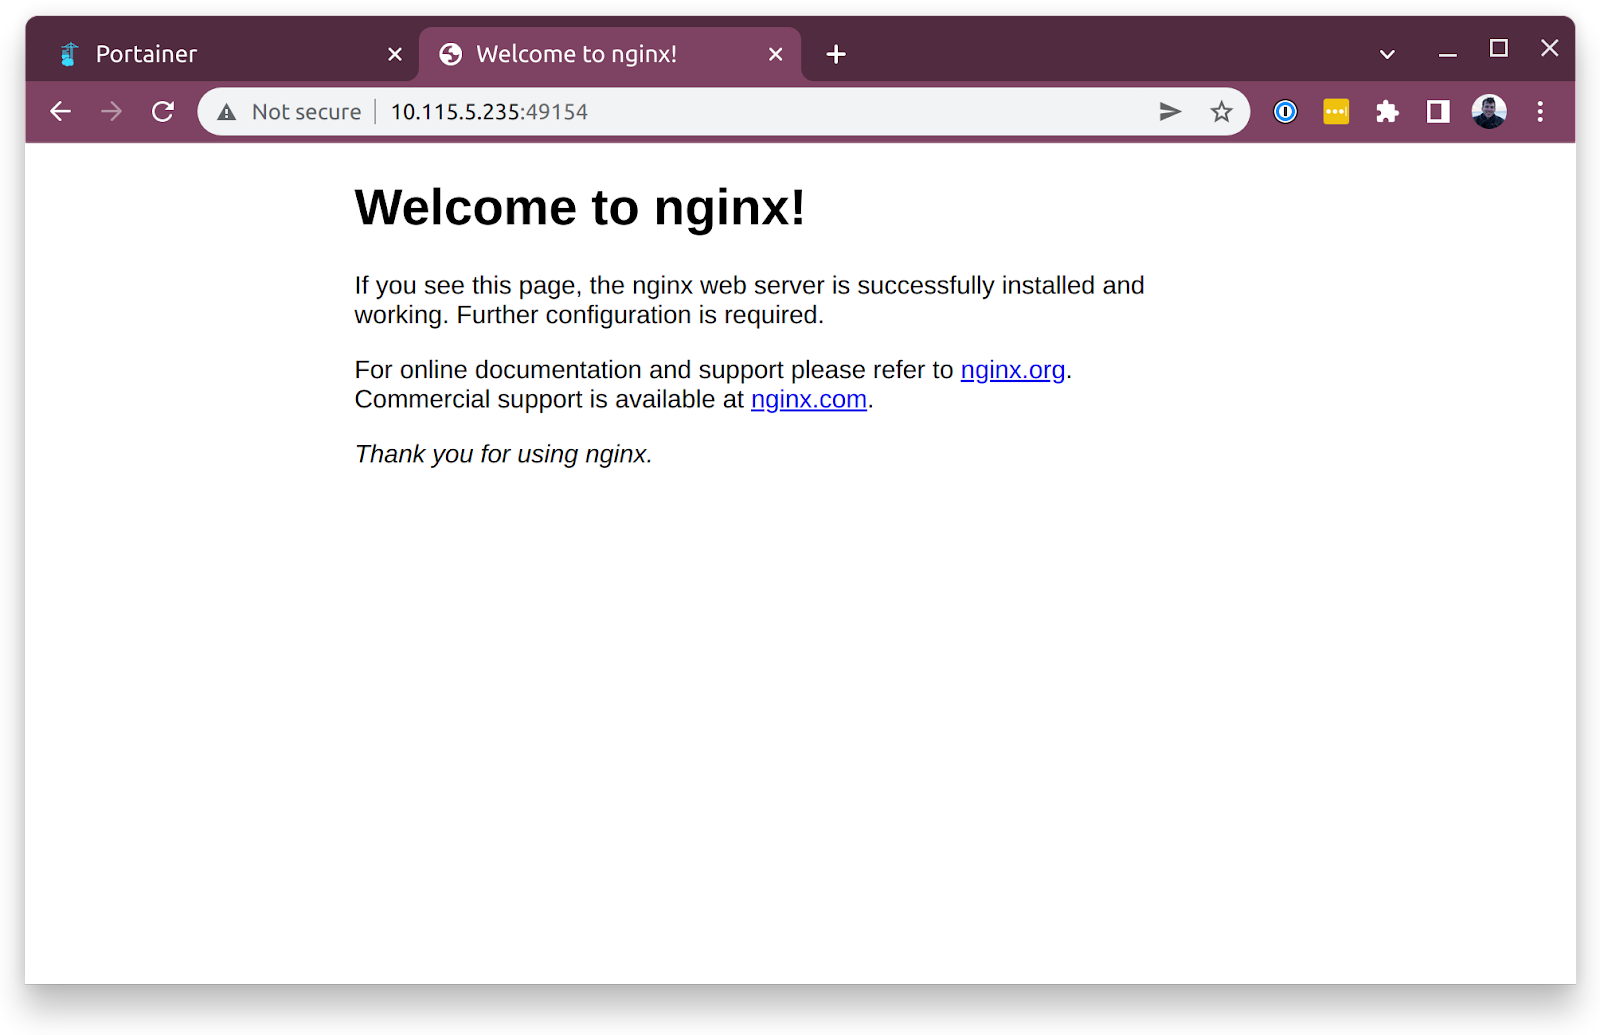
From the Portainer dashboard, you can see the ports available on nginx. To verify that you have nginx running in a Docker container inside Multipass, open a new web page and paste the IP address of your instance followed by one of the port numbers.
Next steps
Congratulations! You can now use Multipass proficiently. There’s more to learn about Multipass and its capabilities. Check out our how-to guides for ideas and help with your project. Our reference pages contain definitions of key concepts, a complete CLI command reference, settings options and more.
Let us know what you’re able to get done with Multipass!
Contributors: @nhart, @saviq, @townsend, @andreitoterman, @tmihoc, @luisp, @ricab, @sharder996, @georgeliaojia, @gzanchi, @pitifulpete