| Key | Value |
|---|---|
| Summary | Explore OpenStack components and set up an OpenStack client. |
| Categories | openstack |
| Difficulty | 1 |
| Author | Tytus Kurek tytus.kurek@canonical.com |
Overview
Duration: 3:00
Before you get started!
Welcome to OpenStack!
In this series of tutorials, we will walk you through all the necessary steps to install, configure and get started with OpenStack. Using just a single machine, you will learn how to use OpenStack for cloud infrastructure implementation purposes, from a single-node installation to large-scale clusters.
This tutorial is the second in the “Phase 1 - Learn OpenStack” series.
What is OpenStack?
OpenStack is a collection of open source projects designed to work together to form the basis of a cloud. OpenStack can be used for both private and public cloud implementation.
What is Sunbeam?
Sunbeam is an upstream project under the governance of the OpenInfra Foundation (OIF), which was created to lower the barrier to entry for OpenStack, simplify its adoption process, and set the foundation for an autonomous private cloud. Sunbeam uses cloud-native architecture and total bottom-up automation to make OpenStack more accessible to newcomers and to help users get to grips with the platform immediately.
What is MicroStack?
MicroStack (based on Sunbeam) is an OpenStack distribution designed for small-scale cloud environments. While it is available with full commercial support from Canonical, it can also be self-deployed with no friction, effectively eliminating the need for a paid consulting engagement. MicroStack currently includes core OpenStack services only, but is expected to evolve quickly to ensure full feature parity with Canonical’s Charmed OpenStack soon.
In this tutorial, you will learn how to:
- Distinguish between the various OpenStack components
- Use Sunbeam CLI
- Set up the OpenStack client
- Login to the OpenStack dashboard
You will only need:
One fresh physical or virtual machine with:
- Ubuntu 22.04 LTS installed,
- Static IP address assigned to its primary network interface,
- OpenSSH server installed and configured,
- 4+ core amd64 CPU,
- 16 GB of RAM,
- 50 GB of SSD storage.
- OpenStack cloud bootstrapped, configured and sample instance launched.
Learn about OpenStack components
Duration: 2:00
While OpenStack is a large ecosystem, it can be broken down into smaller pieces.
In principle, OpenStack consists of the following basic components:
-
OpenStack services expose API endpoints and handle basic cloud functions, such as image catalogue maintenance, instance provisioning, etc.
-
OpenStack dashboard provides a web-based user interface for OpenStack services.
-
OpenStack client provides a command-line user interface for OpenStack services.
-
SQL databases store various records created by OpenStack services.
-
Message queues facilitate inter-process communication between various components of OpenStack services.
Additional components, such as NoSQL database or memcached, might be required in more advanced scenarios.
Use Sunbeam CLI
Duration: 2:00
Sunbeam comes with its own CLI. As we could see in the tutorial 1. Install, it is primarily used to bootstrap and configure OpenStack cloud. However, Sunbeam CLI provides several other functionalities. To get a full list of available options, execute the following command:
$ sunbeam -h
For example, to inspect Sunbeam installation, execute the following command:
$ sunbeam inspect
Sample output:
Output file written to /home/ubuntu/snap/openstack/common/sunbeam-inspection-report-20230606_072659.tar.gz
Set up the OpenStack client
Duration: 3:00
Sunbeam ships with the latest version of the OpenStack client, so you should already have it installed on your machine. In order to communicate with the OpenStack cloud, the OpenStack client must have several environmental variables set. Those are defined in so-called RC files. In order to generate an RC file for the admin user, execute the following command:
$ sunbeam openrc > admin_openrc
Then set all necessary environmental variables:
$ source admin_openrc
You can now use the OpenStack client to interact with your OpenStack cloud. For example, to list all launched instances, run:
$ openstack server list --all-projects
This will return the instance we launched in the tutorial “1. Install”:
+--------------------------------------+------+--------+------------------------------------------+--------+---------+
| ID                                   | Name | Status | Networks                                 | Image  | Flavor  |
+--------------------------------------+------+--------+------------------------------------------+--------+---------+
| 3ee0b806-e801-4073-9686-245e55e7b87e | test | ACTIVE | demo-network=10.20.20.71, 192.168.122.43 | ubuntu | m1.tiny |
+--------------------------------------+------+--------+------------------------------------------+--------+---------+
Note that the ID of the instance and its IP addresses may be different in your environment.
Log in to the OpenStack dashboard
Duration: 3:00
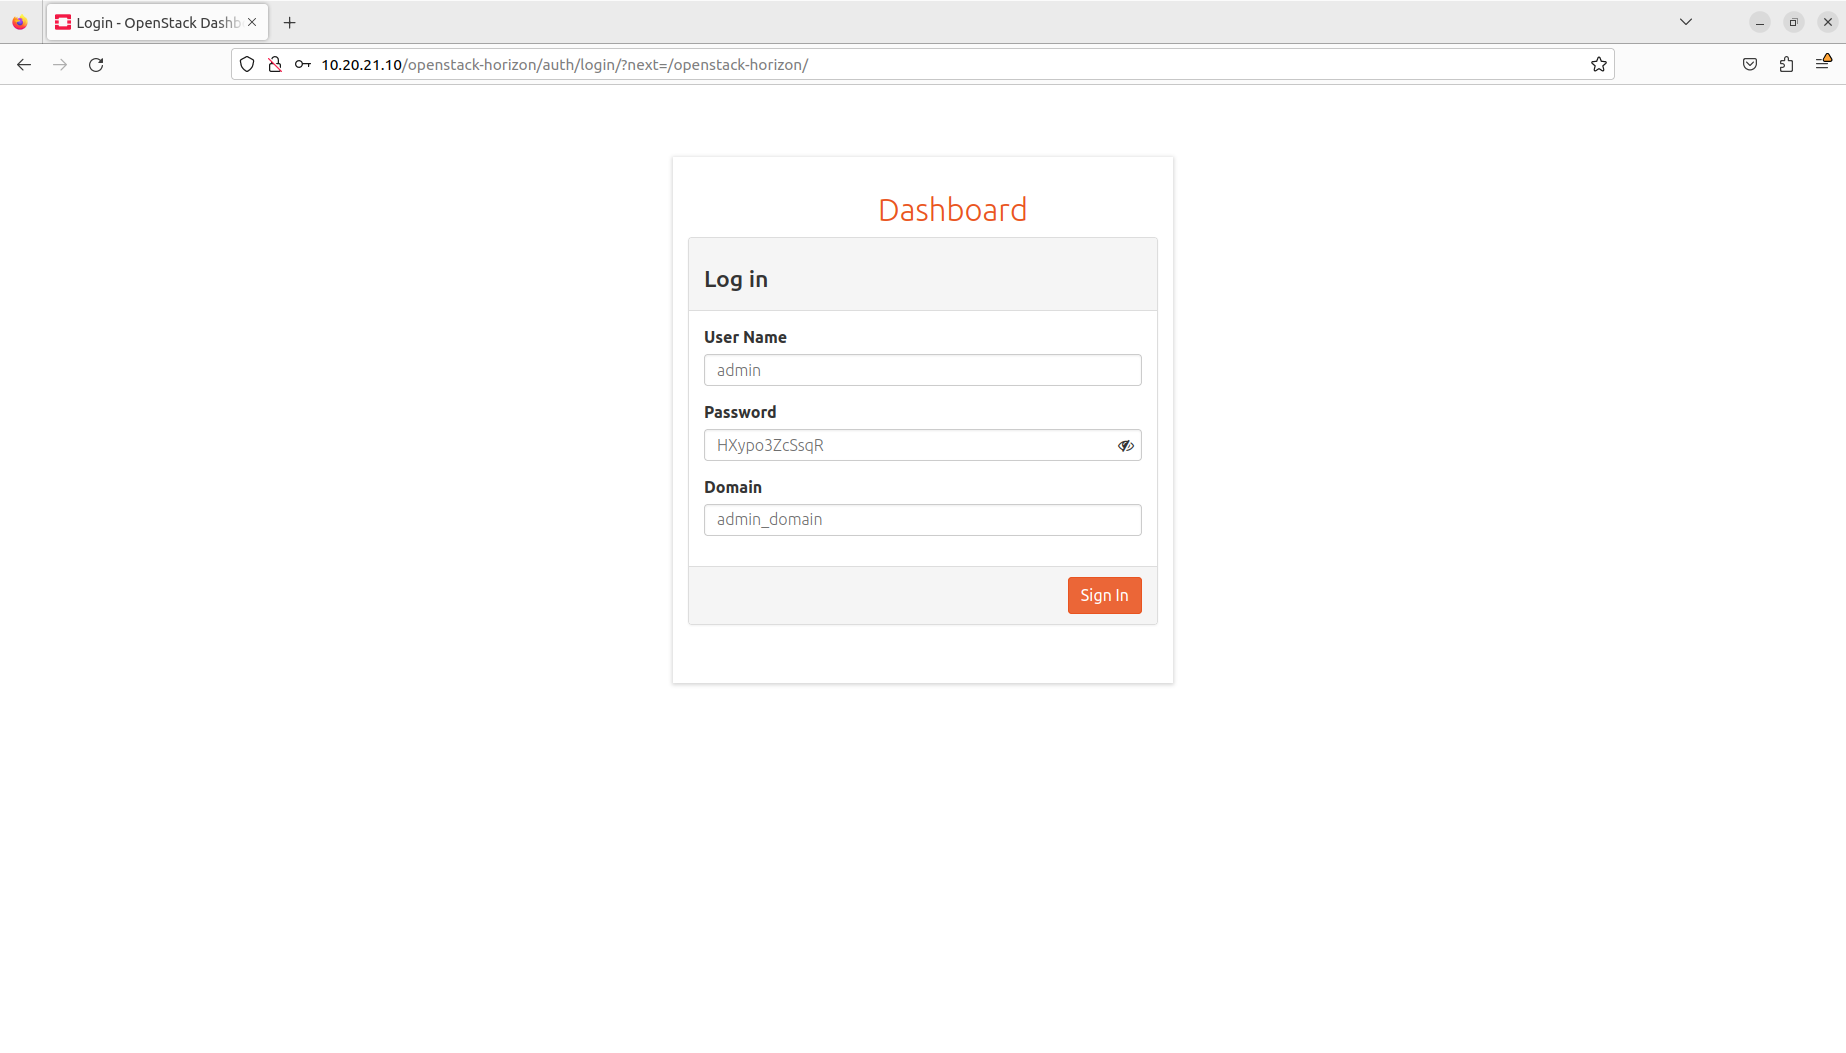
In order to log in to the OpenStack dashboard, first, obtain the URL of the OpenStack dashboard:
$ sunbeam dashboard-url
Sample output:
http://10.20.21.10:80/openstack-horizon
Then, obtain admin user password:
$ echo $OS_PASSWORD
Sample output:
OH1Rg7lq14Wk
Then, obtain admin user domain:
$ echo $OS_USER_DOMAIN_NAME
Sample output:
admin_domain
Finally, visit the URL, type the obtained credentials, and click the Sign in button:

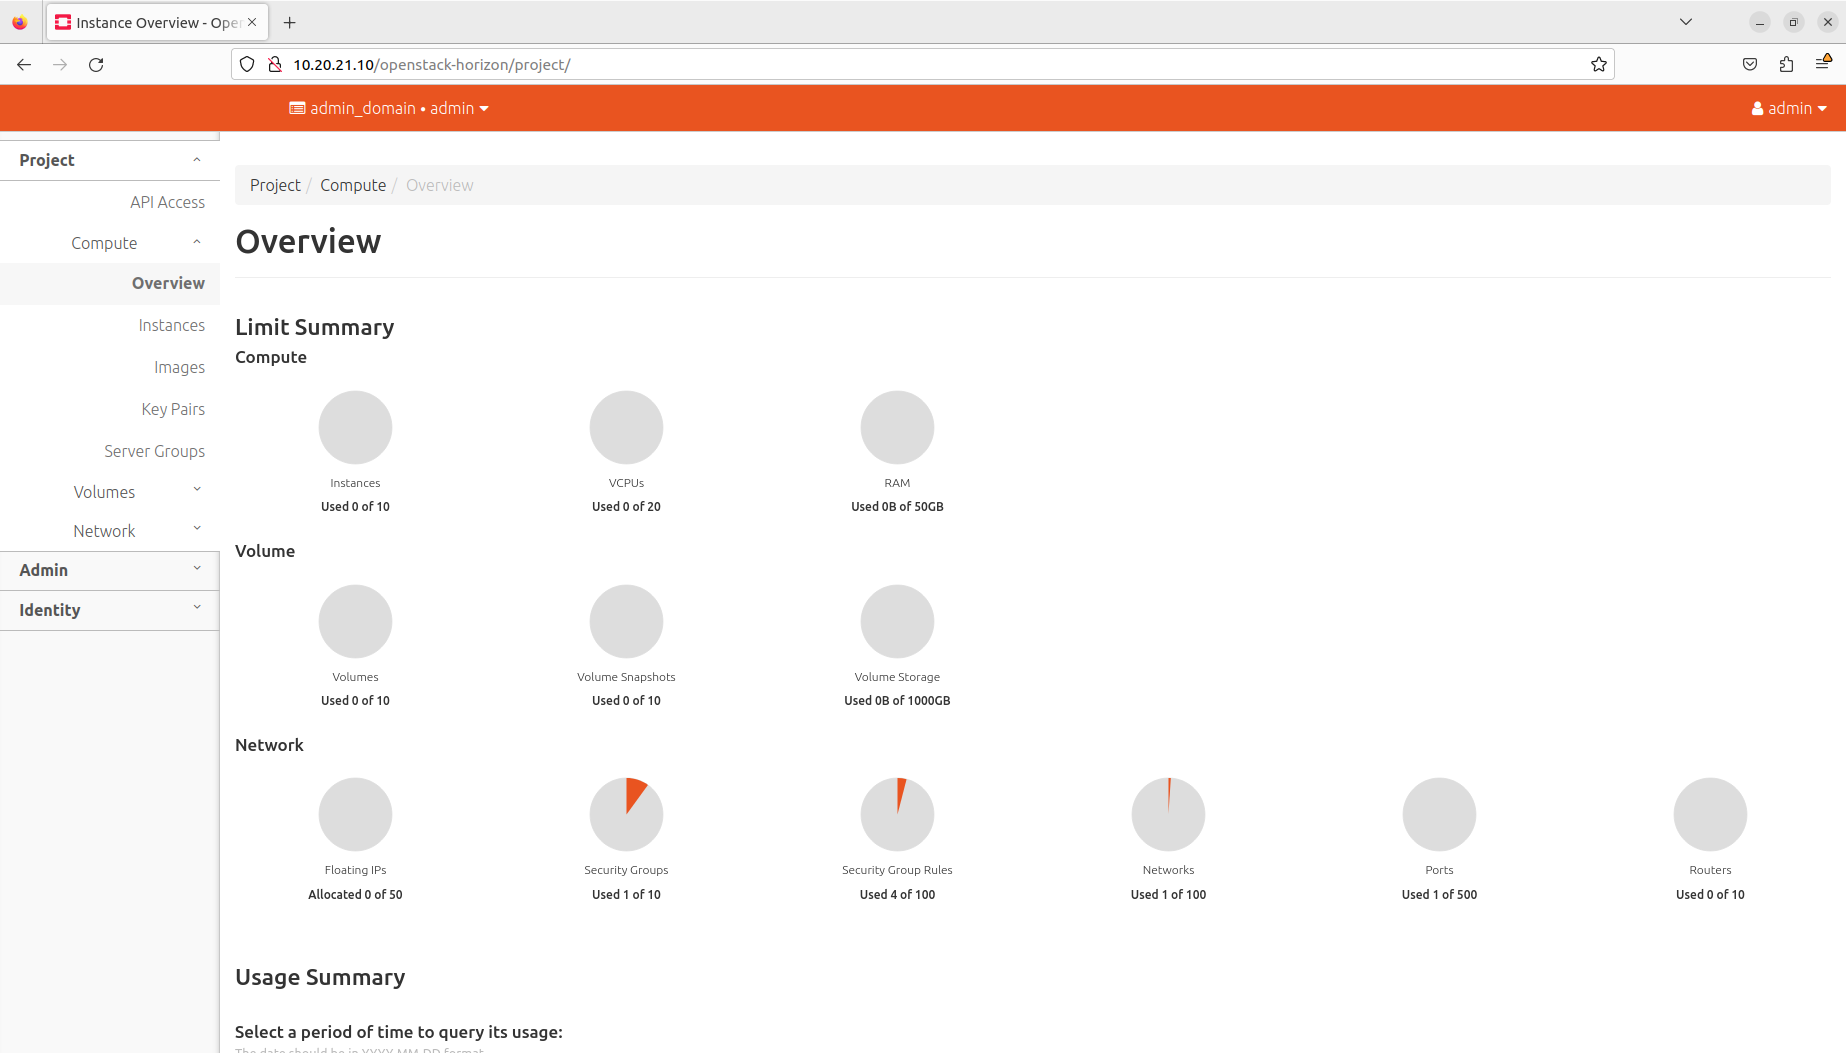
You should now be able to see the OpenStack dashboard:

Next steps
Duration: 2:00
Congratulations! You have reached the end of this tutorial.
You can now move to the next tutorial - “3. Services” - or explore other tutorials.
In this tutorial, you have learnt how to:
- Distinguish between the various OpenStack components
- Use Sunbeam CLI
- Set up the OpenStack client
- Login to the OpenStack dashboard