| Key | Value |
|---|---|
| Summary | Use your Ubuntu desktop to create a bootable USB stick that can be used to run and install Ubuntu on any USB-equipped PC. |
| Categories | desktop |
| Difficulty | 2 |
| Author | Canonical Web Team webteam@canonical.com |
Overview
Duration: 1:00
With a bootable Ubuntu USB stick, you can:
- Install or upgrade Ubuntu
- Test the Ubuntu desktop experience without touching your PC configuration
- Boot into Ubuntu on a borrowed machine or from an internet cafe
- Use tools installed by default on the USB stick to repair or fix a broken configuration
Creating a bootable Ubuntu USB stick is very simple, especially from Ubuntu itself, and we’re going to cover the process in the next few steps.
Alternatively, we also have tutorials to help you create a bootable USB stick from both Microsoft Windows and Apple macOS.
Requirements
Duration: 1:00
You will need:
- A 6GB or larger USB stick/flash drive
- Ubuntu Desktop 18.04 or later installed
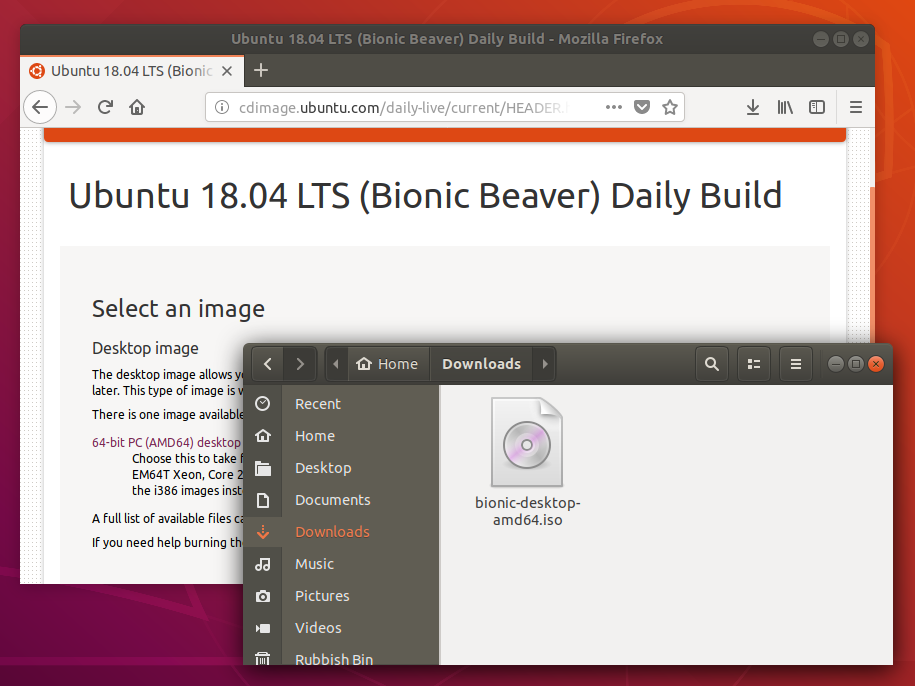
- An Ubuntu ISO file. See Get Ubuntu for download links
Launch Startup Disk Creator
We’re going to use an application called ‘Startup Disk Creator’ to write the ISO image to your USB stick. This is installed by default on Ubuntu, and can be launched as follows:
- Insert your USB stick (select ‘Do nothing’ if prompted by Ubuntu)
- On Ubuntu 18.04 and later, use the bottom left icon to open ‘Show Applications’
- In older versions of Ubuntu, use the top left icon to open the dash
- Use the search field to look for Startup Disk Creator
- Select Startup Disk Creator from the results to launch the application
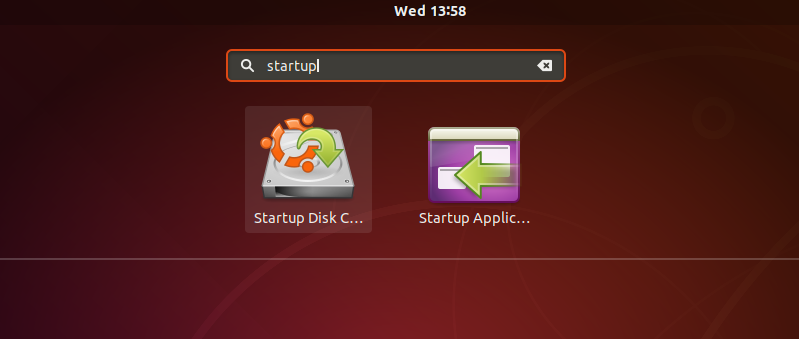
(In case the Startup Disk Creator is not installed, install it in a terminal by running sudo apt install usb-creator-gtk.)
ISO and USB selection
Duration: 2:00
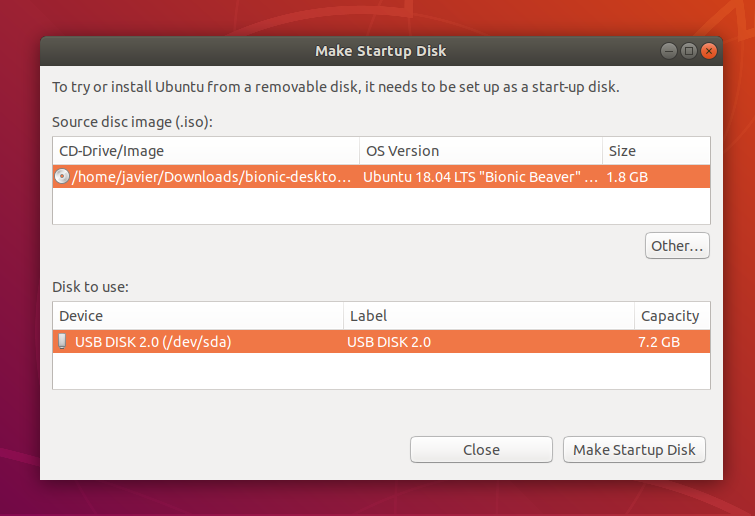
When launched, Startup Disk Creator will look for the ISO files in your Downloads folder, as well as any attached USB storage it can write to.
It’s likely that both your Ubuntu ISO and the correct USB device will have been detected and set as ‘Source disc image’ and ‘Disk to use’ in the application window. If not, use the ‘Other’ button to locate your ISO file and select the exact USB device you want to use from the list of devices.
Click Make Startup Disk to start the process.
Confirm USB device
Duration: 3:00
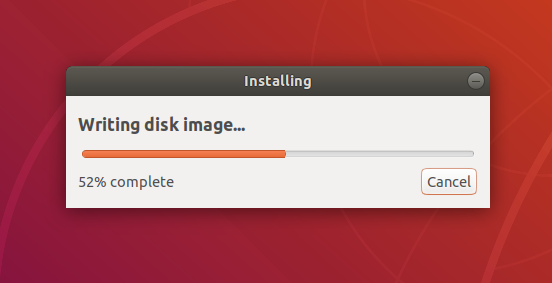
Before making any permanent changes, you will be asked to confirm the USB device you’ve chosen is correct. This is important because any data currently stored on this device will be destroyed.
After confirming, the write process will start and a progress bar appears.
Installation complete
Duration: 1:00
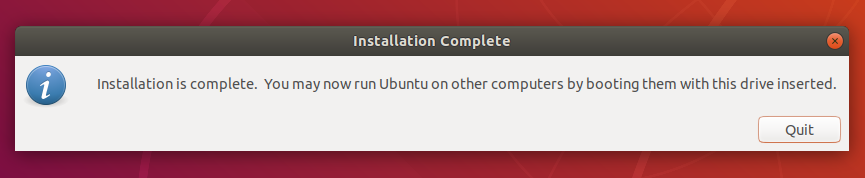
That’s it! You now have Ubuntu on a USB stick, bootable and ready to go.
If you want to install Ubuntu, take a look at our install Ubuntu desktop tutorial.
Finding help
If you get stuck, help is always at hand:
