| Key | Value |
|---|---|
| Summary | Running a Docker Container in Multipass |
| Categories | multipass |
| Difficulty | 2 |
| Author | nathan.hart@canonical.com |
Overview
Multipass has a Docker blueprint that gives its users access to out-of-the-box Docker on any platform. This new blueprint makes it easy to develop and test Docker containers locally on macOS, Windows, or Linux.
In this tutorial, we will see how to get started with the Docker blueprint by creating a blog in a Docker container in Multipass.
What we’ll learn
-
How to use Docker on macOS or Windows with Multipass
-
How to alias the
dockercommand to our host command line -
How to use Portainer to launch a Docker container in Multipass
What we’ll need
- Any computer with an internet connection
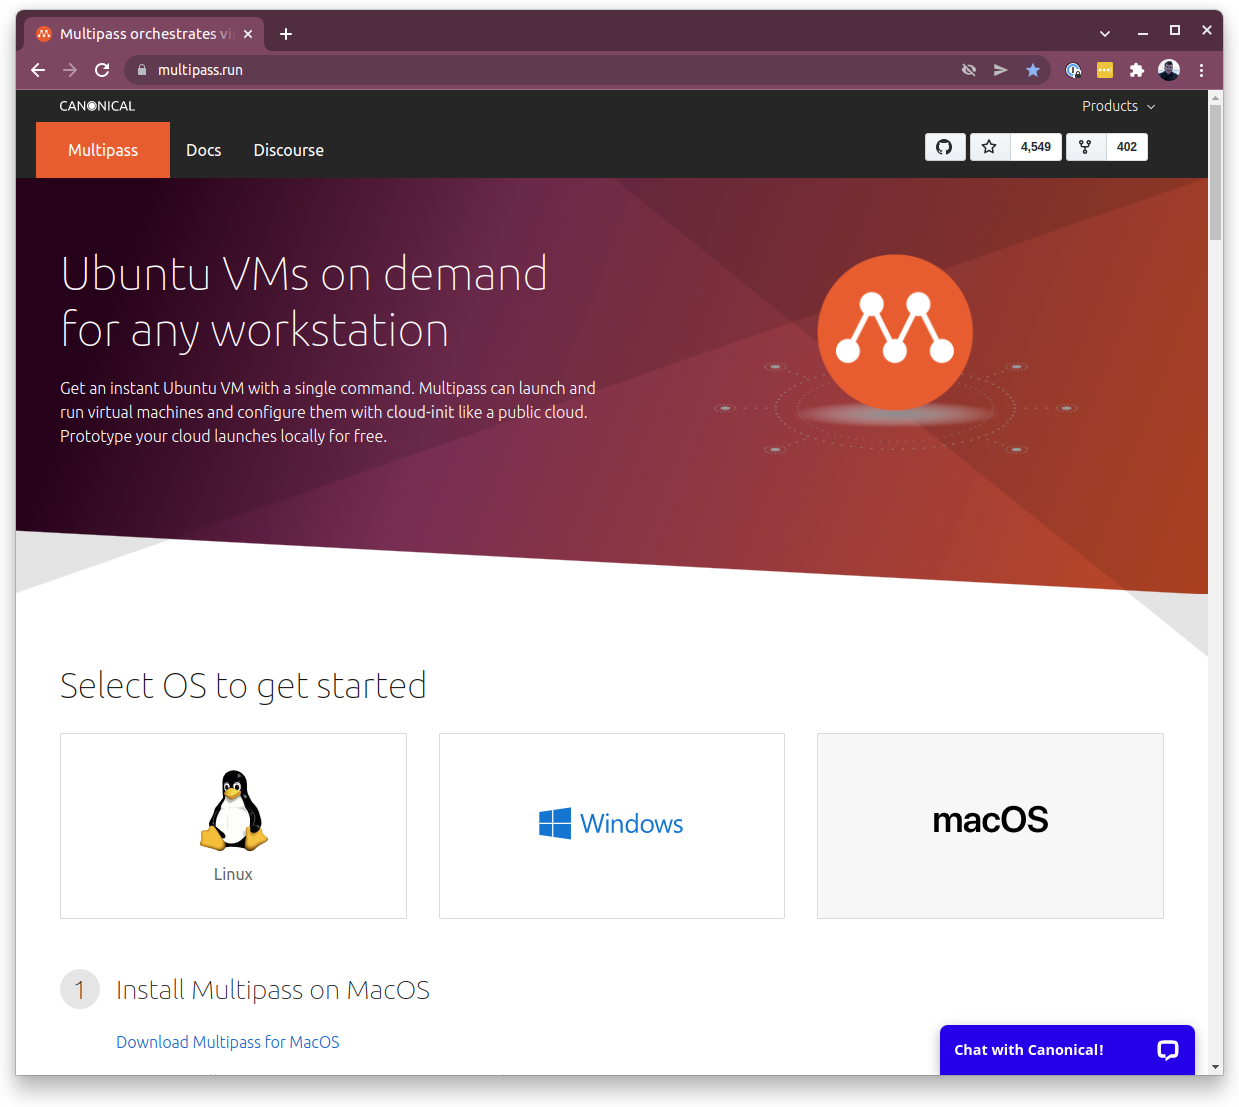
Install Multipass
Duration: 3 minutes
We’ll start by installing Multipass on our machine as shown here. Simply click on the operating system and follow the instructions.
Launch a Docker VM
Duration: 1 minute
Now that Multipass is installed, we can create a VM running Docker very simply. Open up a terminal and type
multipass launch docker
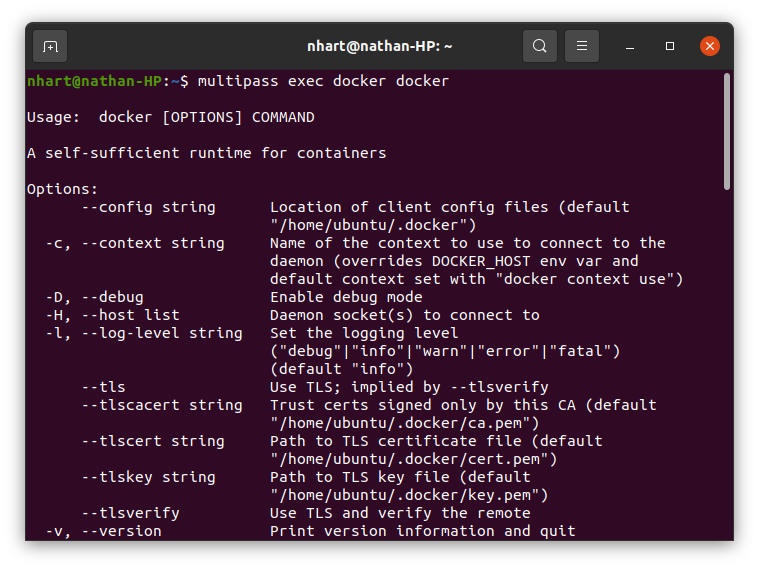
This command will create a virtual machine running the latest version of Ubuntu, with Docker and Portainer installed. We can now use Docker already! Try the command below to see for yourself!
multipass exec docker docker
Alias of the Docker commands
Duration: 1 minute
The Docker blueprint creates automatically two aliases, that is, two commands which can be run from the host to use commands in the instance as if they were in the host. In particular, the host docker command executes docker in the instance, and the host docker-compose command executes docker-compose in the instance.
In order for these to work, we just need to add them to the path so that we can use them directly from our command line. If this was not done before, launching the Docker blueprint will return instructions showing how to add the aliases to our path. Simply copy and paste the command shown. It will likely be of this form:
PATH="$PATH:/home/<user>/snap/multipass/common/bin"
$ multipass launch docker
You'll need to add this to your shell configuration (.bashrc, .zshrc or so) for
aliases to work without prefixing with `multipass`:

PATH="$PATH:/home/nhart/snap/multipass/common/bin"
We can now use docker straight from the command line. To try it out, run
docker run hello-world
Using Portainer
Duration: 5 minutes
We’ll now go one step further, with Portainer. The Docker blueprint comes with Portainer installed, which gives an easy-to-use graphical interface for managing our Docker containers. To access Portainer, we will first need its IP address. The following command will show the IP addresses associated with the Ddocker VM we created in the previous steps:
multipass list
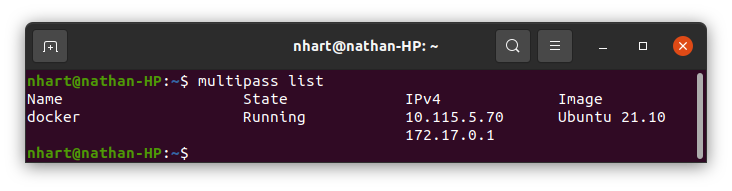
There should be two IP addresses listed, one for the Docker instance, the other for Portainer. The Portainer IP should start with a 10.
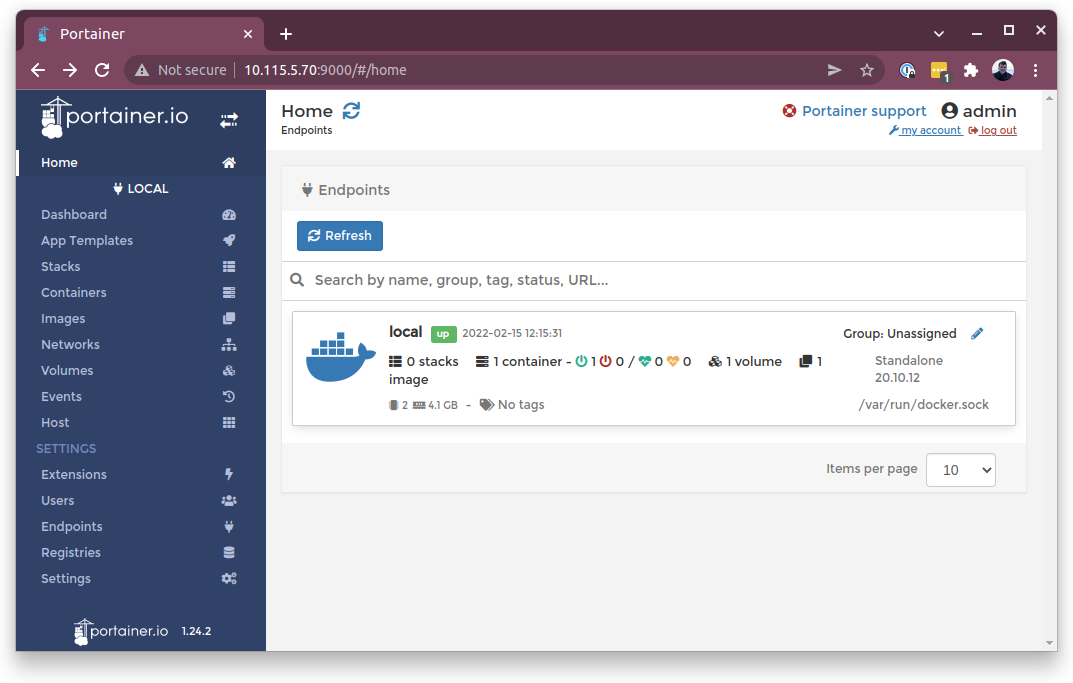
In a web browser, enter the Portainer IP address from the previous step followed by the Portainer port, 9000, like this: “:9000”. Set up a username and password at the prompt, then select the option for managing a local Docker environment and click connect.
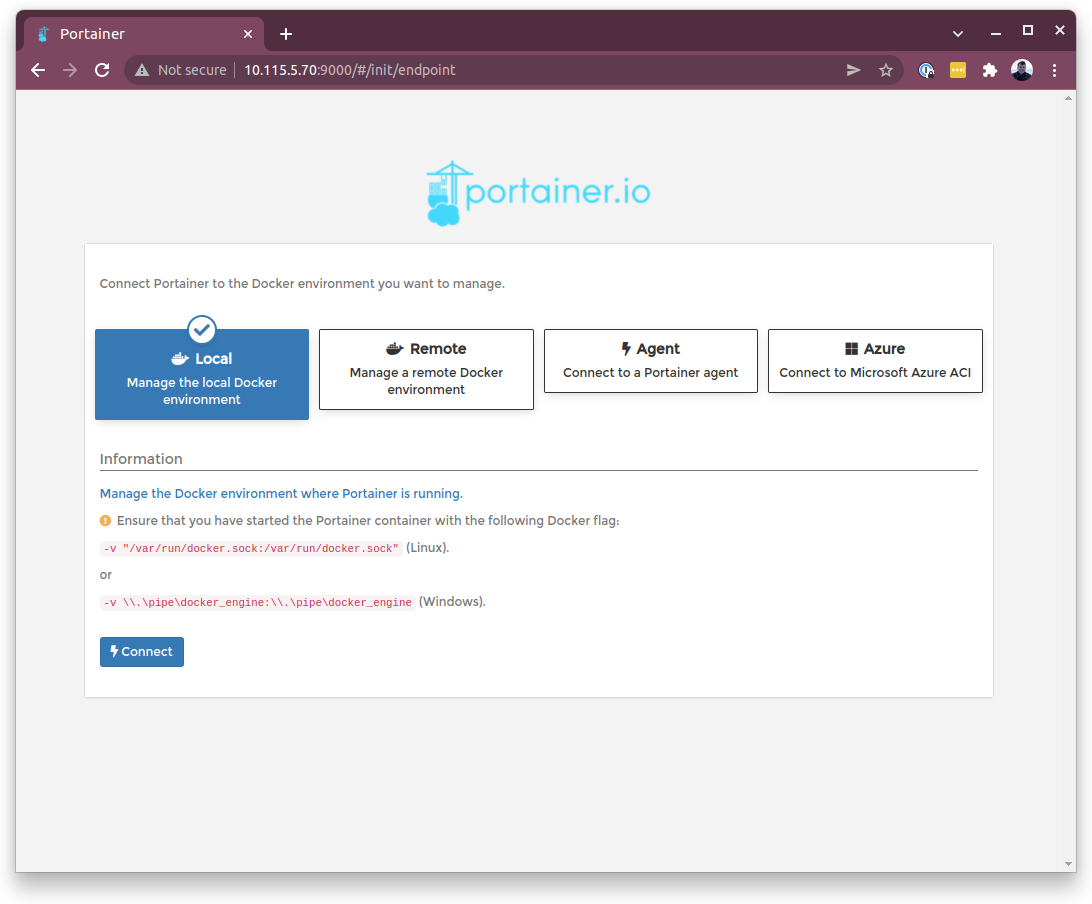
Click on the newly created “Local” environment to manage the Docker instance on our local VM.
Launching a container
Duration: 5 minutes
For this tutorial, we will be creating a blog using the Ghost template in Portainer. Portainer has many other app templates if you are looking for more ideas. If you want more selection, you can launch containers from the Docker hub from Portainer or from the command line.
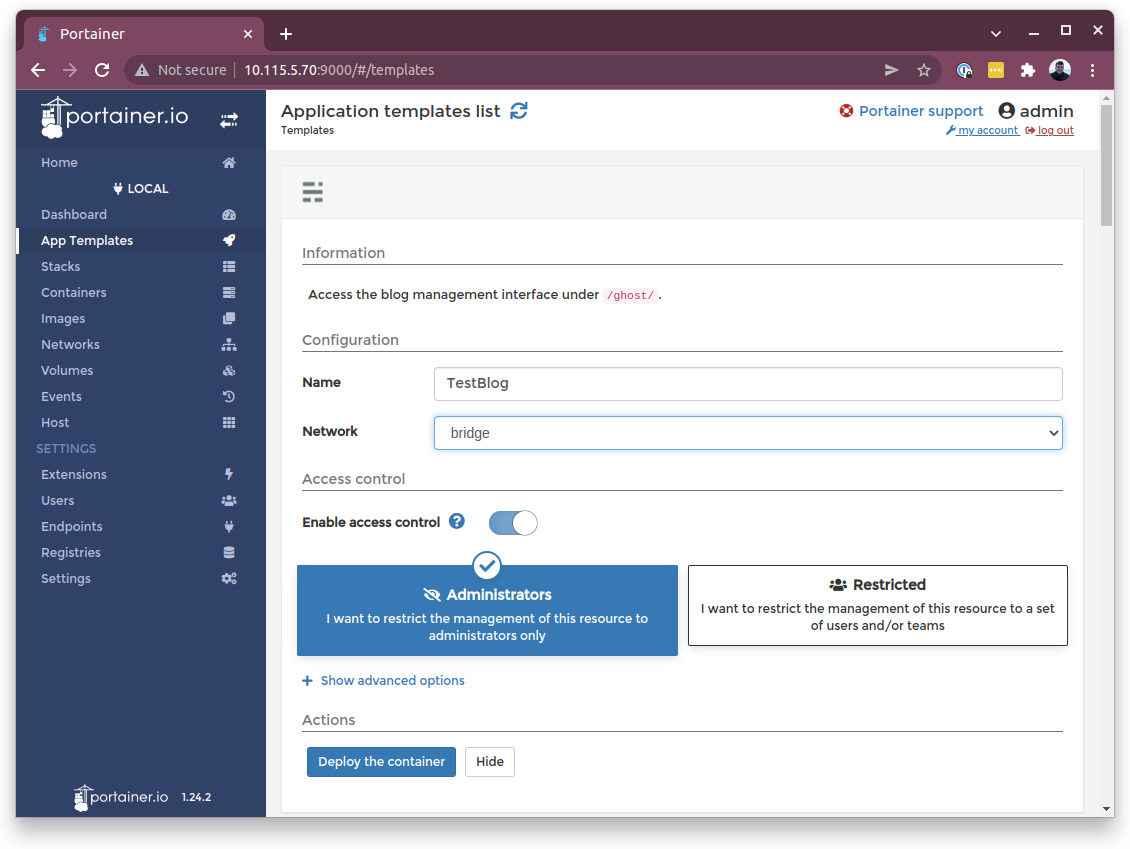
Inside Portainer, click on App Templates in the left toolbar, and scroll down to the Ghost template.

Now, we can configure and deploy the template. Enter a name and click deploy. The bridge network is the default and correct option.
On the Containers page, we should now see two containers running. One containing Ghost, and the other containing Portainer itself.
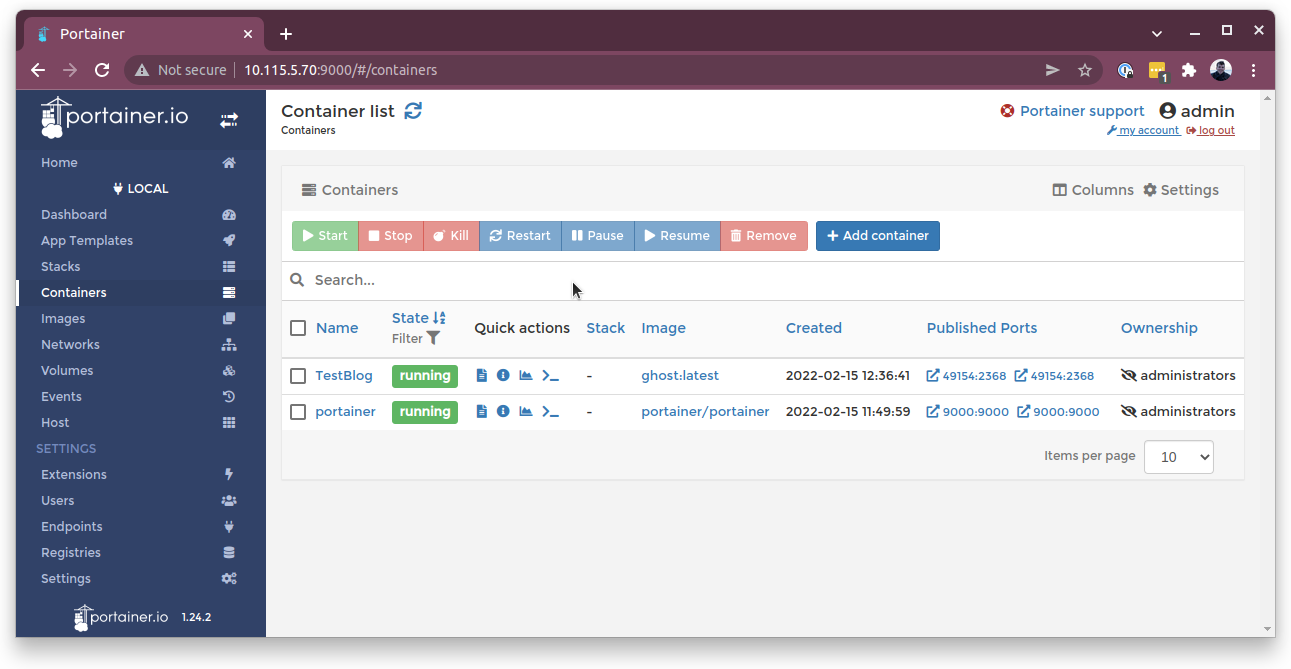
We can now access our Ghost blog by going to the published port indicated in the Containers page, i.e., <VM IP Address>:<Ghost Port>.
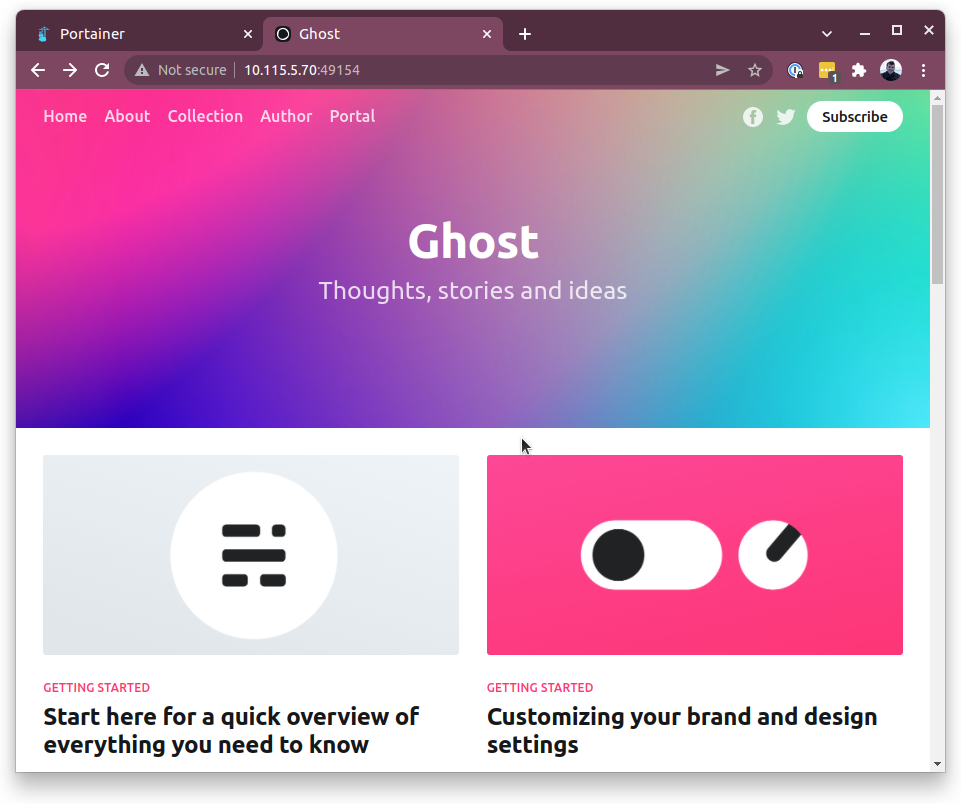
There it is, our blog running within a Docker container inside Multipass!
For next steps, try out Portainer’s other App Templates (Step 5), or check out Docker Hub for more containers to try. If you want to try out container orchestration, Microk8s or Multipass’ Minikube blueprint are great places to start.
