There are two main ways to customise the Anbox Cloud deployment:
- Use overlays in conjunction with the published Anbox Cloud bundle.
- Edit the bundle file.
Using an overlay means that you can easily apply your customisation to different versions of the bundle, with the possible downside that changes in the structure of new versions of Anbox Cloud might render your overlay obsolete or non-functional (depending on what exactly your overlay does).
Saving a copy of the bundle file and editing that file means that your customisation will always work, but of course, this method requires that you create a new file for each version of Anbox Cloud.
Use overlay files
An overlay bundle is a fragment of valid YAML that is dynamically merged on top of a bundle file before deployment, similar to a patch file. The fragment can contain additional or alternative YAML that is intelligible to Juju. For example, you could use a bundle overlay to specify custom instance types for the machines you use (note that the specified constraints are just an example and not a recommendation):
machines:
  '0':
    series: focal
    constraints: "instance-type=m5.xlarge root-disk=40G"
  '1':
    series: jammy
    constraints: "instance-type=m5.xlarge root-disk=40G"
  '2':
    series: jammy
    constraints: "instance-type=g4dn.2xlarge root-disk=100G"
  '3':
    series: jammy
    constraints: "instance-type=m5.xlarge root-disk=100G"
See the Juju bundle documentation for more information about Juju’s bundle format and valid YAML.
To use one or more overlay files with the Anbox Cloud bundle, specify them during the deployment:
juju deploy anbox-cloud --overlay ua.yaml --overlay ~/path/overlay.yaml
Make sure to use the correct local path and file name for your overlay file(s).
Change configuration settings
Configuration settings are mapped to options under the charm entries in the bundle YAML. Usually, settings are only included if they differ from the default value in the charm.
For example, consider the following fragment for the anbox-stream-gateway in the anbox-cloud bundle:
anbox-stream-gateway:
  charm: anbox-stream-gateway
  expose: true
  num_units: 1
  options:
    prometheus_port: 10001
    # We use self-signed TLS certificates by default. If proper signed certificates are used, this can be dropped.
    use_insecure_tls: true
  to: ['0']
The entries under options in this example assign a specific port for Prometheus and allow using self-signed TLS certificates. There are, however, a number of additional configuration options available (see the charm documentation). To add further configurations, specify the desired settings under options.
For example, the following YAML fragment sets some proxy values:
anbox-stream-gateway:
  options:
    https_proxy: https://proxy.example.com
    snap_proxy: https://snap-proxy.example.com
You can save the overlay as proxy.yaml and use it for the deployment:
juju deploy anbox-cloud --overlay ~/path/proxy.yaml
This will give the same result as configuring the proxy values through Juju:
juju config anbox-stream-gateway https_proxy=https://proxy.example.com
juju config anbox-stream-gateway snap_proxy=https://snap-proxy.example.com
Edit a bundle file
Another way to change or customise a deployment is to store the YAML bundle file locally and edit it with a text editor.
The latest version of the Anbox Cloud bundles can be retrieved by fetching the current stable version from Charmhub. See Juju bundles for more details on the available bundles.
Be careful when editing the YAML file, because the format is very strict. For more details on the format used by Juju, see the Juju bundle documentation.
Retrieve a bundle from a running model
Sometimes it is convenient to save a running model as a bundle. This method gives you a local bundle file that matches the exact deployment that you want. It will preserve the configuration, relations and the charms used in the deployment, so a structural replica can be recreated.
To save a running model as a bundle, use the following command:
juju export-bundle --filename mybundle.yaml
The resulting YAML file is downloaded to the current working directory.
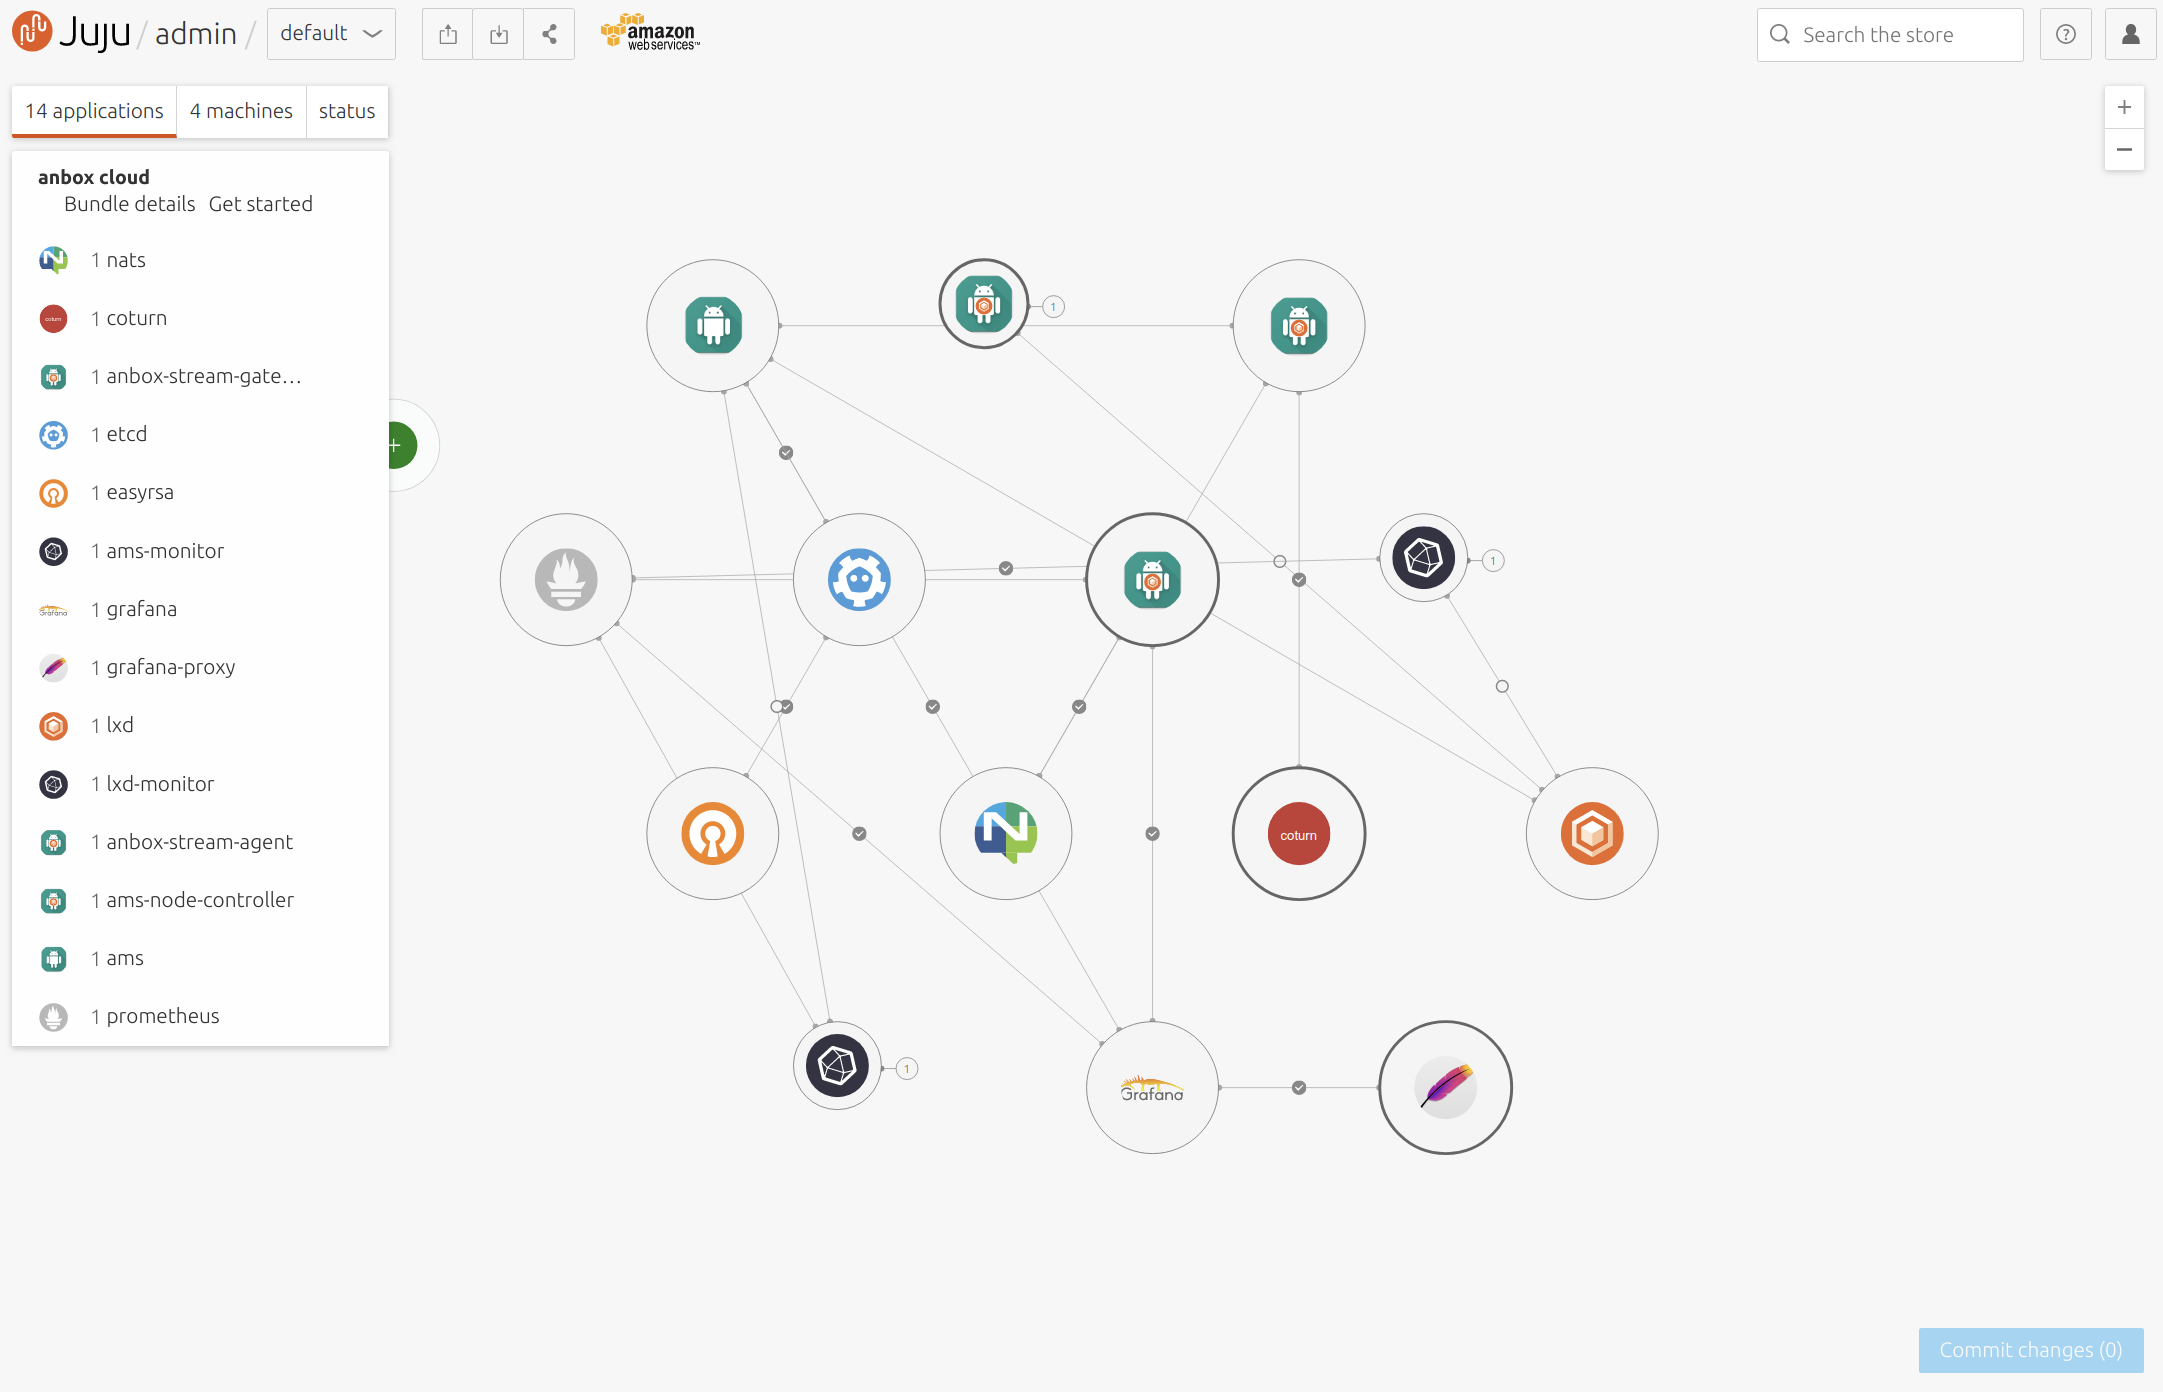
You can also view, edit and export bundles from the Juju GUI:
juju gui
Running this command will output login information and a URL for the GUI interface (the GUI actually runs on the Juju controller instance). When you visit the given URL and log in, you will see a graphical representation of the current model. To export the model as a YAML bundle, click on the Export button near the top left of the screen.
For more information on the Juju GUI, see the Juju documentation.